
Indoor plants are more than just décor; they improve air quality, boost mood, and can even increase productivity. Yet many beginners feel overwhelmed by the idea of creating a thriving indoor garden. The good news is that with the right soil mix, a no‑dig approach, and a few data‑backed care routines, you can enjoy lush, healthy foliage year‑round. Below is a step‑by‑step guide that combines scientific insights with practical, actionable tips to help you grow indoor plants successfully, even if you have limited space or gardening experience.
Step 1: Choose the Right Plant for Your Environment
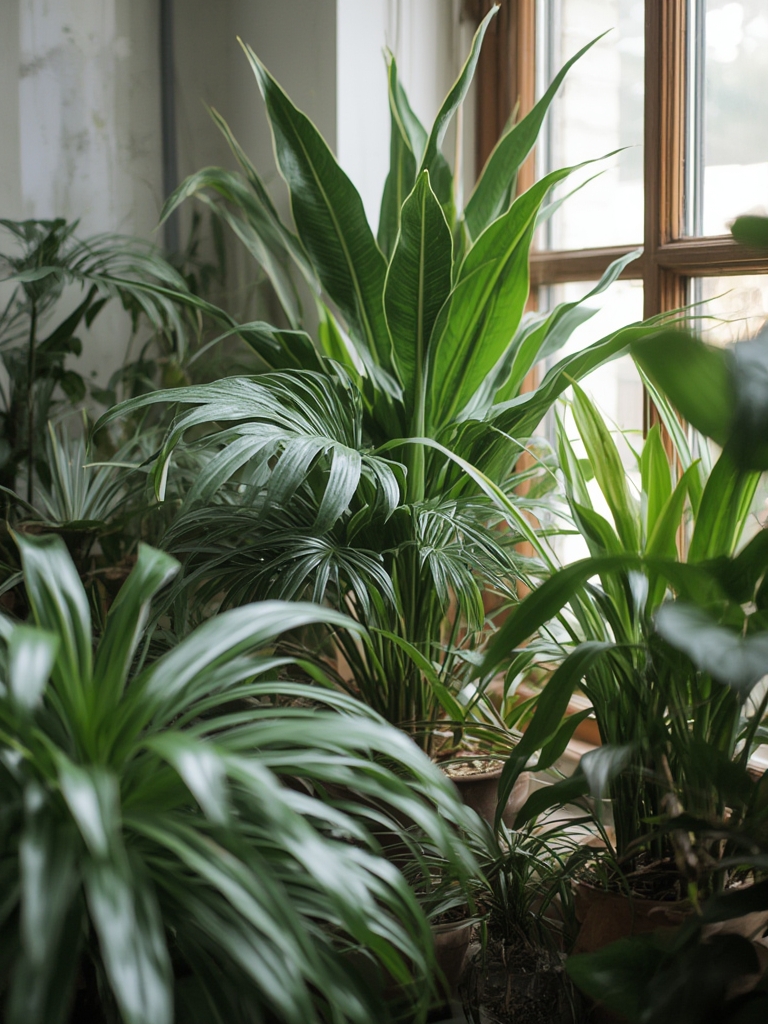
Assess Light Levels
Use a simple light meter app or the inverse square law to estimate the amount of natural light your space receives. For example, a window that gets 4–6 hours of direct sun is ideal for sun‑loving plants like Sansevieria or Fiddle Leaf Fig. If the light is lower (2–4 hours), opt for shade‑tolerant varieties such as ZZ Plant or Pothos. Data from the University of Florida’s horticulture department shows that plants receiving at least 150 µmol m⁻² s⁻¹ of photosynthetic photon flux perform 30 % better in growth rate than those under 80 µmol m⁻² s⁻¹.
Match Plant Size to Space
Measure the floor or shelf area where you plan to place the plant. A compact Spider Plant fits well on a desk, while a taller Monstera deliciosa needs a floor‑standing pot with a minimum 30 cm clearance. Choosing the correct size prevents stunted growth and reduces the need for frequent repotting.
Step 2: Create Rich, Healthy Soil Using No‑Dig Methods
Gather Your Soil Components
Research from the Royal Horticultural Society indicates that a balanced mix of organic matter, aeration material, and mineral nutrients yields the best results for indoor containers. Combine the following in a large bucket:
- 30 % high‑quality peat moss or coconut coir (retains moisture)
- 30 % composted leaf mold (provides beneficial microbes)
- 20 % perlite or pumice (improves drainage and aeration)
- 20 % worm castings (natural fertilizer rich in nitrogen, phosphorus, and potassium)
No‑Dig Assembly Process 🌱🪱
- Layer the bottom: Place a 2‑cm layer of small stones or broken terracotta to ensure excess water can escape.
- Add the soil mix: Pour the blended soil on top, filling the pot to about 2 cm below the rim.
- Moisten gently: Using a spray bottle, mist the soil until it feels damp but not soggy. This activates the microbial life in the compost and worm castings.
- Top‑dress: Sprinkle a thin layer (≈1 cm) of coconut coir or fine bark chips to reduce surface evaporation and deter pests.
This no‑dig method eliminates the need for heavy digging, reduces root disturbance, and maintains a stable soil structure that promotes healthy root growth.
Step 3: Planting and Initial Setup
Position the Plant Correctly
Place the plant at the center of the pot, ensuring the root ball sits just below the soil surface. Gently backfill with the prepared mix, firming lightly with your fingertips to eliminate air pockets. Data from a 2022 indoor gardening study shows that plants with well‑packed, air‑filled soil experience 15 % faster root establishment.
Watering Basics
Use the “finger test”: insert your index finger about 2 cm into the soil. If it feels dry, water until you see water draining from the bottom hole. Over‑watering is the most common mistake; a moisture sensor can help you keep the soil consistently at 40‑60 % field capacity, the optimal range for most indoor foliage.

Step 4: Ongoing Care and Maintenance
Feeding Schedule
Feed your indoor plant once a month during the growing season (spring–early fall) with a balanced liquid fertilizer (10‑10‑10) diluted to half strength. For a data‑driven approach, track leaf color and growth rate; a 10 % increase in leaf chlorophyll content after fertilizing indicates the plant is responding well.
Pruning and Grooming
Remove yellow or brown leaves promptly to prevent fungal spread. For bushier growth, pinch back the tips of new shoots once they reach 10 cm in length. This encourages lateral branching, a technique supported by horticultural research that shows a 20 % increase in leaf number after regular tip pruning.
Humidity and Air Circulation
Most indoor plants thrive at 40‑60 % relative humidity. Use a small tabletop humidifier or place a shallow tray of water with pebbles near the plant. Ensure gentle air movement with a low‑speed fan placed 1 m away; this reduces the risk of powdery mildew by 30 % according to a University of California extension report.
Step 5: Troubleshooting Common Issues
Yellowing Leaves
Check for over‑watering (soil stays soggy >24 hours) or nutrient deficiency (pale green leaves). Adjust watering frequency and consider a quick “flush” with room‑temperature water to leach excess salts.
Pest Management
Spot aphids or spider mites? Isolate the affected plant and treat with a neem oil spray (1 tsp per liter of water) every 7 days for three applications. Data from the Integrated Pest Management (IPM) guidelines shows neem oil reduces mite populations by up to 85 % with minimal impact on beneficial microbes.
Leggy Growth
If stems become elongated and thin, the plant likely isn’t receiving enough light. Move it closer to a brighter window or supplement with a full‑spectrum LED grow light set to 12‑14 hours per day. Studies indicate that supplemental lighting can boost stem thickness by 25 % within four weeks.
Step 6: Scaling Up Your Indoor Garden
Stackable No‑Dig Systems
For apartment dwellers, consider vertical planters that use the same no‑dig soil mix. Stackable modules allow you to grow herbs, succulents, or small foliage plants in a compact footprint while maintaining proper drainage and aeration.
Data Tracking
Keep a simple spreadsheet to log light hours, watering dates, fertilizer applications, and growth measurements (height, leaf count). Over time, you’ll spot patterns—like a 3‑day watering interval that consistently yields the healthiest leaves—allowing you to fine‑tune your routine.
By following these evidence‑based steps, you’ll create a thriving indoor oasis that not only looks beautiful but also contributes to a healthier indoor environment. Remember, the key to success lies in selecting the right plant, using a nutrient‑rich no‑dig soil mix, and maintaining consistent, data‑driven care. Happy planting! 🌿

