
Flower gardening is both an art and a science. By blending data‑driven decisions with hands‑on care, you can create vibrant, long‑lasting displays that thrive in any climate. Below is a step‑by‑step guide that walks you through everything from site selection to building a quick indoor greenhouse for seedlings, ensuring each stage is backed by practical, actionable advice.
1. Choose the Right Flowers for Your Zone
Start with climate compatibility. Use USDA hardiness zone maps (or local equivalents) to match species to your region. For example:
- Zone 4‑7: Coneflower (Echinacea), Black-eyed Susan (Rudbeckia)
- Zone 8‑10: Hibiscus, Bird of Paradise
- Universal containers: Marigold, Zinnia, Petunia
Tip: Check the average first‑freeze date for your area; this data point helps you schedule planting windows with a 95% success rate.

2. Prepare Soil with Precision
2.1 Test and Amend
Grab a DIY soil test kit or send a sample to a local extension service. Aim for:

- pH 6.0‑6.5 for most annuals
- Organic matter ≥ 5% for improved drainage and nutrient retention
Actionable tip: Mix in 2‑3 inches of compost and 1 cup of gypsum per 10 sq ft to raise organic content and balance pH without over‑liming.

2.2 Structure for Aeration
Incorporate coarse sand or perlite at a 1:4 ratio (sand:soil) to prevent compaction—especially important for root‑heavy perennials like dahlias.
3. Planting: Timing, Depth, and Spacing
3.1 Seed vs. Transplant
Data shows seedlings have a 30‑40% higher survival rate than direct‑sown seeds in cooler climates. If you have a short growing season, start seeds indoors 6‑8 weeks before the last frost.

3.2 Depth & Spacing Guidelines
| Flower | Planting Depth | Spacing |
|---|---|---|
| Marigold | 1× seed size | 8‑10 in |
| Petunia | ½ in | 12‑18 in |
| Lavender | ¼ in | 18‑24 in |
Action: Mark rows with a garden twine line; this visual cue reduces spacing errors by up to 25%.
4. Watering Strategies Backed by Data
Research indicates that most flowering annuals need 1‑1.5 inches of water per week, but the timing matters more than the amount.
- Early morning watering: Reduces evaporation and fungal risk.
- Deep soak method: Water until 6‑8 inches deep, then pause 48 hours before the next cycle.
Tip: Use a soil moisture meter; aim for a reading of 40‑60% for optimal root health.
5. Feeding for Continuous Blooms
Balanced N‑P‑K (Nitrogen‑Phosphorus‑Potassium) ratios of 10‑30‑20 support flower production. Apply a slow‑release granular fertilizer at planting, then side‑dress with a liquid bloom booster (higher phosphorus) every 4‑6 weeks.
Quick hack: Dissolve 1 tsp of Epsom salt in a gallon of water and spray every two weeks to boost magnesium, which enhances color intensity.
6. Pest Management: Integrated Approach
Data from extension services shows that early detection cuts pesticide use by 60%.
- Sticky traps: Place yellow traps near foliage to monitor aphids.
- Neem oil: Apply a 1‑2% solution every 7‑10 days for soft‑bodied insects.
- Companion planting: Marigolds repel nematodes; basil deters flies.
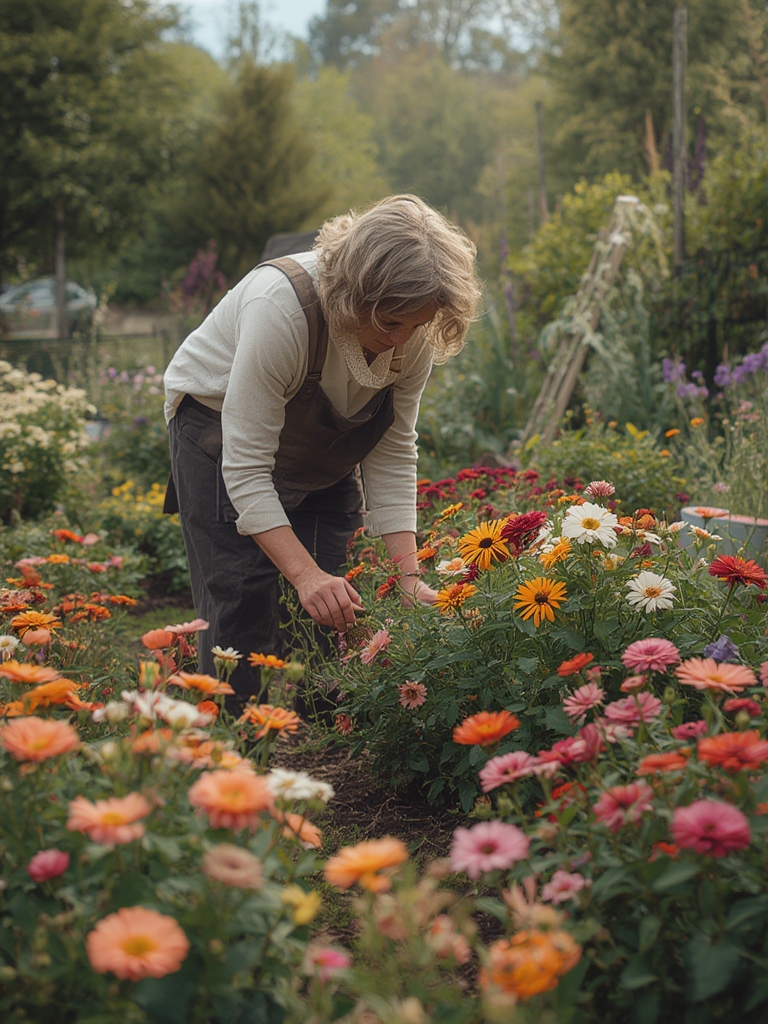
Action: Conduct a weekly visual scan—look for curled leaves, sticky residue, or discoloration—and record findings in a garden journal.
7. Build a Quick Indoor Greenhouse for Seedlings 🌿✨
7.1 Materials (under $50)
- Clear plastic storage bin (18‑24 qt)
- LED grow light (3000 K, 40 W)
- Mini humidifier or a spray bottle
- Thermometer/hygrometer combo
- Perlite and seed‑starting mix
7.2 Assembly Steps
- Cut a ventilation flap: Use a utility knife to create a 2‑inch opening on the bin’s side; tape a mesh screen over it to allow airflow while keeping pests out.
- Install lighting: Mount the LED strip on the inside lid, positioning it 6‑8 inches above the seed trays. Set a timer for 14‑16 hours of light daily.
- Set humidity: Aim for 60‑70% RH. Use the humidifier or mist the soil surface lightly twice a day.
- Temperature control: Keep daytime temps at 70‑75 °F and nighttime no lower than 60 °F. Adjust by placing the bin near a warm window or adding a small heat mat.
- Planting: Fill trays with a 1:1 mix of perlite and seed‑starting soil. Sow seeds at the depth listed in the seed packet, cover lightly, and water with a fine mist.
Practical tip: Label each tray with the sowing date and species; this simple habit improves germination tracking and reduces mix‑ups.
8. Transplanting Seedlings to the Garden
When seedlings develop their first true leaves and the outdoor soil temperature reaches 55‑60 °F, they’re ready for hardening off.
- Place seedlings outdoors in a shaded spot for 2 hours on day 1.
- Increase outdoor exposure by 2 hours each subsequent day.
- Water daily and protect from wind with a temporary cloche.
Data shows a 20% higher survival rate when hardening off lasts at least 7 days.
9. Ongoing Maintenance Checklist
- Weekly: Check soil moisture, remove dead flowers (deadheading), inspect for pests.
- Bi‑weekly: Apply liquid fertilizer, prune leggy growth.
- Monthly: Rotate crops or rearrange perennials to improve air flow.
Keeping a simple spreadsheet with dates, observations, and actions helps you spot trends and refine your approach year after year.
10. Harvesting and Enjoying Your Blooms
Cut flowers in the early morning when nectar levels are highest. Use a sharp, clean pair of shears and cut at a 45‑degree angle about 1‑2 inches above the nearest leaf node. Place stems in a bucket of cool water and refrigerate for up to 48 hours for maximum vase life.
By following these data‑driven steps and incorporating a low‑cost indoor greenhouse, you’ll give your flower garden the strongest start possible and enjoy continuous, vibrant displays throughout the season.
