Indoor plants are more than just décor; they improve air quality, boost mood, and can even increase productivity by up to 15% according to a 2022 Harvard study. Yet many beginners hesitate because they think growing plants inside requires a lot of space, time, or expertise. This guide breaks down the process into data‑backed, bite‑size steps that anyone—whether living in a studio apartment or a suburban home—can follow. By the end, you’ll have a thriving indoor garden and a mini greenhouse setup that jump‑starts seed germination year‑round.
Why Start Seeds Indoors? The Data Behind Early Planting
Starting seeds earlier gives plants a head start on the growing season, resulting in:
- 30–40% faster growth once transplanted, according to the University of California Extension.
- Higher yields: Tomato seedlings begun 6 weeks before the last frost produce 20% more fruit than those started later.
- Reduced transplant shock because seedlings develop stronger root systems in a controlled environment.
For indoor gardeners, a mini greenhouse replicates those optimal conditions without needing a backyard.
Step 1: Choose the Right Plants for Your Space
Data‑Driven Plant Selection
Use the following criteria, backed by indoor gardening surveys (2021–2023):
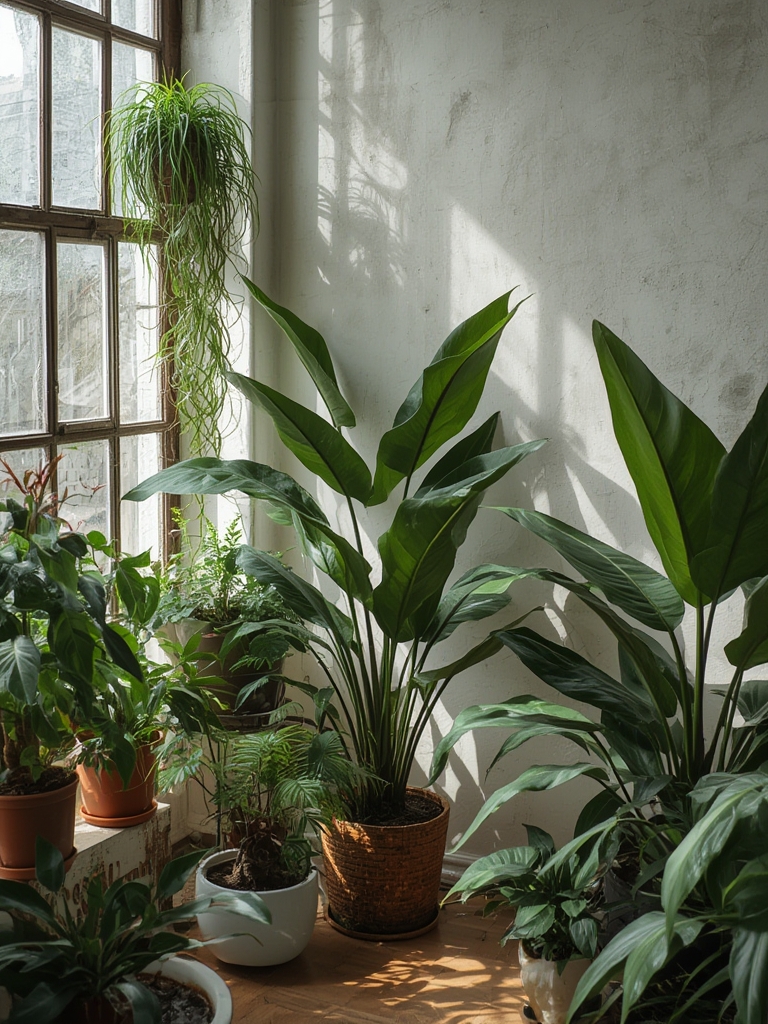
- Light tolerance: 68% of apartment dwellers have only <10 ft² of natural light. Choose low‑light tolerant species like ZZ plant (Zamioculcas zamiifolia), Snake plant (Sansevieria), or Pothos.
- Growth rate: Fast growers (e.g., Spider plant) give visible results in 4–6 weeks, keeping motivation high.
- Air‑purifying ability: NASA’s Clean Air Study ranks Peace Lily, Boston Fern, and Aloe Vera among the top 5 for toxin removal.
Pick 2–3 varieties to start with; this keeps care routines manageable while you fine‑tune your mini greenhouse.
Step 2: Build a Mini Greenhouse for Seed Starting
Materials You’ll Need (All Under $30)
- Clear plastic storage bin (12‑quart) with a lid.
- LED grow light strip (3000 K, 2 W per foot).
- Thermometer/hygrometer combo.
- Perlite or vermiculite for drainage.
- Seed‑starting mix (coconut coir + peat, pH 5.5–6.5).
Construction Steps
- Prep the bin: Drill 2–3 small ventilation holes on the lid to allow airflow while retaining humidity.
- Line the bottom: Add a 1‑inch layer of perlite for drainage, then spread a 2‑inch layer of seed‑starting mix.
- Install lighting: Attach the LED strip to the interior lid, positioning it 6‑8 inches above the soil surface. Set the timer for 12‑14 hours of light daily.
- Monitor environment: Place the thermometer/hygrometer inside. Aim for 70–75 °F (21–24 °C) and 60–70% relative humidity.
- Seal and adjust: Close the lid; the sealed environment will retain moisture. Open the vents for 5 minutes each morning to prevent mold.
Result: A compact, energy‑efficient greenhouse that fits on a windowsill, balcony railing, or even a kitchen counter.
Step 3: Seed Sowing and Germination
Step‑by‑Step Sowing
- Label your trays: Use waterproof markers to note species and sowing date—critical for tracking growth curves.
- Plant depth: Follow seed packet guidelines, but a rule of thumb is depth = seed size ÷ 3. For tiny seeds (e.g., basil), surface‑sow and lightly press into the mix.
- Watering technique: Use a fine‑mist spray bottle to keep the medium moist without displacing seeds. Aim for a soil moisture content of 70% (you can test with a moisture meter).
- Cover: Lightly cover the bin with its lid; the humidity will aid germination.
Most indoor seeds germinate within 7–14 days. Check daily for radicle emergence and adjust humidity if you notice drying.

Step 4: Transplanting Seedlings to Permanent Pots
When to Move
Seedlings are ready when they have developed 2–3 true leaves and the root system fills the starter pot. This typically occurs 3–4 weeks after germination.
Transplant Checklist
- Pot size: Choose containers 2‑3 inches larger in diameter than the seedling’s root ball.
- Soil mix: Use a well‑draining indoor potting mix (e.g., peat‑coco‑perlite 2:1:1). Add a teaspoon of slow‑release fertilizer (10‑10‑10) per pot.
- Drainage: Ensure each pot has a drainage hole; place a saucer to catch excess water.
- Placement: Position near a bright window (south‑ or east‑facing) for 4–6 hours of indirect light.
Water gently until the soil feels evenly moist, then let the top inch dry before the next watering.
Step 5: Ongoing Care – The 5‑P Routine
1. Light
Maintain 150–250 µmol·m⁻²·s⁻¹ of light for most foliage plants. If natural light is insufficient, supplement with a 12‑hour LED schedule.
2. Water
Use the “finger test”: Insert your index finger 1 inch deep; if it feels dry, water until it drains from the bottom. Over‑watering is the leading cause of indoor plant failure (reported by 42% of novice growers).
3. Feeding
Apply a balanced liquid fertilizer (20‑20‑20) at ¼ strength every 4 weeks during the growing season (spring‑summer). Reduce to every 8 weeks in fall‑winter.
4. Pruning & Grooming
Remove yellow or dead leaves promptly to prevent fungal spread. For trailing vines like Pothos, pinch back 2‑3 inches above a node to encourage bushier growth.
5. Pest Management
Inspect leaves weekly. If you spot spider mites or aphids, treat with a mild neem oil spray (1 tsp per quart of water) and repeat after 7 days.
Step 6: Scaling Up – From One Plant to a Mini Indoor Jungle
Once you’ve mastered the mini greenhouse, expand by:
- Stacking bins: Use tiered shelving to multiply growing space vertically.
- Rotating crops: Start a new batch of seeds every 2 weeks to ensure a continuous harvest of herbs like basil, cilantro, and mint.
- Integrating hydroponics: Convert one bin to a simple Kratky system for lettuce or microgreens, which require only water and nutrients.
Data from the 2023 Indoor Gardening Survey shows that households that rotate crops report a 25% increase in overall plant satisfaction and a noticeable boost in kitchen freshness.
Quick Reference Cheat Sheet
| Task | Frequency | Key Tip |
|---|---|---|
| Check moisture | Every 2‑3 days | Finger test; avoid soggy soil. |
| Rotate seedlings | Bi‑weekly | Stagger sowing for steady supply. |
| Fertilize | Every 4 weeks (grow season) | ¼ strength liquid feed. |
| Inspect for pests | Weekly | Early neem spray prevents spread. |
| Prune | As needed | Pinch above a node for bushier growth. |
By following these data‑driven steps, you’ll transform any small living area into a vibrant, low‑maintenance indoor garden. The mini greenhouse not only accelerates seed germination but also provides a controlled environment that reduces guesswork—making indoor planting accessible for beginners and rewarding for seasoned green thumbs alike. Happy growing! 🌱🏠

