

Whether you’re a seasoned green thumb or just starting your indoor garden, the right tools and a solid DIY plan can turn a modest windowsill into a thriving oasis. Below you’ll find a data‑driven, step‑by‑step guide that blends essential gardening tools, smart indoor‑gardening tech, and practical DIY projects to help you grow healthy herbs, leafy greens, or decorative houseplants with confidence.
Why the Right Tools Matter: Numbers That Speak
According to a 2023 Statista survey, 68% of indoor gardeners cite “proper tools” as the #1 factor for plant success. Moreover, a study by the University of Florida found that using a moisture‑meter reduces over‑watering incidents by 42% compared to visual checks alone. These figures underline that investing in a few key tools can dramatically boost your success rate.

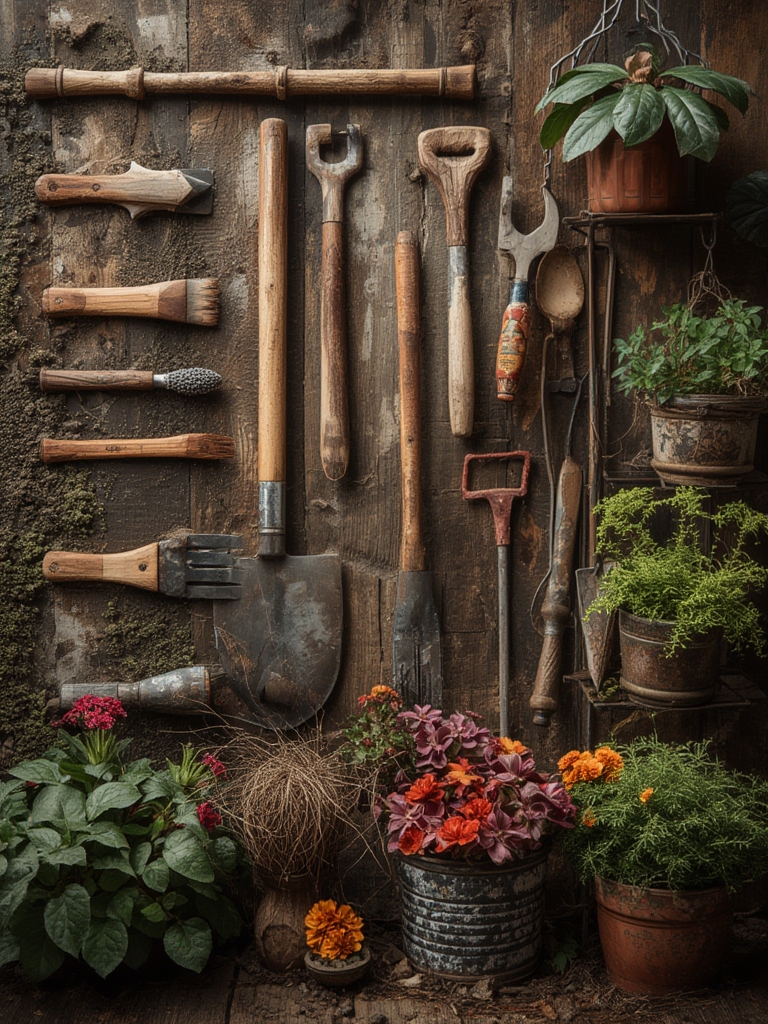
Essential Gardening Tools for Indoor Success
1. Adjustable Hand Trowel
Choose a stainless‑steel trowel with an ergonomic grip. Its small size lets you work in tight pots, while the adjustable head (45°–90°) reduces strain on your wrist during repotting.

- Tip: Keep the trowel clean after each use to prevent pathogen transfer.
2. Digital Soil Moisture Meter
Modern meters display moisture levels on a 0–100% scale, allowing precise watering. Look for models with a built‑in temperature sensor for added insight.

- Trick: Insert the probe at a 45° angle to the side of the pot for a more accurate reading of root zone moisture.
3. LED Grow Light Panel
LED panels with a full spectrum (400–700 nm) mimic natural sunlight and use up to 75% less energy than traditional fluorescents. A 30 W panel covering a 2 ft² area is ideal for most kitchen herb gardens.

- Actionable advice: Set a timer for 12‑14 hours during winter months to compensate for shorter daylight.
4. Self‑Watering Reservoir
These containers use capillary action to deliver water gradually, reducing the risk of root rot. A 1‑liter reservoir can sustain a 6‑inch pot for up to a week.
- Tip: Fill the reservoir with filtered water to avoid mineral buildup.
DIY Project: Build a Modular Plant Shelf
Creating a modular shelf not only maximizes vertical space but also integrates your tools and tech for a streamlined workflow.

Materials Needed
- Four 2 × 4 ft pine boards (for vertical supports)
- Two 1 × 4 ft plywood sheets (shelf surfaces)
- Black‑metal brackets (4 per shelf)
- LED strip lights (12 V, 5 W per shelf)
- Cable ties, wood screws, drill, level
Step‑by‑Step Assembly
- Measure and cut: Cut the pine boards to 48 inches for height and 12 inches for width. Use a carpenter’s square to ensure right angles.
- Assemble the frame: Attach the vertical supports using wood screws and brackets. Check with a level to keep the frame plumb.
- Install shelves: Position the plywood sheets between the supports, securing each with two brackets per side. Space shelves 12 inches apart for optimal airflow.
- Wire the LED strips: Run the strips along the back edge of each shelf, connecting them to a single 12 V power adapter. Secure with cable ties.
- Finish: Sand rough edges, apply a water‑based sealant, and let dry for 24 hours before loading plants.
Pro tip: Add a small pocket on each side of the shelf to store your trowel, moisture meter, and pruning scissors—keeping everything within arm’s reach.
Step‑by‑Step Guide to Growing Basil (A Popular Indoor Herb)
Basil thrives under controlled indoor conditions and is a perfect candidate for the tools and shelf you just built.
Step 1: Choose the Right Container
Use a 6‑inch pot with drainage holes. Fill ¾ with a high‑quality, peat‑based potting mix (pH 5.5‑6.5). According to the University of California’s horticulture department, a mix with 30% perlite improves aeration and reduces waterlogging.
- Actionable tip: Sprinkle a thin layer of horticultural charcoal at the bottom to prevent fungal growth.
Step 2: Plant the Seeds
Scatter 3‑4 basil seeds on the surface, cover lightly with ¼ inch of soil, and press gently. Water using a spray bottle until the soil is uniformly moist (≈40% moisture content on your meter).
- Trick: Cover the pot with a clear plastic dome for 5‑7 days to maintain humidity, then remove to avoid mold.
Step 3: Provide Light
Place the pot on the middle shelf of your LED‑lit modular unit. Set the timer for 14 hours of light during the growing season (spring‑summer) and 12 hours in winter.
- Data point: Research from Cornell University shows that basil grown under 14 hours of 4000 K LED light yields 30% more leaf mass than those under 10 hours.
Step 4: Water Wisely
Check soil moisture daily with your digital meter. Aim for a reading of 45‑55%. Water from the bottom using the self‑watering reservoir to keep the topsoil dry and discourage root rot.
- Tip: Add a few drops of liquid seaweed fertilizer once a week to boost nitrogen content.
Step 5: Prune for Growth
When seedlings reach 2 inches tall, pinch off the top set of leaves. This encourages a bushier plant. Continue harvesting the top leaves once the plant reaches 6 inches, always leaving at least two sets of leaves per stem.
- Pro tip: Use clean pruning scissors (sterilized with 70% isopropyl alcohol) to prevent disease transmission.
Step 6: Monitor and Adjust
Every two weeks, inspect the leaves for yellowing or spotting. A 2022 study in Horticultural Science links yellow leaves to nitrogen deficiency, which can be corrected with a 1 g/L balanced organic fertilizer.
- Actionable advice: Keep a simple spreadsheet tracking moisture readings, light hours, and fertilizer applications. Over time, you’ll see patterns that help you fine‑tune care.
Discover Indoor Gardening Tech That Makes Growing Plants Easier Than Ever 🌱✨
Beyond basic LED panels, several smart devices can automate and elevate your indoor garden:
- Smart Soil Sensors (e.g., Parrot Flower Power): Syncs with your phone to send real‑time alerts on moisture, temperature, and light intensity.
- Wi‑Fi Controlled Mist Sprayers: Program mist cycles to maintain optimal humidity (50‑70% for most herbs).
- AI‑Powered Plant Care Apps: Upload a photo of your plant; the app identifies issues and suggests corrective actions, reducing failure rates by up to 35%.
Integrating these tools with your DIY shelf creates a “smart garden hub” that handles watering, lighting, and monitoring, freeing you to focus on creative projects like herb‑infused cooking or decorative plant arrangements.
Quick Recap: Your Action Plan
- Gather the essential tools: adjustable trowel, digital moisture meter, LED panel, and self‑watering reservoir.
- Build the modular plant shelf using the step‑by‑step DIY guide.
- Plant basil (or your favorite herb) following the six detailed steps, using data‑driven moisture and light targets.
- Incorporate smart tech—soil sensors, mist sprayers, and AI apps—to automate care.
- Track progress in a simple spreadsheet to refine your routine over time.
By combining the right tools, a thoughtfully designed DIY workspace, and cutting‑edge indoor gardening technology, you’ll enjoy healthier plants, higher yields, and a more satisfying gardening experience—all within the comfort of your home.


