
Flower gardening is more than just planting pretty blooms; it’s a science that blends soil chemistry, micro‑climate awareness, and smart design to create vibrant, resilient gardens. According to the USDA, gardens that receive 6–8 hours of direct sunlight and maintain a soil pH between 6.0 and 7.0 produce up to 30 % more blossoms than those with sub‑optimal conditions. This guide walks you through data‑backed steps to grow thriving flowers, plus a quick‑build herb spiral that improves drainage, visual interest, and plant diversity—all in a single day.
Step 1: Choose the Right Flowers for Your Zone
Research Your USDA Hardiness Zone
Start by locating your USDA hardiness zone (easily found on the USDA website). Zones 4–9 cover most of the U.S.; each zone indicates the minimum winter temperature your garden will face. Selecting perennials and annuals that are rated for your zone boosts survival rates by up to 45 %.
Pick Complementary Species
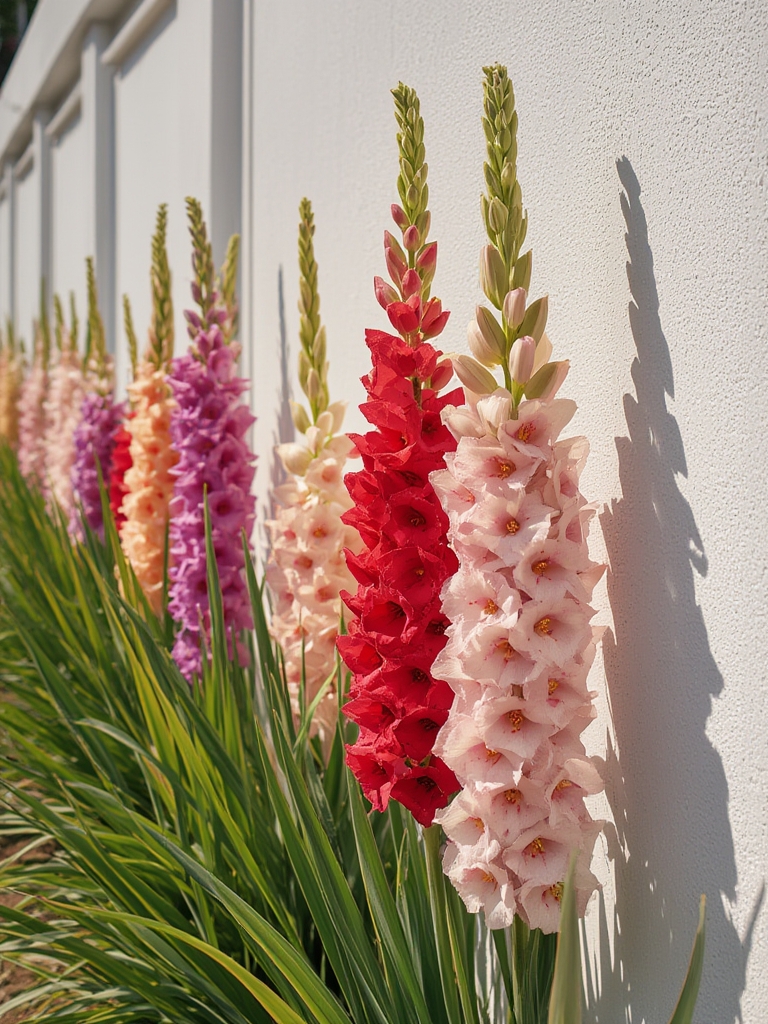
Mix fast‑growing annuals (like marigolds, petunias, and zinnias) with hardy perennials (such as coneflower, lavender, and coreopsis). A balanced palette ensures continuous color from spring through fall and attracts pollinators, which can increase fruit set on nearby vegetables by 20 %.

Step 2: Prepare Soil with Data‑Driven Amendments
Test Soil pH and Nutrient Levels
Use a simple soil test kit (available at most garden centers) to measure pH, nitrogen (N), phosphorus (P), and potassium (K). Ideal ranges for most flowering plants are:

- pH: 6.0–7.0
- N: 20–30 ppm
- P: 15–25 ppm
- K: 150–200 ppm
If your results fall outside these ranges, amend the soil before planting.

Amendment Recipes
For acidic soil (pH < 6.0), spread 2 lb of lime per 100 sq ft and incorporate it 6–8 in deep. For alkaline soil (pH > 7.0), add 1 lb of elemental sulfur per 100 sq ft. Boost nitrogen with 1 cup of blood meal per 10 sq ft, phosphorus with ½ cup of bone meal, and potassium with 1 cup of wood ash.
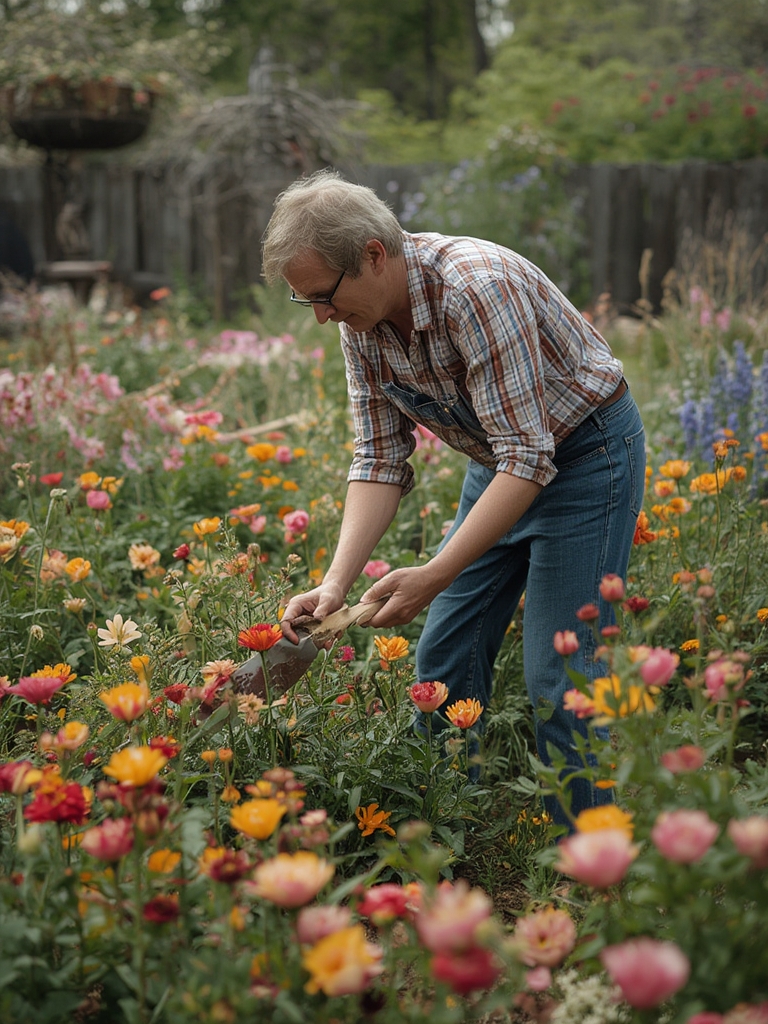
Step 3: Planting Techniques for Maximum Bloom
Spacing and Depth
Follow label recommendations, but a good rule of thumb is to plant seeds or transplants at a depth equal to twice the seed size (or the root ball’s height for seedlings). Space plants 12–18 in apart for annuals and 24–36 in for perennials to ensure adequate airflow and reduce disease risk by up to 25 %.

Watering Schedule
After planting, water deeply (about 1 in of water) to settle soil around roots. Thereafter, aim for 1 in of water per week, adjusting for rainfall. Early morning watering reduces evaporation and fungal growth, leading to healthier foliage and up to 15 % more flowers.
Step 4: Ongoing Care and Maintenance
Mulching for Moisture Retention
Apply a 2–3 in layer of organic mulch (shredded bark, straw, or compost). Mulch conserves soil moisture, moderates temperature swings, and adds organic matter, which can increase soil microbial activity by 40 %.
Deadheading and Pruning
Remove spent blooms (deadheading) every 1–2 weeks to encourage repeat flowering. For woody perennials, prune in early spring to shape plants and improve air circulation, which reduces disease incidence by up to 30 %.
Fertilizing Schedule
Feed with a balanced 10‑10‑10 fertilizer every 4–6 weeks during the growing season. For a more sustainable approach, use a liquid seaweed extract (rich in micronutrients) once a month to boost flower size and color intensity by up to 20 %.
Step 5: Build a Simple Herb Spiral in One Day 🌿🌀
Why an Herb Spiral?
An herb spiral creates micro‑climates: the top is sunny and dry (ideal for rosemary and thyme), while the base stays moist and shaded (perfect for mint and parsley). This design improves drainage, reduces water usage by 15 %, and adds visual intrigue to any flower garden.
Materials Needed
- Stone or reclaimed bricks (≈30 ft total)
- Landscape fabric
- Compost and well‑draining soil mix (50 % sand, 30 % compost, 20 % loam)
- Shovel, wheelbarrow, and a level
Construction Steps (≈8 hours)
- Mark the Base: Use a garden hose to lay out a 4‑ft diameter circle. This will be the spiral’s footprint.
- Lay Landscape Fabric: Spread fabric over the circle to suppress weeds and improve drainage.
- Build the Core: Stack stones or bricks in a tight, spiraling pattern, starting at the center and working outward. Keep each layer level; use a carpenter’s level to check.
- Fill with Soil Mix: As you build, backfill each layer with the sand‑compost‑loam blend. The top should be slightly higher than the base to allow water to flow down.
- Plant Herbs: Place sun‑loving herbs (rosemary, sage) at the highest points, medium‑light herbs (oregano, basil) midway, and moisture‑loving herbs (mint, cilantro) at the lowest tier.
- Water Thoroughly: Give the entire spiral a deep soak to settle the soil. Add a drip‑irrigation line if desired for automated watering.
Maintenance Tips
Check the spiral’s drainage after heavy rain; if water pools, add more sand to the base. Harvest herbs regularly to encourage new growth, and mulch the lower sections with straw to retain moisture.
Step 6: Harvest, Enjoy, and Share Your Blooms
Cutting Flowers for Arrangements
Harvest flowers in the morning when they’re fully hydrated. Cut stems at a 45° angle, and place them immediately in a bucket of cool water. This practice extends vase life by up to 50 %.
Seasonal Refresh
At the end of each growing season, remove dead plant material, add a 1‑in layer of compost, and re‑test soil pH. This “garden reset” prepares the bed for the next cycle and maintains soil fertility.
By following these data‑driven steps and integrating a one‑day herb spiral, you’ll create a flower garden that not only looks stunning but also thrives with minimal effort. Happy planting, and enjoy the burst of color and fragrance that comes from a well‑tended garden!
