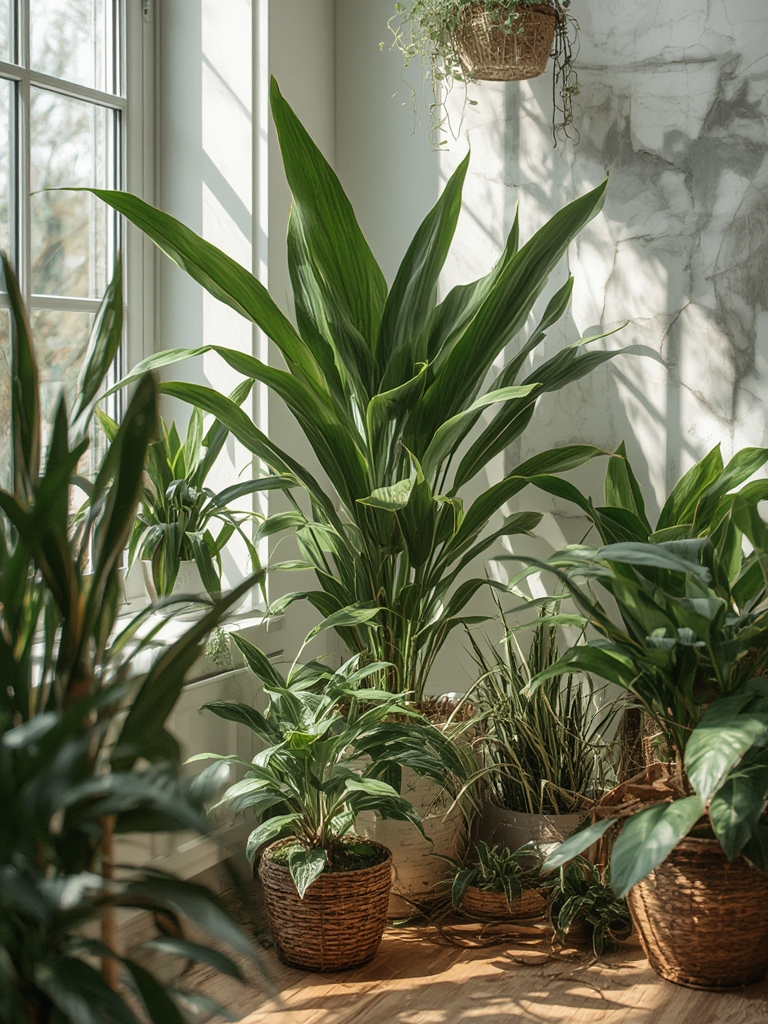
Indoor gardening is a fantastic way to bring fresh flavor, vibrant color, and cleaner air into your home, especially when you have those tricky shady corners that receive little direct sunlight. By choosing the right low‑light herbs and following a data‑driven care routine, you can turn even the dimmest nook into a thriving herb garden. Below is a step‑by‑step guide that blends proven horticultural data with practical, actionable tips to help you succeed.
Why Choose Shade‑Loving Herbs?
Research from the University of Florida Extension shows that herbs such as mint, parsley, chives, cilantro, and lemon balm can thrive with as little as 2–4 hours of indirect light per day. These plants are naturally adapted to forest‑floor conditions, making them ideal for indoor spaces that lack full sun. Additionally, they have a high tolerance for variable humidity and temperature, reducing the risk of stress‑related problems.
Step 1: Pick the Perfect Spot
Assess Light Levels
- Use a smartphone light meter app or a simple hand‑shadow test: if your hand casts a faint shadow, the area receives low to moderate light (≈100–300 lux).
- Target spots that get at least 2 hours of filtered daylight or bright indirect light from a nearby window.
Control Temperature & Humidity
- Maintain daytime temperatures between 65–75°F (18–24°C). Nighttime can dip to 55–60°F (13–16°C) without harm.
- Aim for 40–60 % relative humidity. If your home is dry, place a small humidifier nearby or set the pot on a tray of pebbles with water.
Step 2: Choose the Right Containers
Size & Drainage
- Pick pots that are 6–8 inches in diameter for single herbs; larger for mixed plantings.
- Ensure at least ½‑inch of drainage holes to prevent root rot.
Material Matters
- Terracotta pots are breathable and help regulate soil moisture but dry out faster—good for herbs that prefer slightly drier roots like rosemary (though not a shade‑lover, it can tolerate low light).
- Plastic or glazed ceramic retain moisture longer, ideal for moisture‑loving mint.
Step 3: Prepare a Nutrient‑Rich Soil Mix
Ideal Composition
Mix 40 % peat moss or coco coir, 30 % perlite, and 30 % composted leaf mold. This blend offers:
- Good aeration (perlite) to avoid compacted roots.
- Moisture retention (peat/coco) for consistent water supply.
- Slow‑release nutrients (leaf mold) for steady growth.
pH Check
Most shade‑loving herbs prefer a slightly acidic to neutral pH of 6.0–7.0. Use a simple garden‑soil pH test kit and adjust with lime (raise pH) or sulfur (lower pH) as needed.
Step 4: Planting and Initial Care
Planting Depth
- Place the herb at the same depth it was in its original pot. For seedlings, keep the crown just above the soil surface.
Watering Schedule
- Water until you see 1‑2 inches of moisture per week (≈250 ml per square foot). Use a moisture meter or press your finger 1 inch deep—if it feels dry, water.
- For mint, keep the soil consistently moist but not soggy; for parsley, allow the top inch to dry out between waterings.
Fertilizing
- Apply a balanced 10‑10‑10 liquid fertilizer at half strength every 4 weeks during the growing season (spring‑fall).
- For organic lovers, a monthly tea of composted worm castings (1 tbsp per gallon of water) works well.
Step 5: Ongoing Maintenance
Pruning & Harvesting
- Harvest leaves regularly—snipping the top 2‑3 inches encourages bushier growth.
- For mint, trim back any leggy stems to prevent flowering, which can make the flavor bitter.
- Use clean scissors and avoid cutting more than one‑third of the plant at a time.
Pest Management
- Common indoor pests: aphids, spider mites, and fungus gnats.
- Spot treatment: spray a solution of 1 tsp neem oil + 1 cup water every 7 days.
- Prevention: keep leaves dry, avoid over‑watering, and rotate pots monthly for even light exposure.
Seasonal Adjustments
- During winter, reduce watering by 20‑30 % as plant metabolism slows.
- If natural light drops below 100 lux, supplement with a LED grow light set to 12‑hour cycles at 25 W per square foot.
Step 6: Harvest and Use Your Herbs
Fresh herbs from a shady corner add zest to meals and can be preserved for later use:
- Drying: Hang stems upside‑down in a dark, well‑ventilated area for 1‑2 weeks.
- Freezing: Chop leaves, place in ice‑cube trays with water or olive oil, and freeze for easy portioning.
- Infusions: Steep fresh mint or lemon balm in hot water for soothing teas.
Quick Reference Checklist
- ✅ Light: 2–4 hrs indirect (100–300 lux)
- ✅ Temperature: 65–75°F (18–24°C)
- ✅ Humidity: 40–60 %
- ✅ Soil: 40 % peat/coco, 30 % perlite, 30 % leaf mold, pH 6.0–7.0
- ✅ Water: 1‑2 inches per week, monitor with moisture meter
- ✅ Fertilizer: ½‑strength 10‑10‑10 every 4 weeks or compost tea monthly
- ✅ Prune: Harvest top 2‑3 inches weekly
- ✅ Pest control: Neem oil spray as needed
- ✅ Winter tip: Reduce water, add LED light if <100 lux
By following these data‑backed steps, you’ll transform any dim corner into a lush, aromatic herb garden that not only beautifies your space but also supplies fresh flavor for your kitchen. Happy indoor gardening!

