Creating a thriving herbs & aromatic garden is more than just planting a few fragrant leaves—it’s about designing a living, breathing space that moves with the seasons, supports pollinators, and brings culinary inspiration right to your kitchen door. Below you’ll find a data‑driven, step‑by‑step guide that blends SEO‑friendly keywords with practical, actionable advice. Follow each phase, and you’ll enjoy a balanced, low‑maintenance garden that smells as good as it looks.
Step 1: Choose the Right Site and Soil
Assess Sunlight and Airflow
Most culinary herbs (basil, thyme, rosemary, mint, and sage) need 6–8 hours of direct sunlight daily. Use a sunlight calculator app or a simple “shadow test”: place a stick in the ground at noon and track its shadow over a week. Aim for a spot with minimal wind tunnels, as strong drafts can dry out delicate foliage.
Test and Amend Soil
Conduct a quick soil test (pH 6.0–7.0 is ideal). If the pH is low, add lime; if high, incorporate sulfur. Mix in 2–3 inches of compost to improve drainage and nutrient retention. For raised beds, use a blend of 1 part garden soil, 1 part compost, and 1 part coarse sand to ensure aeration.
Practical Tip
Place a moisture meter in the planting zone. When readings stay between 30–45%, you’ve hit the sweet spot for most herbs.
Step 2: Select Herbs That Complement Each Other
Companion Planting for Balance
Group herbs by water and light needs:

- High‑water, full‑sun: Basil, dill, cilantro.
- Low‑water, full‑sun: Rosemary, thyme, oregano.
- Partial shade, moderate water: Mint, lemon balm, chives.
Companion planting also deters pests—marigolds or nasturtiums interspersed among herbs can repel aphids and beetles.
Data‑Backed Selections
According to a 2022 USDA extension study, planting rosemary next to cabbage reduces cabbage moth damage by 27%. Use similar pairings to boost garden resilience.

Practical Tip
Label each herb with a recycled slate marker that includes planting date and watering schedule. This visual cue helps maintain balance and reduces over‑watering.
Step 3: Planting – Timing and Technique
When to Plant
Follow regional frost dates:
- Spring planting: After the last frost (typically mid‑April in USDA zones 5–7).
- Fall planting: 6–8 weeks before the first frost for cool‑season herbs like parsley and cilantro.
Use seedling heat mats for early spring starts to accelerate germination by 2–3 days.
Spacing and Depth
Space herbs 12–18 inches apart to allow air circulation. Plant seedlings at the same depth as their original containers; for seeds, follow the packet’s depth guideline (usually ¼ inch for most herbs).
Practical Tip
Water the planting hole with room‑temperature water before placing the seedling. This reduces transplant shock and encourages root establishment.
Step 4: Watering, Feeding, and Maintenance
Smart Watering Schedule
Adopt the “deep‑water, infrequent” method: water until the soil is moist 6 inches deep, then wait until the top inch dries out. This encourages deeper root growth and drought tolerance.
Fertilization
Herbs generally need low nitrogen. Apply organic fish emulsion at ¼ strength once a month during the growing season. For a boost of micronutrients, sprinkle seaweed extract every 6 weeks.
Pruning and Harvesting
Regular pruning prevents legginess and promotes bushier growth:
- Basil: Pinch off the top 2 inches once the plant reaches 6 inches tall; repeat every 2 weeks.
- Rosemary: Trim 1/3 of the plant in early spring and after the first harvest.
- Mint: Harvest leaves weekly; cut back runners to control spread.
Practical Tip
Use a pair of garden scissors with a clean blade to avoid disease transmission. Harvest in the morning after dew dries for optimal oil content.
Step 5: Pest Management and Seasonal Care
Identify Common Pests
Look for aphids, spider mites, and whiteflies. A quick visual scan every 3–4 days during peak summer will catch infestations early.
Organic Controls
Spray a 1:1 solution of water and neem oil weekly. For aphids, introduce ladybugs or use insecticidal soap. Mulch with straw or pine needles to suppress weeds and retain moisture.
Winter Preparation
In colder zones, protect perennial herbs with a floating row cover or move potted varieties indoors. Reduce watering to once a month and stop fertilizing after the first frost.
Practical Tip
Keep a digital pest log on your phone. Recording dates, symptoms, and treatments helps you spot patterns and refine your approach year over year.
Step 6: Harvest, Use, and Share the Aroma
Harvest Timing
Pick leaves just before the plant flowers for peak flavor. For basil, this is when the plant is 8–10 inches tall; for rosemary, cut stems when they’re 4–6 inches long.
Preservation Techniques
Dry herbs by hanging small bundles upside down in a dark, well‑ventilated area for 1–2 weeks. Store in airtight glass jars away from sunlight. For a quick freeze, chop and place in ice‑cube trays with water or olive oil.
Practical Tip
Label each jar with the herb name and harvest date. This not only looks professional but also helps you track freshness for future recipes.
Creating Movement and Balance in Your Aromatic Garden
Design Elements
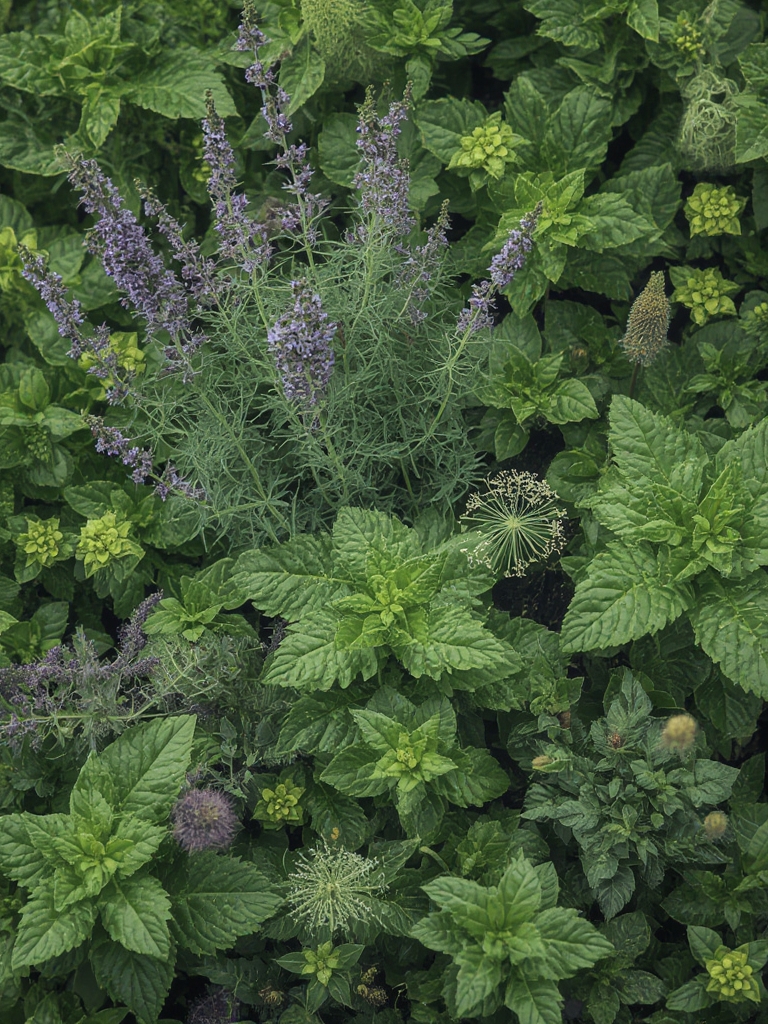
Incorporate winding pathways, raised herb terraces, and vertical planters to add visual flow. Use contrasting leaf textures—soft basil leaves next to the needle‑like rosemary—to create dynamic movement.
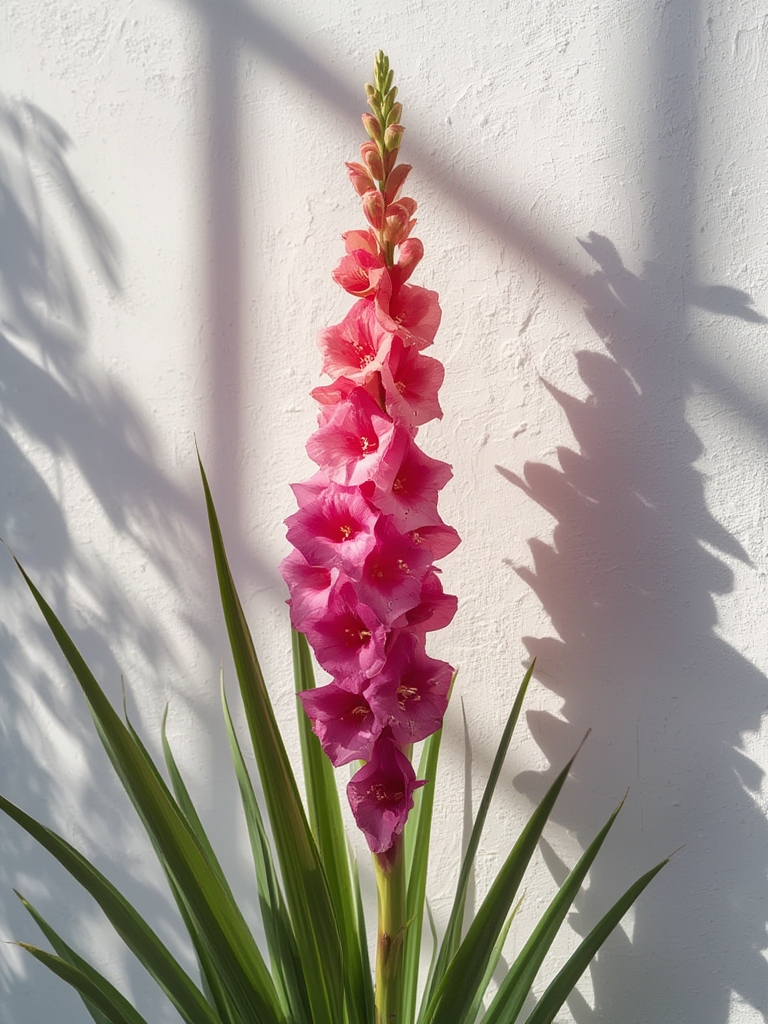
Wildlife Support
Plant bee‑friendly flowers (lavender, echinacea) at the garden’s edge. This attracts pollinators that improve herb seed set and overall garden health.
Practical Tip
Install a rain barrel with a drip‑irrigation system. It reduces water waste, provides a steady moisture source, and adds a soothing water sound that enhances the garden’s sensory experience.
By following these data‑driven steps, you’ll cultivate a herb and aromatic garden that not only delights the senses but also supports biodiversity, reduces kitchen waste, and offers fresh flavors year‑round. Happy planting, and enjoy the fragrant bounty!


