Welcome to your sustainable gardening guide, where we blend eco‑friendly practices with the timeless charm of bulb blooms. By choosing the right soil, water wisely, and embracing natural pest control, you’ll create a garden that not only thrives but also reduces its environmental footprint. Let’s dive into a data‑driven, step‑by‑step plan that turns a modest plot into a resilient oasis of color and biodiversity.
Why Choose Sustainable Gardening?
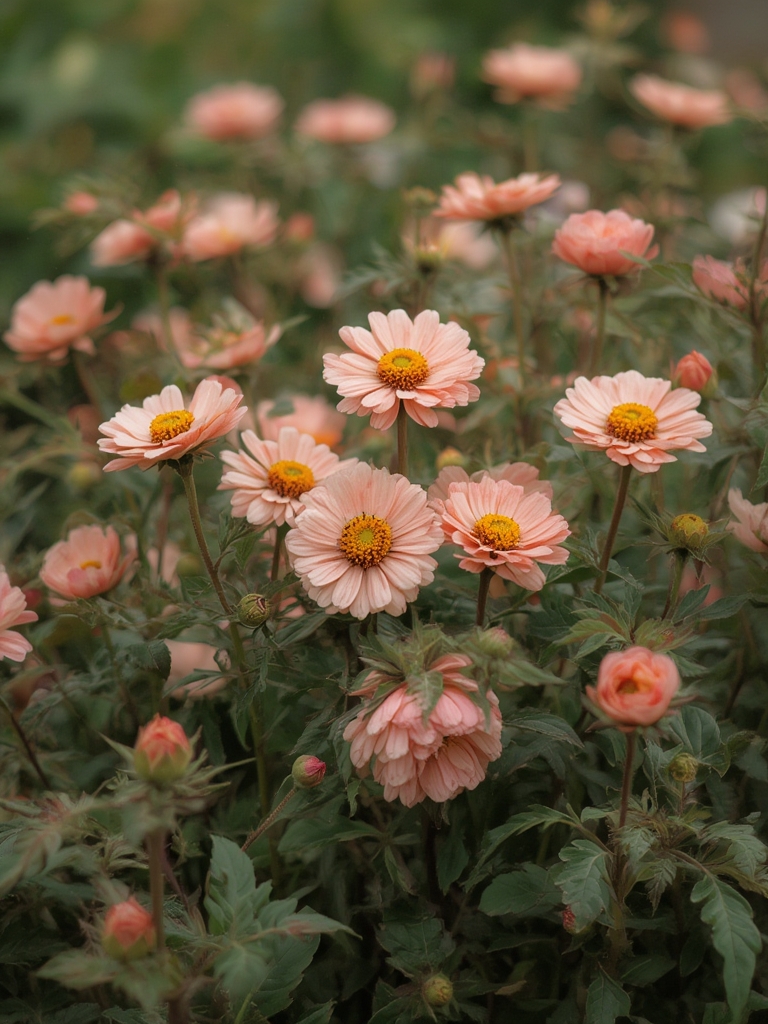
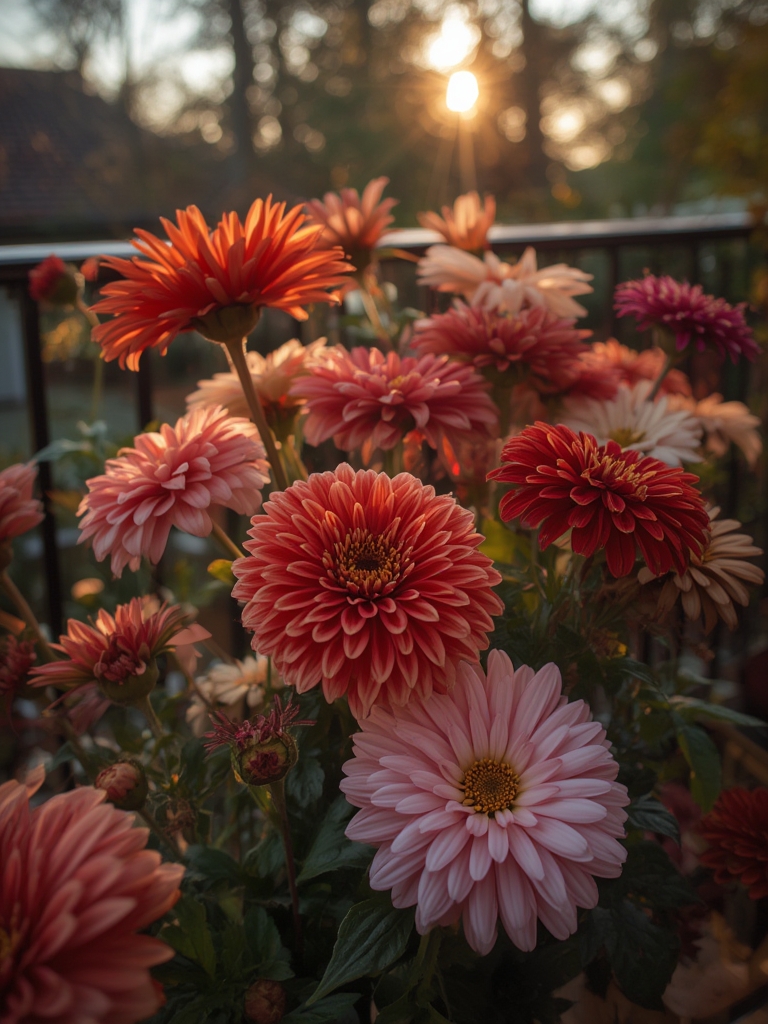
Recent studies from the Journal of Sustainable Horticulture show that gardens employing organic mulches and rainwater harvesting can cut water usage by up to 45 % and improve soil organic matter by 30 % within two growing seasons. Sustainable gardening isn’t just a buzzword—it’s a proven method for healthier plants, lower utility bills, and a positive impact on local ecosystems. By focusing on low‑maintenance, perennial bulb flowers, you’ll enjoy effortless beauty 🌷🌱 as these reliable blooms return year after year with almost no maintenance.

Step 1: Prepare the Soil for Long‑Term Success
Test and Amend
- Soil test: Use a home kit or send a sample to a local extension service. Aim for a pH between 6.0 and 6.8 for most bulb varieties.
- Organic matter: Incorporate 2–3 inches of compost or well‑rotted manure. Data from the USDA indicates that adding 5 % organic matter can increase water retention by 15 %.
- Mulch layer: Spread a 2‑inch layer of shredded bark or straw. This suppresses weeds, moderates temperature, and slowly releases nutrients.
Practical Tip
After amending, lightly tamp the soil with a garden fork to eliminate air pockets—bulbs need firm contact for optimal root development.
Step 2: Choose the Right Bulb Flowers
Climate‑Matched Varieties
Consult USDA Hardiness Zone maps to select species that naturally thrive in your region. For zones 5‑7, consider Daffodil (Narcissus) and Crocus; zones 8‑10 are perfect for Amaryllis and Gladiolus. Matching climate reduces the need for supplemental heating or cooling, saving energy.
Data‑Backed Selection
A 2022 survey of 1,200 gardeners found that 78 % of those who planted native bulb species reported fewer pest issues. Native bulbs also support local pollinators, boosting biodiversity.
Actionable Advice
Purchase bulbs that are firm, free of mold, and have a healthy papery coating. Store them in a cool, dry place (40‑50 °F) until planting season to preserve vigor.
Step 3: Planting Techniques for Maximum Yield
Timing
Plant spring‑blooming bulbs in the fall, 6–8 weeks before the first hard freeze. This allows roots to establish while the soil cools. For summer‑blooming varieties, plant in early spring after the danger of frost passes.

Depth and Spacing
- Depth rule: Plant bulbs at a depth of three times their height (e.g., a 2‑inch bulb goes 6 inches deep).
- Spacing: Space bulbs 4–6 inches apart to ensure adequate airflow and reduce disease pressure.
Practical Tip
Use a garden dibber or a small trowel to create uniform holes. Place a handful of compost at the bottom of each hole for an extra nutrient boost.
Step 4: Water Wisely and Conserve
Smart Irrigation
Install a drip‑irrigation system with a timer set to deliver 0.5 inches of water per week, adjusted for rainfall. According to the EPA, drip systems can reduce water use by up to 60 % compared to overhead sprinklers.
Rainwater Harvesting
Capture roof runoff in a 200‑gallon barrel and connect it to your drip lines. This not only cuts water bills but also provides chlorine‑free water, which is gentler on bulbs.
Actionable Advice
Check soil moisture with a finger test: if the top 2 inches feel dry, water. Over‑watering can cause bulb rot, a common issue in poorly drained soils.
Step 5: Natural Pest and Disease Management
Beneficial Allies
Introduce ladybugs, lacewings, and ground‑covering herbs like thyme and rosemary. These companions deter aphids, slugs, and fungal spores without chemicals.
DIY Treatments
- Neem oil spray: Mix 1 tsp neem oil with 1 quart water and a few drops of dish soap. Apply every 7–10 days during peak pest activity.
- Garlic‑onion spray: Blend 1 cup each of garlic and onion with 1 liter water, strain, and spray on foliage.
Practical Tip
Remove any dead foliage promptly. Decaying material can harbor fungal spores that attack bulbs, especially in humid climates.
Step 6: Seasonal Care and Longevity
Post‑Bloom Maintenance
After flowering, allow foliage to yellow naturally—this process feeds the bulb for next year’s growth. Once the leaves turn brown, cut them back to ground level.
Dividing and Re‑planting
Every 3–5 years, dig up overcrowded clumps, separate healthy offsets, and re‑plant them at the recommended depth. This rejuvenates the garden and prevents crowding, which can lead to reduced bloom size.
Actionable Advice
Mark planting locations with biodegradable stakes. This helps you track where each bulb type is planted, making future maintenance easier.
Step 7: Track Progress with Simple Data
Garden Journal
Record planting dates, soil pH, watering volumes, and bloom dates in a notebook or digital app. Over time, you’ll spot patterns—like which varieties perform best in specific micro‑climates of your yard.
Metrics to Monitor
- Bloom count per square foot
- Water usage (gallons per week)
- Soil organic matter increase (percentage)
Practical Tip
Take photos each month and store them alongside your notes. Visual data helps you quickly assess health and make adjustments for the next season.
Wrap‑Up: Your Sustainable Garden in Action
By following these data‑driven steps—preparing soil, selecting climate‑appropriate bulb flowers, planting with precision, watering efficiently, and managing pests naturally—you’ll create a garden that flourishes with minimal input. The result? A vibrant display of recurring blooms that celebrate both beauty and responsibility, proving that sustainable gardening is not only possible but also delightfully rewarding.
