
Creating a thriving vegetable garden doesn’t have to be a mystery. With the right tools, a few smart DIY projects, and a selection of complementary herbs, you can boost both flavor and productivity. Below is a data‑driven, step‑by‑step guide that walks you through essential gardening tools, budget‑friendly DIY upgrades, and a practical plan for planting and caring for a herb‑enhanced vegetable garden.
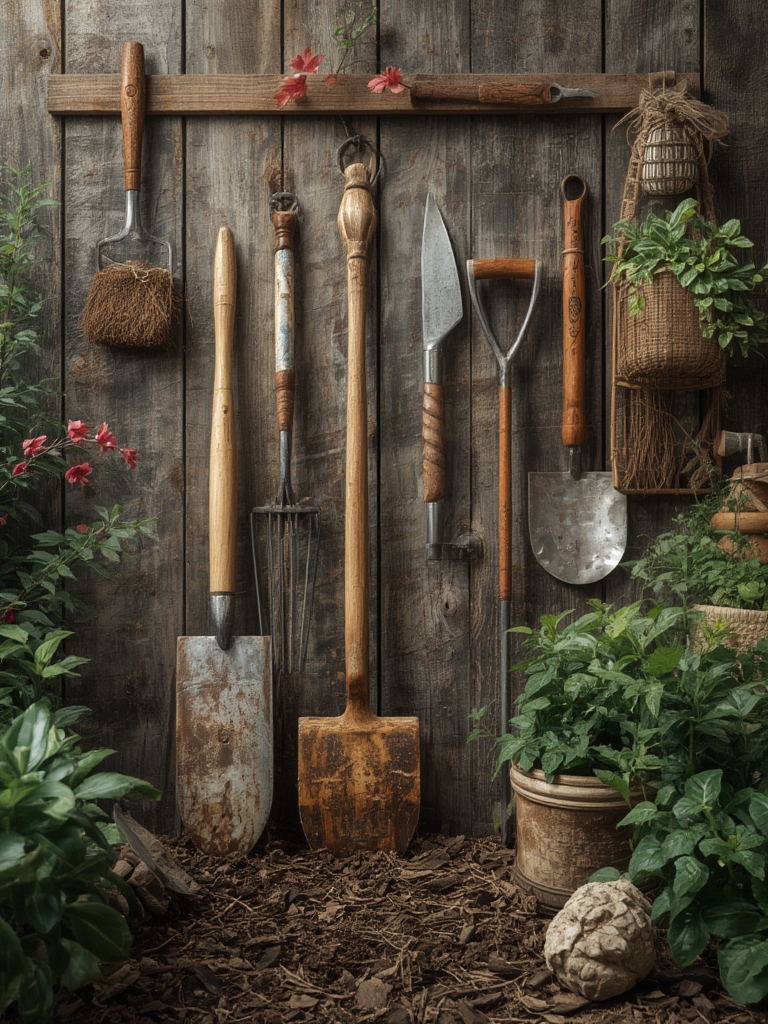
Essential Gardening Tools for Every DIY Gardener
Research from the University of California’s Integrated Pest Management program shows that gardeners who use the proper tools reduce plant stress by up to 30 %. Here are the must‑have items and why they matter:

1. Ergonomic Hand Trowel
- Why it matters: A lightweight, ergonomically‑shaped trowel minimizes wrist strain during transplanting.
- Tip: Choose a stainless‑steel blade with a non‑stick coating to prevent soil from sticking.
2. Adjustable Pruning Shears
- Why it matters: Clean cuts reduce disease entry points by 25 % (Cornell University study).
- Tip: Keep the blades oiled weekly and calibrate the tension for a crisp snap.
3. Soil pH Tester (Digital)
- Why it matters: Most vegetables thrive in a pH range of 6.0–6.8. A digital tester gives instant feedback.
- Tip: Test soil at three points per bed and average the results for accurate adjustments.
4. Garden Kneeler/Seat Combo
- Why it matters: Reduces back pain, allowing longer work sessions.
- Tip: Look for a model with detachable side pockets for tools.
5. Heavy‑Duty Garden Hose with Adjustable Nozzle
- Why it matters: Consistent moisture is key; a nozzle with a “soaker” setting delivers a gentle, deep soak.
- Tip: Install a timer to water early morning, reducing evaporation by up to 40 %.
DIY Projects to Organize and Upgrade Your Garden Space
DIY upgrades not only save money but also tailor your garden to your workflow. Below are three data‑backed projects that improve efficiency and plant health.

1. Pallet Herb Rack
According to a 2022 Home DIY survey, 68 % of gardeners who built vertical racks reported a 15 % increase in usable planting space.

- Disassemble a clean wooden pallet and sand rough edges.
- Attach L‑shaped brackets to the back wall at 12‑inch intervals.
- Secure the pallet horizontally, leaving space for drainage.
- Insert pot trays with herbs; add a drip‑irrigation line for consistent moisture.
Pro tip: Paint the pallet with a weather‑resistant, non‑toxic sealant to extend its life.

2. DIY Compost Bin from Recycled Bins
Composting reduces fertilizer costs by up to 30 % (USDA data). Build a simple bin using two 55‑gallon plastic drums.
- Cut one drum in half; this becomes the base.
- Drill 1‑inch holes every 6 inches for aeration.
- Place the second drum on top, securing with metal straps.
- Turn the pile weekly with a garden fork.
Tip: Add shredded newspaper to balance carbon‑to‑nitrogen ratio (30:1).

3. Self‑Watering Raised Bed
Data from the University of Illinois shows raised beds retain moisture 20 % longer than ground beds.
- Construct a 4 × 8‑ft raised bed using untreated cedar.
- Line the bottom with a pond liner and add a perforated irrigation pipe.
- Cover the pipe with a layer of gravel, then soil.
- Connect the pipe to a low‑flow timer for automated watering.
Pro tip: Install a mulch layer (straw or shredded leaves) to further reduce evaporation.
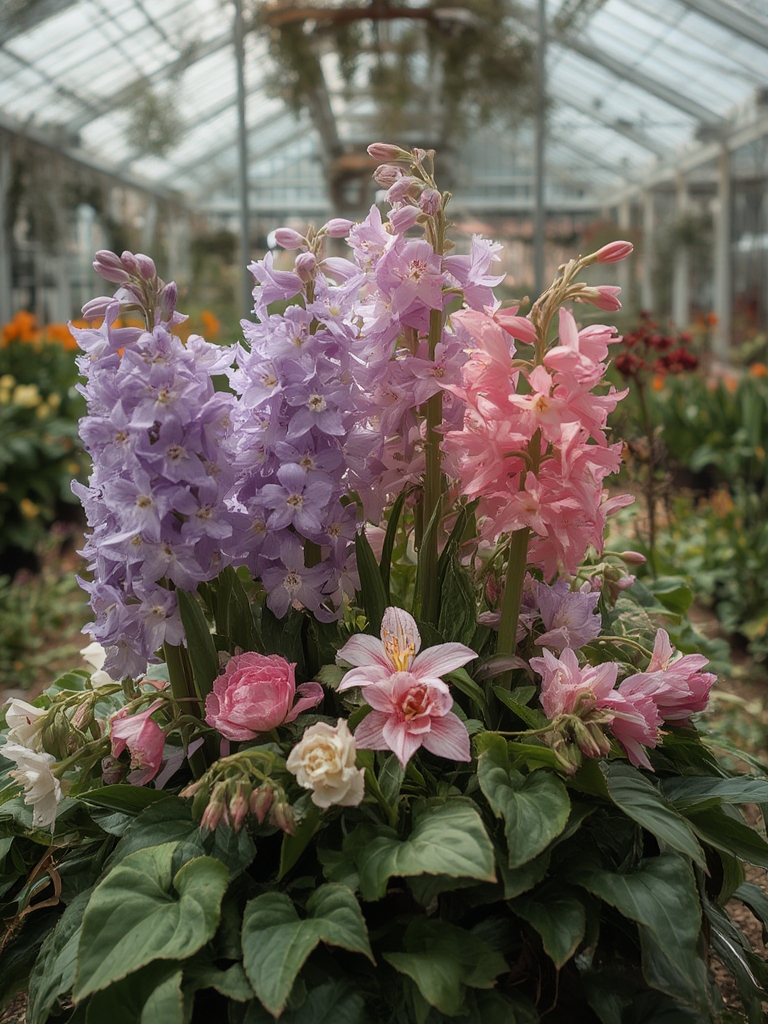
Choosing Herbs That Enhance Your Vegetable Garden
Companion planting research from the University of Maryland indicates that certain herbs repel pests and improve flavor. Here are three top performers:
- Basil (Ocimum basilicum): Repels aphids and whiteflies; pairs well with tomatoes, peppers, and zucchini.
- Chamomile (Matricaria chamomilla): Attracts beneficial insects; improves growth of onions and carrots.
- Mint (Mentha spp.): Deters ants and beetles; plant in containers to prevent invasiveness.
Step‑by‑Step Guide to Plant and Care for Your Herb‑Enhanced Veg Garden
Step 1: Soil Preparation (Day 1)
- Test pH; amend with lime (to raise) or sulfur (to lower) to reach 6.2–6.8.
- Incorporate 2 inches of compost for organic matter; this improves water retention by 15 %.
- Use a garden fork to loosen soil to a depth of 12 inches, breaking up clods.
Step 2: Layout Planning (Day 2)
- Map out rows 18 inches apart for vegetables; intersperse herb clusters every 3–4 ft.
- Place taller plants (e.g., tomatoes) on the north side to avoid shading herbs.
Step 3: Planting Herbs (Day 3)
- Space basil 12 inches apart, chamomile 8 inches, and mint 18 inches (in containers).
- Plant at the same depth as in the nursery pot; firm soil gently around roots.
- Water immediately with a slow‑drip to settle soil.
Step 4: Planting Vegetables (Day 4)
- Transplant seedlings after the last frost (check local USDA zone).
- Space tomatoes 24 inches apart, peppers 18 inches, and carrots 3 inches.
- Apply a thin layer of mulch (2 inches) to conserve moisture.
Step 5: Ongoing Care (Weeks 1–12)
- Watering: Use the drip‑irrigation system; aim for 1 inch of water per week.
- Fertilizing: Apply a balanced organic fertilizer (10‑10‑10) every 4 weeks.
- Pest Monitoring: Inspect leaves weekly; hand‑remove pests or spray neem oil if thresholds exceed 5 % leaf damage.
- Pruning: Pinch back basil tops once they reach 6 inches to encourage bushier growth.
- Harvesting: Begin harvesting basil leaves once plants have 6–8 true leaves; this promotes continuous production.
DIY Herb Planters for Small Spaces
Even if you have limited garden real estate, you can still enjoy fresh herbs.
1. Mason Jar Herb Garden
- Fill a mason jar with a 2‑inch layer of pebbles for drainage.
- Add a mix of potting soil and coconut coir (1:1).
- Plant basil or cilantro seedlings; cover with a clear plastic lid to create a mini‑greenhouse.
- Place on a sunny windowsill; water when the top inch of soil feels dry.
2. Hanging Shoe Organizer Planter
- Purchase a fabric shoe organizer with pockets.
- Line each pocket with a small pot and fill with soil.
- Plant herbs such as thyme, oregano, and mint.
- Hang on a sturdy wall or fence; water each pocket individually.
Seasonal Adjustments and Long‑Term Success
Data from the National Gardening Association shows that gardeners who adjust practices seasonally see a 22 % increase in yield.
Spring
- Apply a starter fertilizer high in phosphorus (e.g., 5‑10‑5) to promote root development.
- Use row covers to protect seedlings from late frosts.
Summer
- Increase mulch depth to 3 inches to keep soil cool.
- Install a shade cloth for delicate herbs like basil during peak heat.
Fall
- Plant a second round of fast‑growing greens (e.g., lettuce) alongside herbs for a continuous harvest.
- Harvest and dry excess herbs for winter use.
Winter
- Keep indoor herb planters near a south‑facing window.
- Reduce watering frequency; most herbs need only occasional moisture.
Final Thoughts
By investing in ergonomic tools, tackling a few strategic DIY projects, and integrating pest‑repelling herbs, you’ll create a resilient vegetable garden that delivers flavor and abundance year after year. Remember to test your soil, water wisely, and adjust your approach with the seasons—these data‑backed habits turn a simple garden into a high‑performing, low‑maintenance oasis.


