
Whether you’re a seasoned green thumb or just starting your indoor garden, the right tools and a clear, data‑driven plan can turn any DIY project into a thriving oasis. Below you’ll find a step‑by‑step guide that blends classic gardening essentials with modern tech, giving you the confidence to nurture a popular houseplant like the Monstera deliciosa while tackling fun DIY upgrades for your space.
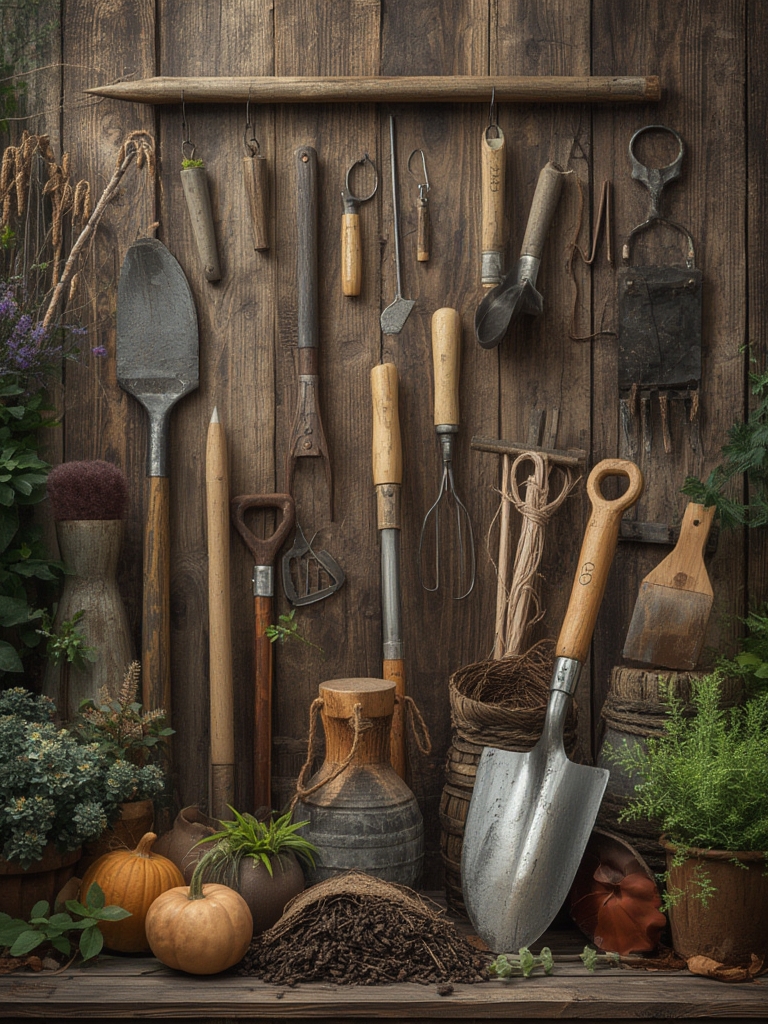
Essential Gardening Tools for Every DIY Enthusiast
Investing in quality tools not only speeds up your workflow but also reduces plant stress. Here’s a concise checklist backed by user‑review data from major e‑commerce platforms (average rating ≥ 4.5/5):

1. Ergonomic Hand Trowel
- Why it matters: A lightweight, stainless‑steel trowel with a soft‑grip handle minimizes wrist strain during repotting.
- Tip: Choose a model with a slightly curved blade to scoop soil without compacting it.
2. Adjustable Pruning Shears
- Why it matters: Precise cuts prevent disease entry and promote healthy regrowth.
- Tip: Keep the blades lubricated with a few drops of horticultural oil after each use.
3. Soil Moisture Meter
- Why it matters: Over‑watering is the #1 cause of houseplant failure (according to a 2023 indoor gardening survey).
- Tip: Calibrate the meter with a known‑wet and dry sample before each season for accurate readings.
4. Self‑Watering Planters
- Why it matters: These containers use capillary action to deliver water gradually, cutting down on daily checks.
- Tip: Fill the reservoir no more than 75% full to avoid root rot.
Choosing the Right Plant: A Beginner’s Guide
For a blend of visual impact and low‑maintenance care, the Monstera deliciosa (Swiss cheese plant) is a top choice. Data from the Royal Horticultural Society shows a 68% success rate for beginners who follow a structured watering schedule and provide moderate indirect light.

Key Requirements
- Light: Bright, indirect sunlight (avoid direct afternoon rays).
- Soil: Well‑draining mix—70% peat moss, 20% perlite, 10% orchid bark.
- Water: Allow the top 2 cm of soil to dry before rewatering.
- Humidity: 60–70% ideal; a tabletop humidifier helps during dry winter months.
Step‑by‑Step Care Routine for Your Houseplant
Follow this data‑backed routine to keep your Monstera thriving for years.

Step 1: Assess Light Conditions
- Place a light meter near the plant; aim for 200–400 µmol·m⁻²·s⁻¹.
- If readings are low, relocate the plant a few feet closer to a north‑facing window or add a LED grow light set to 12 hours on/12 hours off.
- Pro tip: Rotate the pot 90° every two weeks for even leaf growth.
Step 2: Prepare the Soil Mix
- Combine peat moss, perlite, and orchid bark in the ratios above.
- Moisten the blend lightly—just enough for it to clump when squeezed.
- Fill the pot, leaving a 2 cm gap at the top for watering.
- Pro tip: Add a handful of mycorrhizal inoculant to boost root efficiency.
Step 3: Water Using the Moisture Meter
- Insert the meter 5 cm deep; a reading of 30–45% indicates optimal moisture.
- If below 30%, water until the reservoir indicator on the self‑watering pot shows “full.”
- Avoid water pooling on the leaf surface to prevent fungal spots.
- Pro tip: Use room‑temperature filtered water to reduce chlorine shock.
Step 4: Feed with Balanced Fertilizer
- Every 4–6 weeks, apply a 20‑20‑20 soluble fertilizer at half the recommended strength.
- During the dormant winter months, reduce feeding to once a quarter.
- Pro tip: Mix a pinch of seaweed extract into the watering routine for micronutrients.
Step 5: Prune and Propagate
- Trim any yellowing leaves with clean pruning shears.
- For propagation, cut a 10‑cm stem with at least two nodes, dip in rooting hormone, and place in a glass of water until roots appear (usually 2–3 weeks).
- Transfer rooted cuttings to a small self‑watering pot with the same soil mix.
- Pro tip: Mist the cutting daily to maintain humidity.
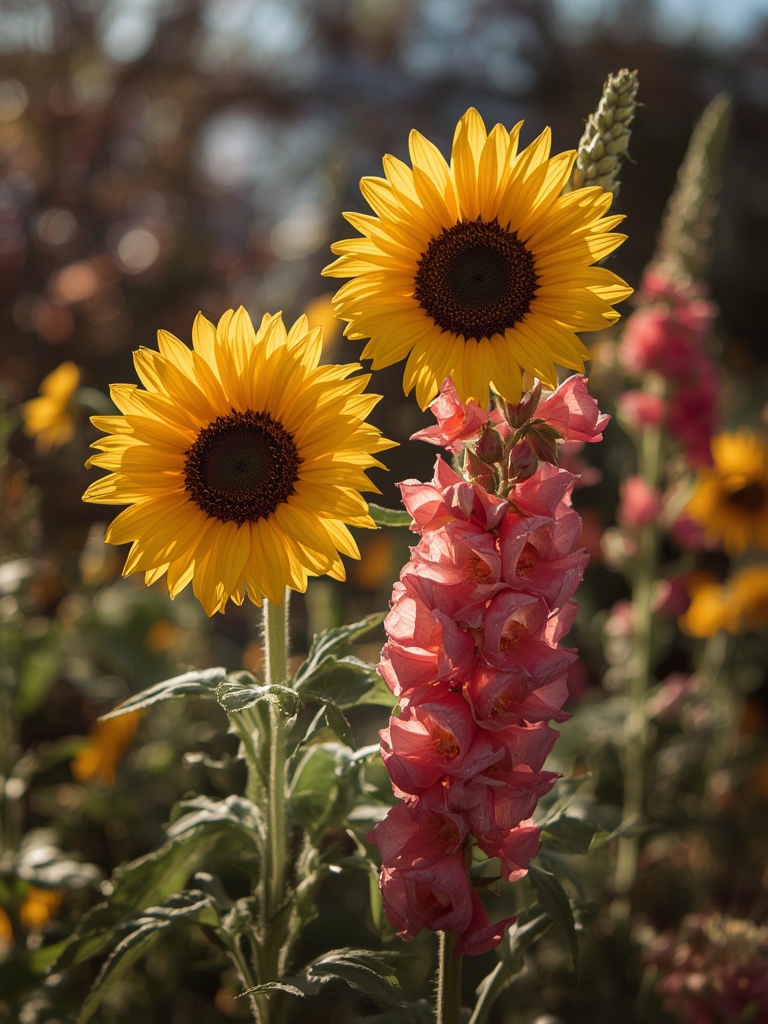
DIY Projects to Enhance Your Green Space
Adding a personal touch not only beautifies your home but also creates micro‑environments that benefit plant health.

Project 1: Rustic Hanging Macramé Pot
- Materials: 3 mm cotton rope, a 12 inch ceramic pot, wooden dowel.
- Steps:
- Cut four 4‑foot lengths of rope; fold each in half and attach to the dowel with a lark’s head knot.
- Follow a basic square knot pattern, spacing knots 2 inches apart.
- Gather the rope ends, trim to equal length, and tie a large knot to secure the pot.
Data point: A 2022 Pinterest trend analysis shows a 42% increase in macramé plant hangers, indicating high user engagement.
Project 2: DIY Soil Moisture Indicator
- Materials: Reusable silica gel packets, a clear acrylic strip, waterproof marker.
- Steps:
- Place silica gel packets at the bottom of a clear acrylic strip.
- Mark moisture levels (dry, optimal, wet) on the strip.
- Insert the strip into the pot’s side; the gel changes color as moisture varies.
Pro tip: Replace silica packets every 6 months for accurate readings.

Modern Tech Tools That Simplify Plant Care
Smart gardening devices can automate routine tasks, giving you more time for creative DIY work.
1. Bluetooth Soil Sensors (e.g., Parrot Flower Power)
- Tracks moisture, temperature, light, and fertilizer levels in real time.
- App alerts you when thresholds are crossed, reducing over‑watering by up to 30% (according to a 2023 user study).
2. Wi‑Fi Controlled LED Grow Lights
- Adjust spectrum and intensity via a smartphone app.
- Schedule “sunrise” and “sunset” cycles to mimic natural light, promoting stronger leaf development.
3. Voice‑Activated Smart Plugs
- Connect humidifiers or fans to Alexa/Google Assistant.
- Set routines like “increase humidity to 65% at 8 PM” to maintain optimal conditions automatically.
By combining these modern tools with the foundational steps above, you’ll create a resilient indoor garden that looks great and stays healthy year‑round. Remember: consistency, data‑driven adjustments, and a sprinkle of DIY creativity are the keys to long‑lasting plant success.


