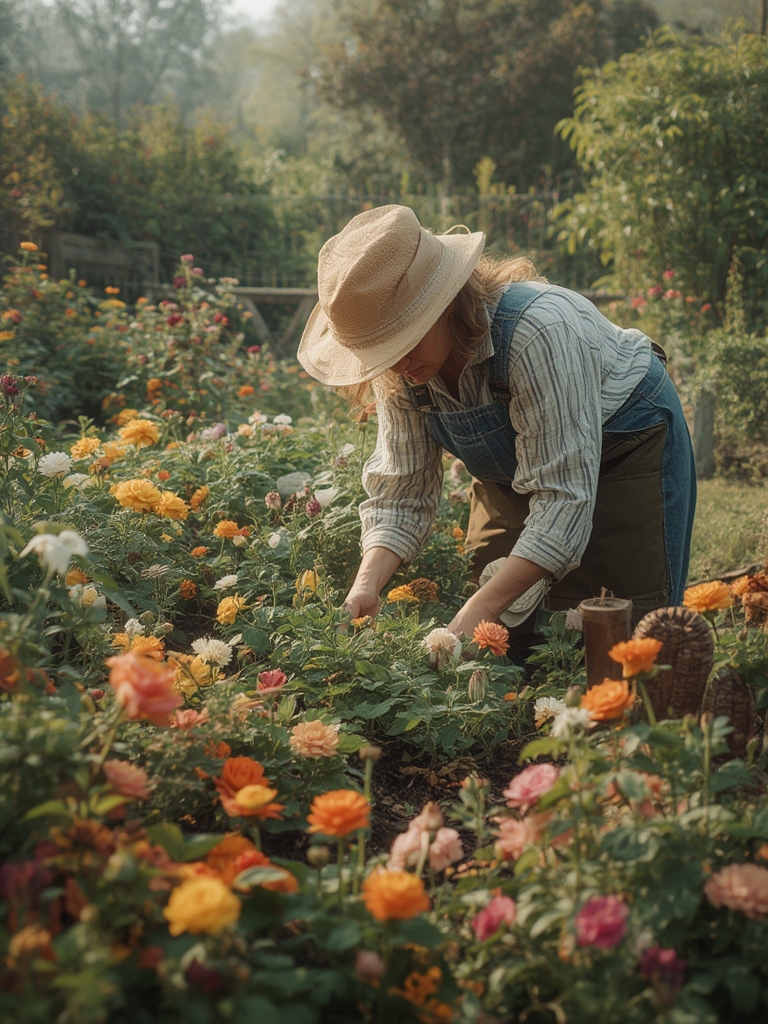

Welcome to your ultimate guide to flower gardening! Whether you’re a beginner or looking to refresh your green thumb, this step‑by‑step post will walk you through everything you need to grow vibrant, healthy blooms. We’ll cover site selection, soil preparation, planting, watering, fertilizing, pest control, and harvesting, plus fun ideas to showcase your floral bounty. Follow each section, and you’ll be enjoying a thriving garden in no time.
1. Choose the Right Location
Sunlight Requirements
Most flowering plants need 6–8 hours of direct sunlight daily. Use a sunny‑spot tracker app or simply observe the garden at different times to pinpoint the best area. If you have limited sun, opt for shade‑tolerant varieties like impatiens, begonias, or ferns.
Airflow and Space
Good airflow reduces fungal diseases. Space plants at least 12–18 inches apart (depending on species) to allow air to circulate. Avoid low‑lying spots where cold air settles, as this can stunt growth.

Practical Tip
- Mark the chosen area with garden stakes and a string to visualize the layout before digging.
2. Prepare Soil for Success
Test and Amend
Start with a simple soil test kit (available at most garden centers). Aim for a pH between 6.0 and 7.0 for most flowers. If the soil is too acidic, add lime; if too alkaline, incorporate sulfur.

Improve Texture
Mix in 2–3 inches of compost or well‑rotted manure to improve drainage and nutrient content. For heavy clay soils, add coarse sand or perlite to increase porosity.

Practical Tip
- Use a garden fork to work the amendments into the top 12 inches of soil, creating a loose, crumbly texture that encourages root expansion.
3. Select the Right Flowers
Seasonal Considerations
Choose a mix of annuals (e.g., marigolds, petunias) for instant color and perennials (e.g., lavender, coneflowers) for long‑term returns. Check your USDA hardiness zone to ensure the plants can survive winter temperatures.
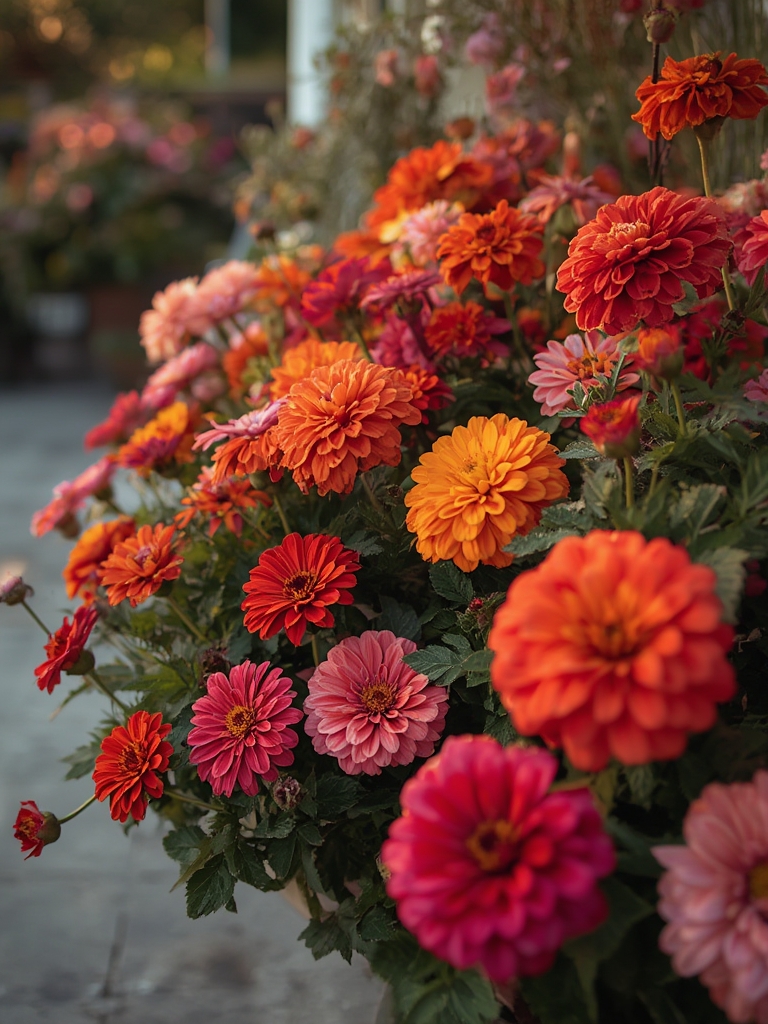
Companion Planting
Pair nectar‑rich flowers like zinnias with herbs such as basil to attract pollinators and deter pests. This synergy boosts both flower health and garden biodiversity.

Practical Tip
- Plan a color palette (e.g., warm oranges + cool blues) to create visual harmony and attract specific pollinators.
4. Planting Techniques
Timing
Plant in early spring after the last frost for most species. For warm‑season annuals, wait until soil temperatures reach 65°F (18°C).
Depth and Spacing
Follow seed packet or plant label instructions. As a rule of thumb, plant seedlings at the same depth they were in their containers. Space according to mature plant size to prevent crowding.
Water In
After planting, give each hole a generous soak (about 1–2 gallons) to settle the soil and eliminate air pockets.
Practical Tip
- Use a planting grid made from string and stakes to keep rows straight and spacing consistent.
5. Watering Strategies
Consistent Moisture
Flowers generally need 1 inch of water per week. Early morning watering reduces evaporation and helps leaves dry before night, limiting fungal risk.
Drip Irrigation
Install a drip system or soaker hoses to deliver water directly to the root zone. This method saves up to 30% of water compared to overhead sprinklers.
Practical Tip
- Place a rain gauge nearby to track natural precipitation and adjust supplemental watering accordingly.
6. Feeding and Fertilizing
Balanced Fertilizer
Use a 10‑10‑10 (N‑P‑K) balanced fertilizer at planting time, then switch to a bloom‑boosting formula (higher phosphorus) every 4–6 weeks during the flowering period.
Organic Options
Apply compost tea or fish emulsion for a gentle, nutrient‑rich boost. These organic feeds improve soil microbiology, leading to healthier plants.
Practical Tip
- Side‑dress around the base of each plant with a thin layer of compost after each fertilization to maintain nutrient levels.
7. Managing Pests and Diseases
Preventive Measures
Keep the garden clean by removing spent blooms and fallen leaves. Mulch with straw or shredded bark to suppress weeds and retain moisture.
Natural Controls
Introduce beneficial insects like ladybugs and lacewings to combat aphids and whiteflies. Neem oil sprays (applied early morning or late evening) are effective against many soft‑bodied pests.
Spot Treatment
If you notice fungal spots, treat with a copper‑based fungicide and improve airflow by thinning crowded plants.
Practical Tip
- Set up a simple “bug hotel” using bamboo sticks and straw to attract predatory insects.
8. Harvesting and Extending Bloom Time
Deadheading
Remove wilted flowers regularly to encourage the plant to produce new buds. Use clean, sharp scissors and cut just above a leaf node.
Cut‑Flower Care
When cutting stems, do so early in the morning for maximum water content. Place stems in a bucket of cool water and add a teaspoon of sugar or a floral preservative to extend vase life.
Seed Saving
Allow a few seed heads to mature fully, then collect seeds in paper bags. Store in a cool, dry place for next‑season planting.
Practical Tip
- Rotate harvested stems through a “cool‑dark” storage for 24 hours before arranging to prevent bacterial growth.
9. Fun Ideas to Make the Most of Your Harvest
DIY Flower Arrangements
Create simple bouquets using a mix of colors and textures. Add foliage like eucalyptus for contrast and longer vase life.
Edible Flowers
Incorporate safe varieties (e.g., nasturtiums, calendula, violets) into salads, teas, or desserts for a pop of color and subtle flavor.
Natural Dyes
Boil petals from marigolds, hibiscus, or roses to extract natural pigments. Use the dye for fabric projects or homemade paper.
Pollinator Gardens
Design a dedicated pollinator corner with a water source (a shallow birdbath) and a variety of nectar‑rich blooms to support bees, butterflies, and hummingbirds.
Practical Tip
- Host a “flower swap” with neighbors—exchange cuttings or seed packets to diversify your garden without extra cost.
By following these data‑driven steps and incorporating the practical tips throughout, you’ll cultivate a flourishing flower garden that not only looks stunning but also supports local wildlife and offers creative harvest uses. Happy gardening!
