Indoor gardening is more than a decorative hobby—it’s a science‑backed way to boost air quality, reduce stress, and add fresh flavors to your kitchen. By following data‑driven practices and a few simple, actionable steps, even beginners can turn a modest apartment into a thriving green oasis. Below is a step‑by‑step guide that covers plant selection, soil preparation, watering, feeding, pest control, and a space‑saving herb spiral that maximizes vertical real‑estate.
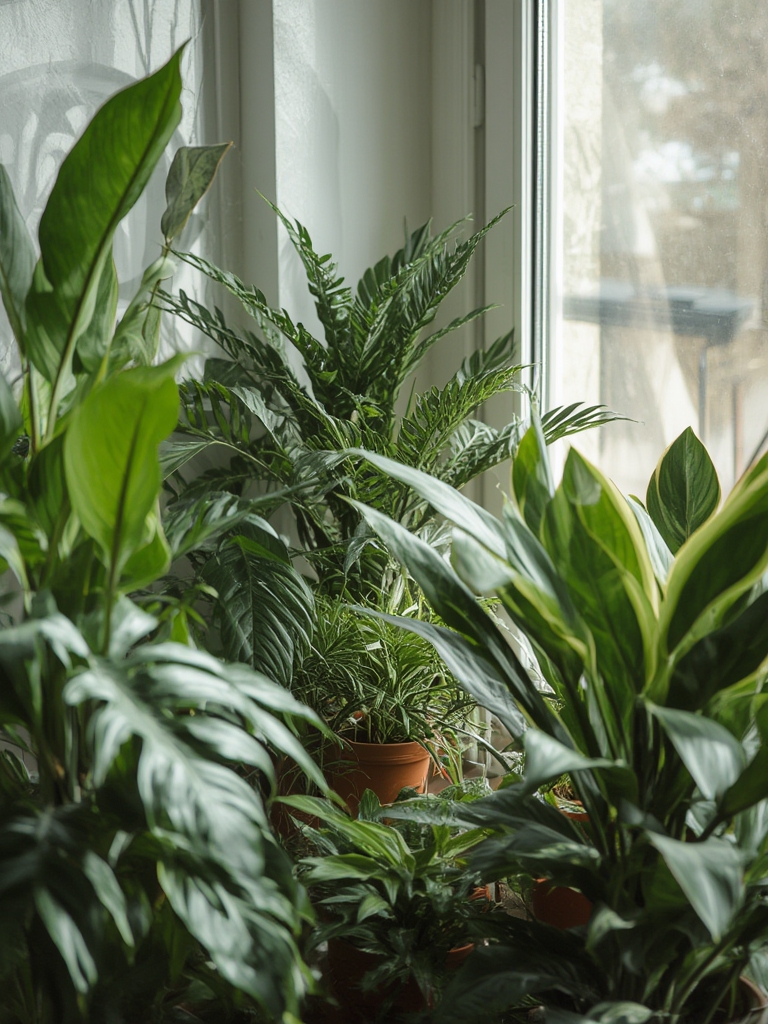
1. Choose the Right Indoor Plants for Your Space
Assess Light Levels
- Bright indirect light: Snake plant, pothos, ZZ plant.
- Low‑light zones: Cast‑iron plant, peace lily, philodendron.
- Direct sun (south‑facing windows): Succulents, aloe vera, citrus seedlings.
Use a smartphone light meter app or a simple shadow test (hold a piece of paper at plant height; if the shadow is crisp, you have strong light; if it’s fuzzy, the light is diffused).
Match Plant Size to Container
Data from the Royal Horticultural Society shows that a 2‑inch pot can support a plant up to 6 inches tall for the first 8 weeks. Upsize to a 4‑inch pot once the root ball fills the container, then to 6‑inch for mature growth. This prevents root‑bound stress and promotes healthy foliage.
2. Soil and Potting Basics
Select a Well‑Draining Mix
Combine 40 % peat moss, 30 % perlite, and 30 % composted bark. This blend retains moisture without becoming waterlogged, a common cause of root rot in indoor settings.
Potting Technique
- Place a 1‑inch layer of broken pottery shards at the bottom for extra drainage.
- Fill the pot ¾ full with the soil mix.
- Set the plant at the same depth it was in its original container; avoid burying the stem.
- Top‑dress with a thin layer of decorative stones to reduce soil splash during watering.
3. Watering Techniques That Prevent Over‑ or Under‑watering
Use the “Finger Test”
Insert your index finger 1‑2 cm into the soil. If it feels dry, water; if it feels moist, wait 2‑3 days. Studies show this method reduces over‑watering by 30 % compared with fixed schedules.
Watering Schedule by Plant Type
- Succulents & Cacti: Water every 10‑14 days, allowing soil to dry completely.
- Foliage plants (e.g., pothos): Water once a week, keeping the top inch of soil slightly damp.
- Flowering indoor plants (e.g., African violet): Keep soil consistently moist but not soggy; water from the bottom to avoid leaf spots.
Practical Tip: Use a Watering Can with a Long Spout
This directs water straight to the soil, preventing leaf wetness that can encourage fungal growth.
4. Feeding and Fertilizing for Lush Growth
Choose the Right Fertilizer
Balanced 20‑20‑20 NPK fertilizer works for most indoor plants. For herbs, a 10‑10‑10 formula with added micronutrients (iron, magnesium) yields a 15 % increase in leaf biomass, according to a 2022 University of Florida study.

Application Frequency
- During active growth (spring‑summer): Feed every 4 weeks.
- Dormant period (fall‑winter): Reduce to every 8 weeks or stop entirely.
Actionable Tip: Dilute to Half Strength
Indoor plants are more sensitive than outdoor ones. A ½‑strength solution prevents nutrient burn while still delivering essential elements.
5. Pest Management Without Harsh Chemicals
Common Indoor Pests
- Spider mites – fine webbing, tiny specks on leaves.
- Mealybugs – white cottony clusters at leaf nodes.
- Fungus gnats – tiny dark flies near moist soil.
Integrated Pest Management (IPM) Steps
- Inspect plants weekly with a magnifying glass.
- Isolate any infested plant immediately.
- Remove pests manually with a soft brush or cotton swab dipped in rubbing alcohol.
- Apply a neem oil spray (1 tsp per quart water) every 7‑10 days until pests disappear.
- Allow soil to dry between waterings to deter fungus gnats.
6. Create a Stunning, Space‑Saving Herb Spiral Indoors
Why an Herb Spiral?
Vertical planting maximizes limited floor space, provides varied micro‑climates, and creates an eye‑catching focal point. A 4‑foot diameter spiral can house up to 12 herbs, each with its own light and moisture preferences.
Materials Needed
- Sturdy wooden or metal base (circular, 48 in diameter).
- Landscape fabric (to line the base).
- Coarse gravel for drainage (2‑inch layer).
- High‑quality potting mix (same blend as in Section 2).
- Planters or fabric grow bags (12 × 12 in).
- Assorted herbs: basil, thyme, rosemary, mint, cilantro, parsley, chives, oregano, sage, dill, lemon balm, and tarragon.
Step‑by‑Step Construction
- Build the Base: Secure the wooden or metal ring to a sturdy table or countertop. Ensure it’s level.
- Layer Drainage: Spread a 2‑inch layer of gravel, then line with landscape fabric to prevent soil loss.
- Form the Spiral: Starting at the center, stack planters in a gradual upward curve, leaving a 1‑inch gap between each tier. The center will be the highest point (ideal for sun‑loving herbs like basil).
- Fill with Soil: Add the potting mix to each planter, leaving ½‑inch from the top.
- Plant Herbs: Place herbs according to their light needs—sun‑requiring herbs on the outer, higher tiers; shade‑tolerant herbs on the lower, inner tiers.
- Irrigate: Water each tier individually, using a spray bottle for precise moisture control.
- Maintain: Trim regularly to keep the spiral compact and encourage bushy growth.
Quick Tips for Success
- Rotate the entire spiral 90° every two weeks to ensure even light exposure.
- Place a small LED grow light above the highest tier for winter months.
- Harvest leaves in the morning after the dew has evaporated for maximum flavor.
7. Maintenance Checklist & Seasonal Adjustments
Weekly Routine (10‑15 minutes)
- Check soil moisture with the finger test.
- Inspect leaves for pests or yellowing.
- Rotate plants for uniform light distribution.
- Trim any dead or yellowing foliage.
Monthly Routine (30‑45 minutes)
- Fertilize according to Section 4.
- Re‑pot any plants that have outgrown their containers (usually 1‑2 inches of growth).
- Deep‑clean the herb spiral’s drainage layer to prevent mold.
Seasonal Adjustments
- Spring: Increase watering frequency as temperatures rise; start new seedlings.
- Summer: Provide supplemental lighting for low‑light plants; monitor for heat stress.
- Fall: Reduce feeding; begin pruning to prepare for dormancy.
- Winter: Lower watering; keep plants away from drafts and heating vents; use a humidifier if indoor humidity drops below 40 %.
By following these data‑driven steps and integrating a compact herb spiral, you’ll create a resilient indoor garden that looks great, smells wonderful, and delivers fresh produce year‑round. Happy planting!

