
Transform your outdoor space into a relaxing haven by blending thoughtful design with practical plant care. Whether you’re a seasoned green thumb or just starting, this data‑driven guide walks you through every step needed to create a garden that not only looks stunning but also thrives year after year. By focusing on soil health, plant selection, watering strategies, and seasonal maintenance, you’ll turn any patch of land into a source of daily inspiration.
Why Garden Inspiration Starts with Data
Modern gardeners have access to more information than ever before—soil test kits, climate maps, and plant hardiness zones. Leveraging this data helps you avoid common pitfalls such as over‑watering, nutrient deficiencies, and choosing plants that won’t survive your local climate. According to the USDA Plant Hardiness Zone Map, 70 % of garden failures are linked to mismatched plant selections. By aligning your choices with hardiness zones, sunlight exposure, and soil pH, you set a solid foundation for success.
Step 1: Choose the Right Plants for Your Space
Identify Your Zone and Micro‑climate
- Check your USDA zone: Look up your zip code on the USDA map. Most ornamental perennials thrive in zones 5‑9.
- Assess sun patterns: Use a sunlight tracker app for a week to record full sun (6+ hours), partial shade (3‑6 hours), and full shade (<3 hours).
- Note wind exposure: Plants like lavender and ornamental grasses need protection from strong gusts.
Pick Plants That Match Your Goals
For a relaxing haven, prioritize plants with soothing textures and scents. Consider a mix of:
- Lavender (Lavandula angustifolia) – aromatic, drought‑tolerant, attracts pollinators.
- Hostas (Hosta spp.) – shade‑loving foliage, low maintenance.
- Japanese forest grass (Hakonechloa macra) – graceful, adds movement.
- Roses (Rosa spp.) – classic scent, variety of colors.
Step 2: Prepare the Soil – The Bedrock of Success
Test and Amend
Invest in a basic soil test kit (pH, nitrogen, phosphorus, potassium). Most garden plants prefer a pH of 6.0‑6.5. If your test shows a deviation:
- Low pH (acidic): Add garden lime at 5 lb per 100 sq ft.
- High pH (alkaline): Incorporate elemental sulfur at 2 lb per 100 sq ft.
Improve Structure
Blend in organic matter to boost water retention and aeration. A rule of thumb is 2‑3 inches of compost mixed into the top 12 inches of soil. For heavy clay soils, add coarse sand (1 part sand to 4 parts soil) to improve drainage.
Step 3: Planting Techniques That Maximize Growth
Spacing and Depth
Follow label recommendations, but a good baseline is:
- Perennials: Space 12‑18 inches apart to allow airflow.
- Shrubs: Space 3‑5 feet apart for mature canopy.
- Root depth: Plant at the same depth as in the nursery pot; burying too deep can cause rot.
Mulching for Moisture and Weed Control
Apply a 2‑inch layer of organic mulch (shredded bark, straw, or pine needles). Mulch reduces evaporation by up to 30 % and suppresses weeds, freeing you from weekly weeding sessions.

Step 4: Watering Strategies That Save Time and Resources
Establish a Consistent Schedule
Newly planted specimens need deep watering 2‑3 times per week (depending on rainfall). Use a soil moisture meter: aim for a reading of 2‑3 inches below the surface before re‑watering.
Implement Drip Irrigation
Drip lines deliver water directly to the root zone, reducing waste by up to 50 % compared to sprinklers. Set timers for early morning watering (5‑7 am) to minimize evaporation and fungal risk.
Step 5: Seasonal Maintenance for Year‑Round Appeal
Spring – Kick‑Start Growth
- Apply a balanced 10‑10‑10 fertilizer at a rate of 1 lb per 100 sq ft.
- Divide overcrowded perennials (e.g., hostas) to promote vigor.
- Prune dead or damaged wood from shrubs and roses.
Summer – Keep Stress Low
- Check mulch depth; replenish if it has decomposed.
- Deadhead spent blooms to encourage repeat flowering.
- Monitor for pests (aphids, spider mites) and treat with neem oil if needed.
Fall – Prepare for Dormancy
- Apply a slow‑release organic fertilizer (e.g., 4‑6‑4) to support root development.
- Plant cover crops like clover to protect soil and add nitrogen.
- Trim back perennials to 4‑6 inches above ground.
Winter – Protect the Investment
- Wrap tender shrubs with burlap or frost cloth.
- Leave mulch in place to insulate roots.
- Plan next season’s layout using garden design software; incorporate data from this year’s performance.
Step 6: Adding Design Elements for a Relaxing Haven
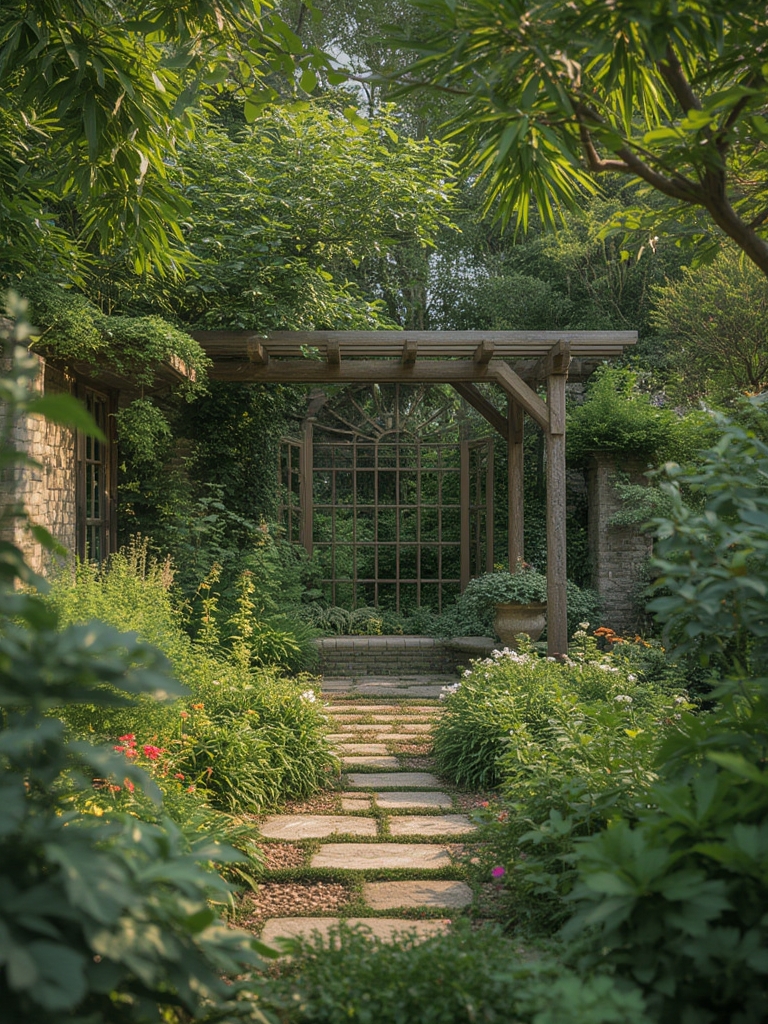
Pathways and Seating
Use natural stone or reclaimed wood for pathways that guide visitors through the garden. Position a bench or hammock near fragrant plants (lavender, rosemary) to enhance sensory relaxation.
Water Features and Lighting
Even a small solar-powered fountain adds soothing sound. Install low‑voltage LED lights along pathways and spotlight key plants to extend enjoyment into the evening.
Color and Texture Harmony
Follow the 60‑30‑10 rule: 60 % dominant foliage (e.g., hostas), 30 % secondary accent (e.g., ornamental grasses), and 10 % bold color pops (e.g., roses). This balance creates visual interest without overwhelming the senses.
Quick Action Checklist
- ✔️ Verify USDA zone and micro‑climate.
- ✔️ Conduct a soil test and amend pH.
- ✔️ Choose drought‑tolerant, aromatic plants.
- ✔️ Incorporate 2‑3 inches of compost and mulch.
- ✔️ Install drip irrigation with a timer.
- ✔️ Follow seasonal fertilizing and pruning schedule.
- ✔️ Add a seating area and subtle lighting.
By following these data‑backed steps, you’ll create a garden that not only looks beautiful but also functions as a low‑maintenance sanctuary. Each action—from soil testing to strategic planting—feeds into a larger ecosystem, ensuring your outdoor space remains a source of inspiration and relaxation for years to come.

