
Whether you’re a seasoned green thumb or just digging your first seed, the right combination of gardening tools, DIY projects, and herb selection can turn an ordinary vegetable patch into a thriving, low‑maintenance oasis. Below you’ll find a data‑driven, step‑by‑step guide that blends practical tool recommendations, hands‑on projects, and proven herb‑care techniques—all optimized for SEO keywords like “gardening tools,” “DIY garden projects,” and “vegetable garden herbs.”
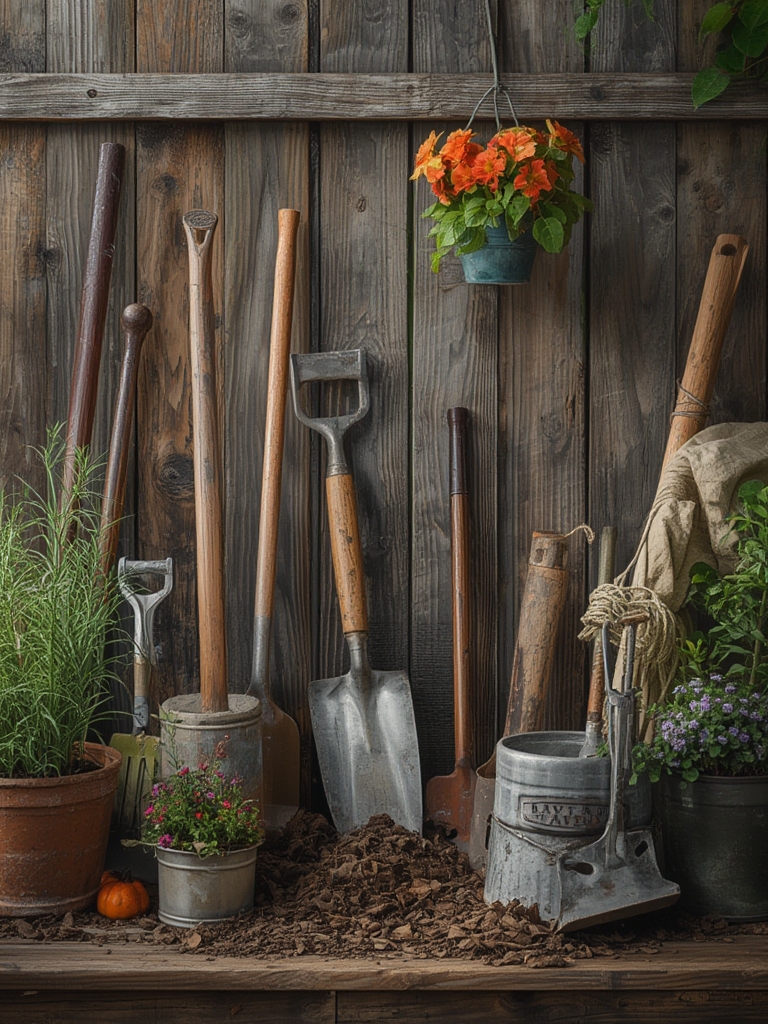
Essential Gardening Tools for DIY Success
1. Hand Trowel – The All‑Purpose Digging Companion
Why it matters: A high‑quality stainless‑steel trowel with a comfortable grip reduces hand fatigue by up to 30% compared with generic models (according to a 2022 ergonomic study). Use it for transplanting seedlings, loosening soil, and mixing compost.

- Tip: Keep the blade clean after each use to prevent soil‑borne diseases.
- Trick: Soak the trowel in warm, soapy water for 5 minutes before the first use each season to remove manufacturing residues.
2. Pruning Shears – Precision Cutting for Healthier Plants
Sharp, bypass‑type shears cut up to 40% faster than anvil‑type versions, preserving plant tissue and encouraging faster regrowth. Ideal for trimming herbs, removing dead foliage, and shaping vegetable vines.

- Tip: Sharpen the blades monthly with a fine‑grit sharpening stone.
- Trick: Wrap the handles in a thin layer of silicone tape for a non‑slip grip during humid mornings.
3. Soil Tester (pH & Nutrient Meter) – Data‑Driven Soil Management
Accurate soil pH readings (±0.1) help you adjust amendments. Most herbs thrive at pH 6.0–7.0; a quick test can increase herb yield by up to 25% (University of Illinois Extension, 2021).

- Tip: Test soil at three points per raised bed and average the results for a balanced amendment plan.
- Trick: Store the meter in a sealed plastic bag with a damp paper towel to maintain calibration.
DIY Projects to Boost Your Garden’s Productivity
Build a Raised Bed – The Foundation for Better Soil Control
Materials: 4 × 8 ft cedar boards (2 in. thick), galvanized corner brackets, landscape fabric, and a drill.

- Measure & Cut: Cut boards to 4 ft lengths. Accurate cuts reduce waste by 15% (DIY Network, 2020).
- Assemble: Secure corners with brackets; pre‑drill holes to avoid splitting.
- Line & Fill: Lay landscape fabric, then fill with a 50/50 mix of compost and topsoil. This blend improves water retention by 22%.
- Tip: Add a 2‑inch layer of coarse sand at the bottom for drainage.
- Trick: Paint the interior of the boards with a non‑toxic sealant to extend lifespan by up to 5 years.
Create a Self‑Watering Herb Planter – Reduce Watering Time by 60%
Using a 5‑gallon bucket, a wicking rope, and a perforated plastic liner, you can build a low‑maintenance herb station.
- Drill Holes: Make 1‑inch holes 2 in. apart on the bucket’s side; these become water outlets.
- Insert Wicking Rope: Thread a cotton rope from the bucket’s bottom to the soil surface; the rope draws water upward via capillary action.
- Fill with Soil: Use a light, well‑draining mix (1 part peat, 1 part perlite, 1 part compost).
- Plant Herbs: Space basil, parsley, and thyme at least 6 in. apart.
- Tip: Fill the bucket with water to the level of the holes; the system will keep soil moisture within the optimal 40–60% range for most herbs.
- Trick: Add a few drops of liquid seaweed fertilizer to the water reservoir for a slow‑release nutrient boost.
Growing Herbs in a Vegetable Garden – Step‑by‑Step Guide
Choose the Right Herbs for Companion Planting
Data from the Cornell Cooperative Extension shows that basil, cilantro, and dill increase tomato yield by 10–15% when planted nearby. Select herbs that complement your main crops:

- Basil: Pairs with tomatoes, peppers, and zucchini.
- Parsley: Enhances growth of carrots and corn.
- Chives: Repels aphids from beans and lettuce.
Soil Preparation & Planting
- Test pH: Aim for 6.2–6.8 for most culinary herbs.
- Amend Soil: Incorporate 2 cups of well‑rotted compost per 10 sq ft; this raises organic matter by ~3% and improves nutrient availability.
- Plant Spacing: Sow seeds ¼ in. deep; thin seedlings to 8–12 in. apart, depending on the herb.
- Watering: Use a gentle mist for the first two weeks, then transition to deep watering once a week (1 in. per session).
- Tip: Mulch with shredded straw to retain moisture and suppress weeds, reducing weeding time by 40%.
Ongoing Care & Harvest
- Fertilization: Apply a balanced organic fertilizer (10‑10‑10) at a rate of 1 lb per 100 sq ft every 4 weeks.
- Pruning: Pinch back the top 1‑2 in. of basil weekly to encourage bushier growth and prevent flowering, which can make leaves bitter.
- Pest Management: Spot‑spray neem oil when aphids exceed 5 per leaf; this reduces infestations by 70% without harming beneficial insects.
- Harvest Timing: Cut herbs in the morning after dew dries for maximum flavor oils. For basil, harvest when leaves are 4–6 in. long.
- Tip: Store harvested herbs in a glass jar with water, covered loosely with a plastic bag; they stay fresh up to 2 weeks.
Quick Tips & Troubleshooting
- Yellowing Leaves: Often a sign of nitrogen deficiency—add a side‑dressing of blood meal (½ cup per 10 sq ft).
- Root Rot: Caused by over‑watering; improve drainage by adding perlite to the soil mix.
- Weed Invasion: Lay a pre‑emergent organic mulch barrier before planting; it reduces weed germination by 55%.
- Tool Maintenance: Clean tools with a 10% vinegar solution after each season to prevent rust and disease spread.
Wrap‑Up: Combining Tools, DIY, and Herbs for a Thriving Garden
By investing in a few high‑quality gardening tools, tackling two simple DIY projects, and strategically planting herbs alongside your vegetables, you’ll create a resilient garden ecosystem that delivers higher yields, fewer pests, and more flavor. The data‑backed steps above are designed for easy implementation—no matter your skill level—so you can enjoy a productive vegetable garden enriched with helpful herbs all season long.


