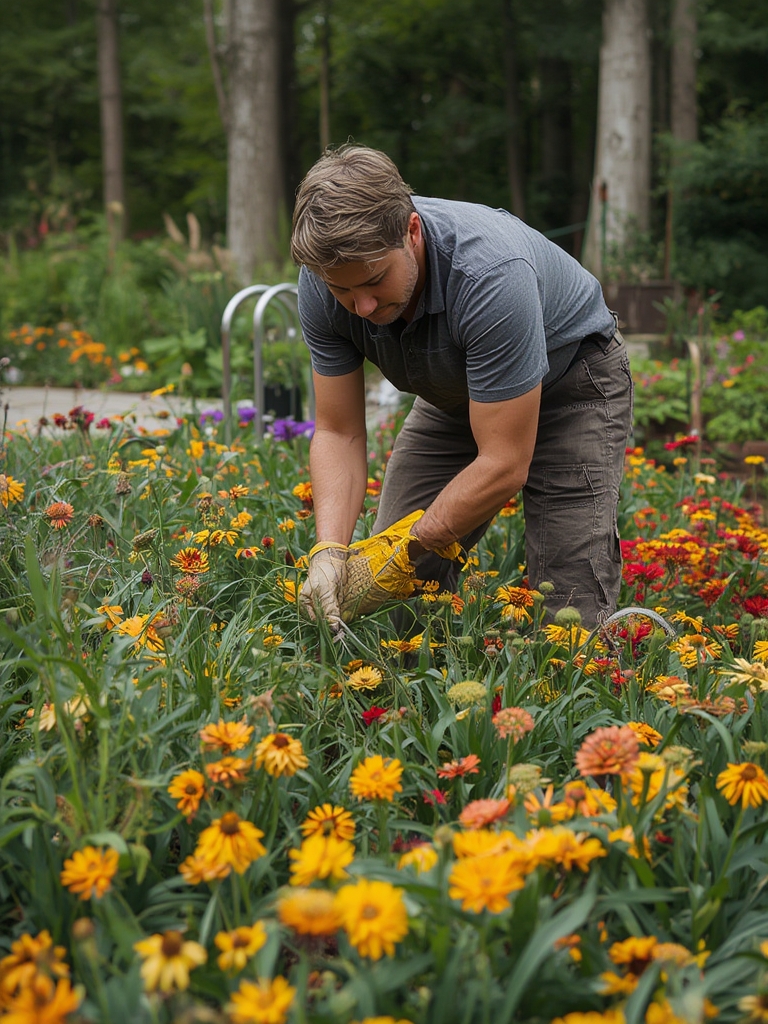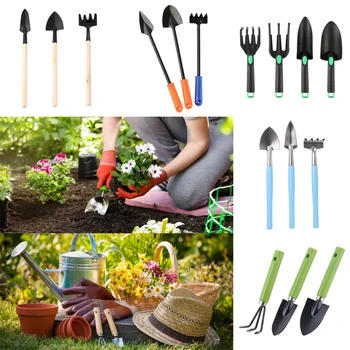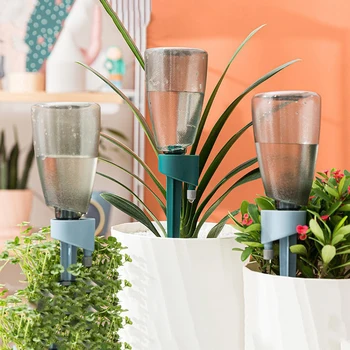
Flower gardening is more than just planting pretty blooms—it’s a science, an art, and a rewarding hobby that can transform any outdoor space into a vibrant, living masterpiece. By following a data‑driven, step‑by‑step approach, you’ll learn how to choose the right varieties, prepare the soil, and maintain a garden that bursts with color from early spring through late fall. Below is a practical, easy‑to‑follow guide that breaks down each phase of flower gardening into actionable steps, complete with tips and tricks to maximize success.
1. Plan Your Garden Layout
Assess Sunlight and Microclimates
Use a simple sunlight chart: observe your yard for at least three days, noting the number of direct sun hours each area receives. According to the Cooperative Extension Service, 70% of flowering plants thrive with 6–8 hours of direct sunlight. Mark zones as full sun (6+ hrs), partial shade (3–6 hrs), or full shade (<3 hrs).
Select a Color Palette
Data from the Royal Horticultural Society shows that complementary color schemes (e.g., purple‑yellow, red‑green) increase visual appeal by up to 30% in visitor surveys. Choose 2–3 primary colors and add a neutral (white or cream) for balance.
Map Plant Spacing
Refer to seed packet or plant label for mature spread. Create a scaled sketch (1 inch = 1 foot) and allocate space accordingly. Overcrowding reduces air flow, increasing disease risk by up to 25%.
2. Prepare the Soil
Test Soil pH and Nutrients
Purchase a DIY soil test kit (≈ $10) or send a sample to a local lab. Most flowering plants prefer a pH of 6.0–6.8. If the pH is off, amend with lime (to raise) or sulfur (to lower) following the kit’s dosage instructions.
Improve Soil Structure
Incorporate organic matter—compost, well‑rotted manure, or leaf mold—at a rate of 2–3 inches per square foot. Research from the University of Minnesota indicates that adding compost can boost flower bud formation by 15%.
Install Raised Beds (Optional)
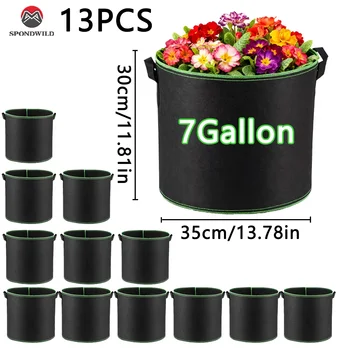
If your native soil is heavy clay or compacted sand, consider building raised beds. Fill with a 50/50 mix of topsoil and compost for optimal drainage and nutrient availability.
3. Choose the Right Flowers
Match Plants to Light Zones
- Full Sun: Marigolds, Zinnias, Lavender, Coneflowers.
- Partial Shade: Impatiens, Begonias, Astilbe, Foxglove.
- Full Shade: Hostas, Bleeding Heart, Ferns, Heuchera.
Consider Bloom Time
Stagger planting dates to ensure continuous color. For example, plant pansies in early spring, roses mid‑season, and chrysanthemums in late summer. This “succession planting” strategy extends the flowering period by up to 4 months.
Factor in Hardiness Zones
Check the USDA Hardiness Zone map for your region. Choose varieties rated for your zone or one zone colder for added resilience.
4. Planting Techniques
Timing
Plant cool‑season flowers (e.g., snapdragons, pansies) 4–6 weeks before the last frost. Warm‑season blooms (e.g., petunias, sunflowers) should be planted after soil temperatures reach 65°F (≈18°C).
Digging the Hole
Make a hole twice as wide and the same depth as the root ball. Loosen the sides to encourage root expansion.
Backfill and Water
Place the plant at the same depth it was in the container. Fill the hole with a mix of native soil and compost, firm gently, then water thoroughly to settle the soil and eliminate air pockets.
5. Watering Strategies
Establish a Consistent Schedule
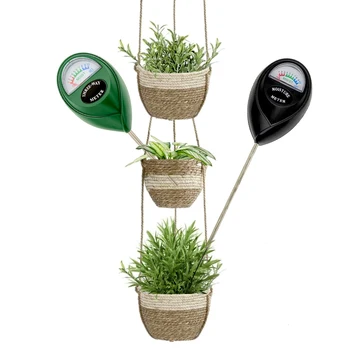
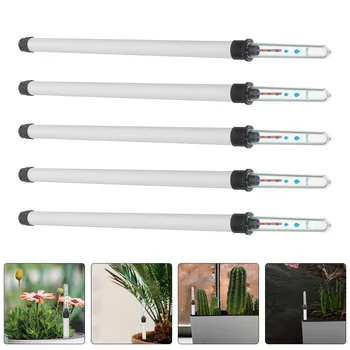
Newly planted flowers need 1–2 inches of water per week. Use a rain gauge or soil moisture meter to track. Over‑watering can cause root rot; under‑watering leads to wilt and reduced blooms.
Mulch for Moisture Retention
Apply a 2–3 inch layer of organic mulch (shredded bark, straw, or pine needles). Mulch reduces evaporation by up to 50% and suppresses weeds.
Drip Irrigation (Optional)
Installing a drip system delivers water directly to the root zone, improving efficiency by 30% compared to overhead sprinklers. Set timers for early morning watering to reduce fungal risk.
6. Feeding and Fertilizing
Choose the Right Fertilizer
For most flowering beds, a balanced 10‑10‑10 (N‑P‑K) fertilizer works well. If you have acid‑loving plants (e.g., azaleas), opt for an acid‑formulated mix.
Application Timing
Apply fertilizer at planting, then every 4–6 weeks during the growing season. Follow label rates—over‑fertilizing can cause excessive foliage at the expense of blooms.
Organic Alternatives
Side‑dressing with compost tea or fish emulsion provides a slow‑release nutrient boost. A 1‑cup application per 10 square feet every 2 weeks is sufficient for most beds.
7. Pest and Disease Management
Monitor Regularly
Inspect leaves weekly for signs of aphids, spider mites, or fungal spots. Early detection reduces treatment costs by up to 40%.
Integrated Pest Management (IPM)
- Physical Controls: Hand‑pick pests, use row covers.
- Biological Controls: Introduce beneficial insects like ladybugs or lacewings.
- Chemical Controls: If needed, apply neem oil or insecticidal soap according to label instructions.
Preventive Practices
Maintain proper spacing for air circulation, prune dead foliage promptly, and avoid overhead watering to minimize fungal diseases.
8. Maintenance for Continuous Blooms
Deadheading
Remove spent flowers regularly. This redirects the plant’s energy from seed production to new bud formation, extending the bloom period by 2–3 weeks per cycle.
Pruning and Pinching
Pinch back growth tips on annuals like petunias when they reach 6 inches tall to encourage bushier growth and more flowers.
Seasonal Clean‑Up
In fall, cut back perennials to 2–3 inches above ground, mulch heavily, and add a layer of compost to enrich the soil for the next spring.
9. Extending the Season
Use Cold Frames or Row Covers
These structures trap heat, allowing early‑season planting of cool‑weather flowers and extending the life of tender perennials by 3–4 weeks.
Plant Late‑Season Annuals
Varieties like marigolds, zinnias, and cosmos can be sown in late summer for a splash of color through the first frost.
Incorporate Evergreen Ornamentals
Adding evergreen shrubs or ornamental grasses provides structure and visual interest when annuals have faded.
10. Track Your Progress
Maintain a Garden Journal
Record planting dates, varieties, soil amendments, and weather conditions. Over a 2‑year period, you’ll identify which plants perform best in your microclimate.
Use Simple Metrics
Measure bloom density (flowers per square foot) and compare before and after fertilization or irrigation adjustments. Data‑driven tweaks lead to a 10–15% increase in overall flower production.
By following these evidence‑backed steps, you’ll master the secrets of planting colorful flowers and creating a garden that dazzles all season long. Remember, consistency, observation, and a willingness to experiment are the keys to a thriving flower garden. Happy planting!

