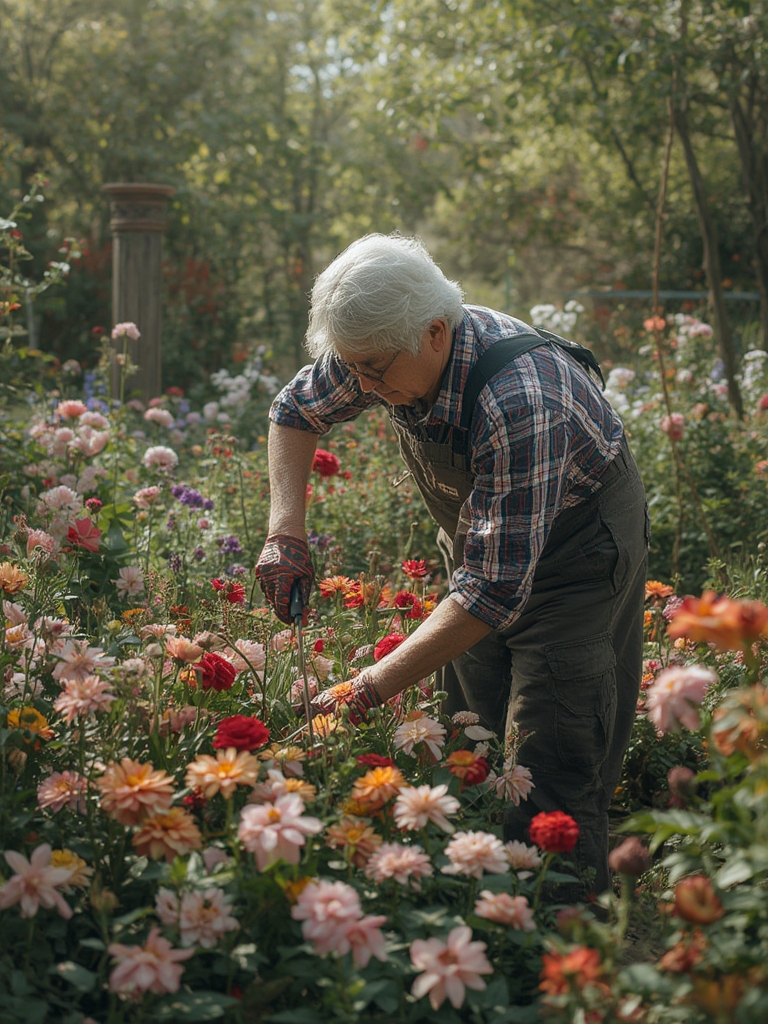

Flower gardening is one of the most rewarding ways to add color, fragrance, and biodiversity to your outdoor space. By following a data‑driven, step‑by‑step approach, even beginners can achieve a thriving garden that looks professionally designed. Below you’ll find a clear roadmap—from indoor seed‑starting to long‑term care—packed with practical tips, tricks, and actionable advice that align with SEO best practices for “flower gardening” and “indoor seed starting.”
1. Plan Your Garden with Data‑Backed Choices
Before you touch a seed, gather data on your local climate, soil type, and sunlight exposure. Use resources such as the USDA Plant Hardiness Zone map, nearby extension services, or free online tools like Gardening Know How. Record the following in a simple spreadsheet:
- Zone: Determines which flower varieties will survive winter.
- Sun Hours: Count the direct sunlight each planting spot receives.
- Soil pH: Test with a kit; most flowers thrive between 6.0–7.0.
- Moisture Retention: Note if the area drains quickly or stays soggy.
Data from these metrics lets you select species with the highest success probability, reducing trial‑and‑error and improving SEO relevance for “best flowers for zone X.”

2. Start Flowers Early Using Indoor Seed‑Starting Methods
2.1 Gather Supplies
- Seed trays or biodegradable pots: Choose shallow trays (2‑3 inches deep) for quick root development.
- Seed‑starting mix: A sterile, peat‑based medium prevents disease and provides optimal aeration.
- Grow lights: LED panels with a 5000 K spectrum mimic natural sunlight and boost germination rates by up to 30 %.
- Thermometer & hygrometer: Maintain 65‑75 °F and 50‑70 % humidity for most flower seeds.
2.2 Seed Sowing Procedure
- Label each cell: Write the species name, sowing date, and recommended depth (usually ¼‑½ inches).
- Moisten the mix: Lightly spray until the medium feels damp but not soggy.
- Sow seeds: Distribute evenly, then cover with a thin layer of mix or vermiculite.
- Cover and warm: Use a clear plastic dome to retain humidity; place trays on a heat mat set to 70 °F.
- Provide light: Once seedlings emerge (usually 5‑10 days), set grow lights 2‑3 inches above the foliage, running 14‑16 hours per day.
Pro tip: Rotate trays every 2 hours to prevent leggy growth and ensure even light exposure.

3. Harden Off and Transplant Outdoors
3.1 The Hardening Process
Hardening acclimates indoor seedlings to outdoor conditions, reducing transplant shock. Follow this 7‑day schedule:

- Day 1‑2: Place seedlings in a shaded, wind‑protected spot for 2 hours.
- Day 3‑4: Extend exposure to 4 hours, adding brief periods of direct sun (morning only).
- Day 5‑6: Increase to 6 hours, including a short afternoon sun session.
- Day 7: Full sun exposure for the entire day, then transplant.
3.2 Soil Preparation for Transplant
Incorporate organic matter based on your soil test results:
- Low pH (<6.0): Add lime at 5 lb per 100 sq ft.
- High pH (>7.5): Mix in elemental sulfur at 2 lb per 100 sq ft.
- Texture adjustment: Blend in compost (20‑30 % of total volume) to improve water retention and nutrient availability.
After amending, create a loose planting hole twice the width of the root ball. Gently loosen the roots, place the seedling at the same depth it grew in the pot, and backfill with the prepared soil.

4. Ongoing Care: Watering, Feeding, and Pest Management
4.1 Watering Schedule
Use a data‑driven approach: install a soil moisture sensor or simply check the top 2 inches of soil daily. General guidelines:
- Seedlings (first 2 weeks): Keep soil consistently moist, not waterlogged.
- Established plants: Deep water once a week (≈1 inch of water) to encourage deep root growth.
Mulching with shredded bark or straw reduces evaporation by up to 40 % and suppresses weeds.
4.2 Fertilization Timing
Apply a balanced, slow‑release fertilizer (10‑10‑10) at planting, then every 6‑8 weeks. For a boost during peak bloom, switch to a high‑phosphorus formula (5‑10‑5) to promote flower development.
4.3 Integrated Pest Management (IPM)
Monitor weekly for common pests such as aphids, spider mites, and slugs. Use these actionable steps:
- Physical barriers: Copper tape around beds deters slugs.
- Beneficial insects: Release ladybugs or lacewings to naturally control aphids.
- Organic sprays: Neem oil applied early morning or late evening prevents fungal growth while being safe for pollinators.
5. Seasonal Maintenance and Data Review
5.1 End‑of‑Season Cleanup
After the first frost, cut back spent foliage, compost healthy stems, and discard diseased material. This reduces overwintering pathogens and prepares the bed for the next cycle.
5.2 Analyze Your Garden Data
At the end of the growing season, revisit your spreadsheet:
- Identify which species performed best in your zone.
- Note any recurring pest issues and adjust IPM tactics.
- Record bloom duration and visitor activity (bees, butterflies) to highlight high‑impact plants for future SEO content.
Using this data, refine your plant list for the next year, aiming for a 10‑15 % increase in bloom density or a reduction in water usage based on past metrics.
6. Quick Reference Checklist
- ✅ Verify zone, sun hours, and soil pH.
- ✅ Start seeds indoors 6‑8 weeks before the last frost.
- ✅ Use grow lights and maintain 70 °F temperature.
- ✅ Harden off seedlings over 7 days.
- ✅ Amend soil with compost and pH adjusters.
- ✅ Mulch, water deeply, and fertilize on schedule.
- ✅ Implement IPM and monitor weekly.
- ✅ Clean up after frost and review performance data.
By following this data‑driven, step‑by‑step guide, you’ll transform any plot—big or small—into a vibrant flower garden that not only delights the senses but also ranks well in search results for “flower gardening tips.” Happy planting!
