
Winter doesn’t have to mean a dormant garden. By turning a spare corner of your home into a thriving indoor seed‑starting station, you can enjoy fresh blooms year‑round while sharpening your DIY and gardening tool skills. This guide walks you through the essential tools, the step‑by‑step process of sowing winter flowers from seed, and practical tricks that keep your seedlings healthy and your space organized. Whether you’re a seasoned green thumb or a beginner looking to make the most of the colder months, these data‑backed tips will help you grow vibrant flowers indoors and turn DIY projects into rewarding, low‑maintenance habits.
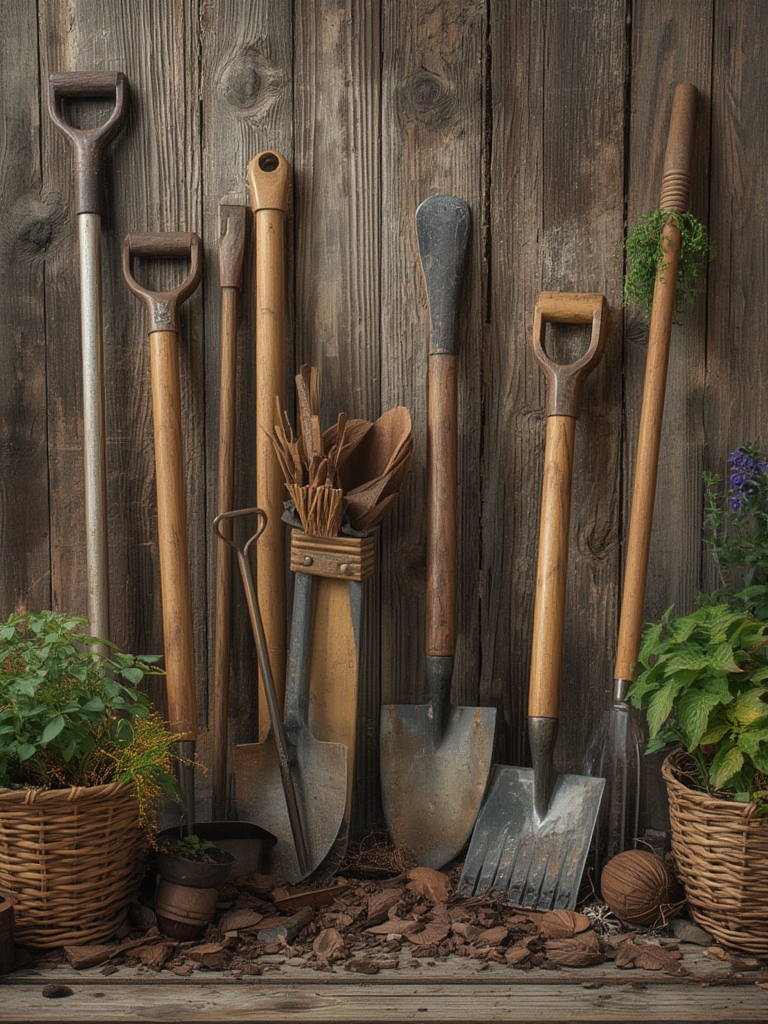
Essential Gardening Tools for Indoor Seed Starting
1. Seed‑Starting Trays and Containers
- Reusable plastic trays with drainage holes are cost‑effective and reduce waste.
- Biodegradable peat or coir pots eliminate transplant shock, as you can plant the whole pot.
- Choose a size that fits your windowsill or grow‑light area; a 10‑inch tray holds 20‑30 cells, ideal for experimenting with multiple varieties.
2. Quality Growing Medium
- Mix 50% peat moss, 30% vermiculite, 20% perlite for a lightweight, well‑draining medium.
- For an eco‑friendly option, replace peat with coconut coir (same ratio).
- Pre‑moisten the mix to field capacity – about 70% water content – before filling trays.
3. Light Sources
- LED grow lights with a 4000‑5000 K spectrum mimic natural daylight and use 30% less energy than fluorescent tubes.
- Position lights 2–3 inches above seedlings; adjust height every 2 weeks as plants grow.
- For a data‑driven approach, set a timer for 14‑16 hours of light per day – the optimal photoperiod for most winter‑flowering species.
4. Temperature and Humidity Control
- Maintain a constant 65‑75 °F (18‑24 °C) using a small space heater or a seedling heat mat.
- Cover trays with a clear plastic dome or a reusable silicone lid to retain humidity, reducing the need for frequent watering.
- Vent the cover once daily for 5–10 minutes to prevent fungal growth.
5. Miscellaneous Must‑Haves
- Label tags (reusable plastic or bamboo) to track varieties and sowing dates.
- A spray bottle for gentle misting, preventing root disturbance.
- pH tester strips – aim for a slightly acidic medium (pH 5.5‑6.5) for most flowers.
Step‑by‑Step Guide: Growing Winter Flowers from Seed
Step 1 – Choose the Right Flower Varieties
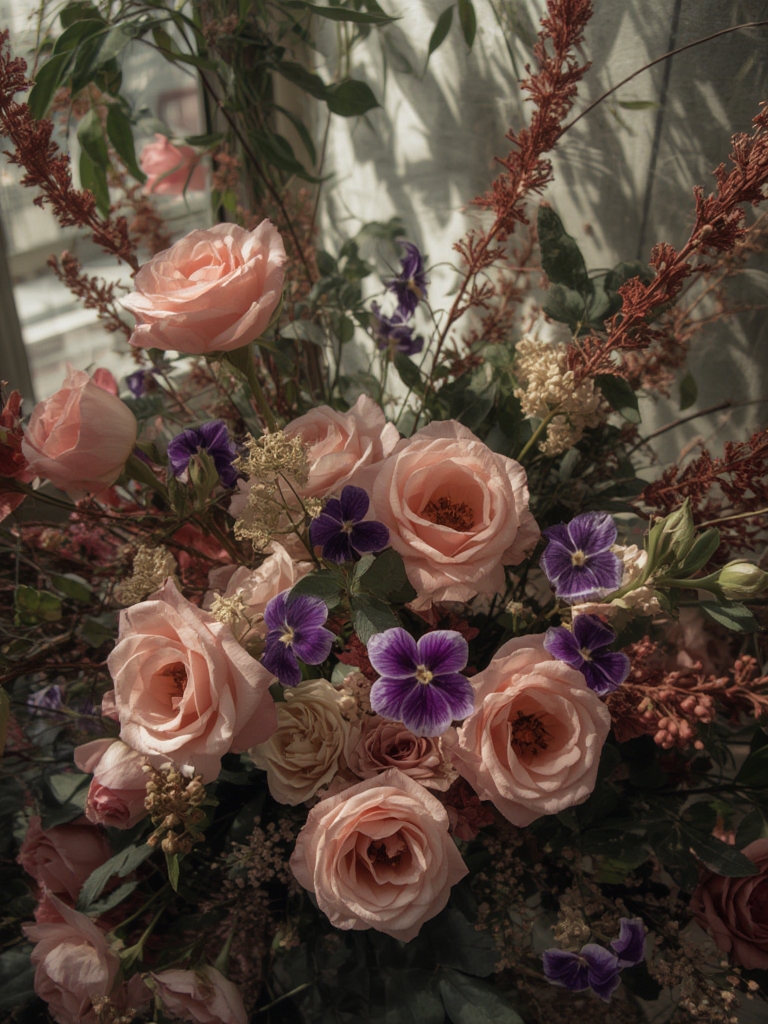
Data from the National Gardening Association shows that pansies, violas, and snapdragons have a 78% germination rate when started indoors during winter. These species tolerate cooler temperatures and produce colorful blooms that brighten any room.

Step 2 – Prepare Your Growing Medium
- Combine peat (or coir) with vermiculite and perlite in the recommended ratio.
- Moisten the mix until a squeezed handful releases a few drops of water but does not drip.
- Fill each cell of the tray to just below the rim, leaving ¼ inch of space for the seed.
Tip: Adding a teaspoon of balanced organic fertilizer (10‑10‑10) per gallon of medium boosts early seed vigor.

Step 3 – Sow the Seeds
- Scatter seeds thinly over the surface; for small seeds like pansies, use a seed‑sowing tray or a fine‑mesh sieve.
- Cover seeds with a thin layer of medium (¼‑½ inch) or a light dusting of vermiculite to retain moisture.
- Label each cell with the variety and sowing date.
Actionable advice: Press the surface gently with a piece of cardboard to ensure good seed‑to‑medium contact.

Step 4 – Provide Optimal Light and Warmth
- Place the tray under the LED grow light, set to 14‑hour photoperiod.
- Keep the temperature steady at 70 °F (21 °C) using a heat mat if your room is cooler.
- Check daily for signs of etiolation (stretchy stems); if observed, lower the light distance.
Quick tip: A simple smartphone app can log temperature and light duration, helping you spot trends that affect germination.

Step 5 – Water Wisely
- Use a spray bottle to mist the surface until the medium is uniformly moist but not soggy.
- Once seedlings emerge, switch to bottom‑watering: place the tray in a shallow water tray for 5‑10 minutes, then let excess drain.
- Monitor humidity; if the dome fogs heavily, increase ventilation.
Pro tip: Adding a few drops of liquid seaweed extract once a week supplies micronutrients that improve leaf color.
Step 6 – Harden Off and Transplant
- After 4‑6 weeks, when seedlings have 2–3 true leaves, begin hardening off by moving them to a brighter area for 2 hours each day, extending exposure by 1 hour daily.
- When they tolerate 6‑8 hours of indirect sunlight, transplant into larger pots with a high‑quality potting mix.
- Continue feeding with a balanced liquid fertilizer every two weeks.
Success shortcut: If you use biodegradable pots, you can plant the entire pot directly into the larger container, minimizing root disturbance.

DIY Projects to Enhance Your Indoor Garden
DIY 1 – Custom Grow‑Light Shelf
Build a simple three‑tier shelf using reclaimed wood and metal brackets. Install clip‑on LED strips on each tier, wiring them to a single timer. This not only maximizes vertical space but also creates an attractive display for multiple seed trays.
DIY 2 – Self‑Watering Reservoir
Cut the bottom off a 2‑liter plastic bottle, invert it, and place it in the seed tray. Fill the bottle with water; capillary action will deliver moisture slowly, reducing daily watering chores. Add a small marble at the bottle’s neck to regulate flow.
DIY 3 – Decorative Seed‑Tag Board
Attach a magnetic strip to the back of a small chalkboard. Use magnetic labels for each variety. This visual system helps you track growth stages and makes the setup Instagram‑ready.
Practical Tips for Ongoing Success
- Rotate trays weekly to ensure even light distribution and prevent one‑sided growth.
- Keep a seed log (digital or paper) noting sowing dates, germination percentages, and any issues; over time, this data guides future selections.
- Watch for pest signs such as spider mites; a gentle spray of diluted neem oil (1 teaspoon per quart of water) resolves infestations without harming seedlings.
- Maintain air circulation with a small desk fan set on low; this reduces mold risk and strengthens stems.
- When the first blooms appear, pinch back the tips to encourage branching and a fuller display.
Conclusion – Turn Winter Into a Blooming Opportunity
By equipping yourself with the right tools, following a data‑driven sowing routine, and adding a few simple DIY projects, you can transform a cold, quiet season into a vibrant indoor garden. Not only will you enjoy fresh flowers that lift your mood, but you’ll also develop valuable horticultural skills that pay off year after year. Start small, track your results, and watch your winter garden flourish—one seed at a time.


