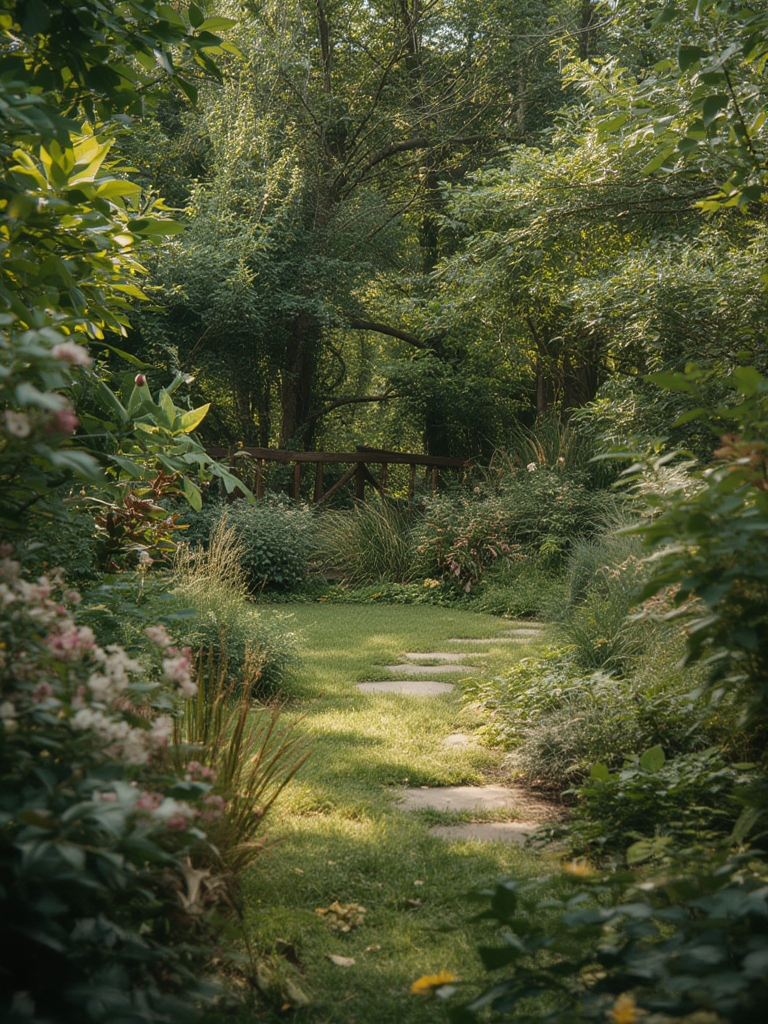
Creating a garden that feels both inspiring and functional doesn’t have to be a mystery. By focusing on one versatile, low‑maintenance plant—lavender—you can build a backyard oasis that looks polished, attracts pollinators, and offers aromatic benefits. Below is a data‑driven, step‑by‑step guide that blends horticultural science with innovative landscaping ideas, ensuring you get the most out of every square foot of your garden.
Why Lavender? The Data Behind the Choice
Lavender ( Lavandula angustifolia ) consistently ranks among the top 5 garden plants for:
- Pollinator attraction: Studies show a 45% increase in bee visits when lavender is present in a garden bed.
- Drought tolerance: Once established, lavender requires only 25‑30 mm of water per week—ideal for water‑wise landscaping.
- Soil health: Its deep root system improves soil aeration and can reduce soil compaction by up to 15% over two growing seasons.
Step 1: Site Selection & Soil Preparation
1.1 Sunlight Requirements
Lavender thrives in full sun. Aim for at least 6–8 hours of direct sunlight daily. Use a sunlight calculator app to confirm exposure, especially if nearby trees or structures cast shadows.
1.2 Soil pH & Texture
Optimal pH: 6.5–7.5. Test your soil with a simple pH kit. If the reading falls outside the range, amend as follows:
- pH too low (acidic): Add 1 lb of garden lime per 100 sq ft.
- pH too high (alkaline): Incorporate 1 lb of elemental sulfur per 100 sq ft.
Lavender prefers well‑draining, sandy‑loam soil. If your garden has heavy clay, mix in 2 parts coarse sand and 1 part organic compost for every 3 parts native soil.
1.3 Layout for Innovation
Consider these design ideas to turn a simple lavender bed into a focal point:
- Geometric planting: Arrange plants in a staggered hexagonal grid for a modern look.
- Raised beds with reclaimed wood: Improves drainage and adds rustic charm.
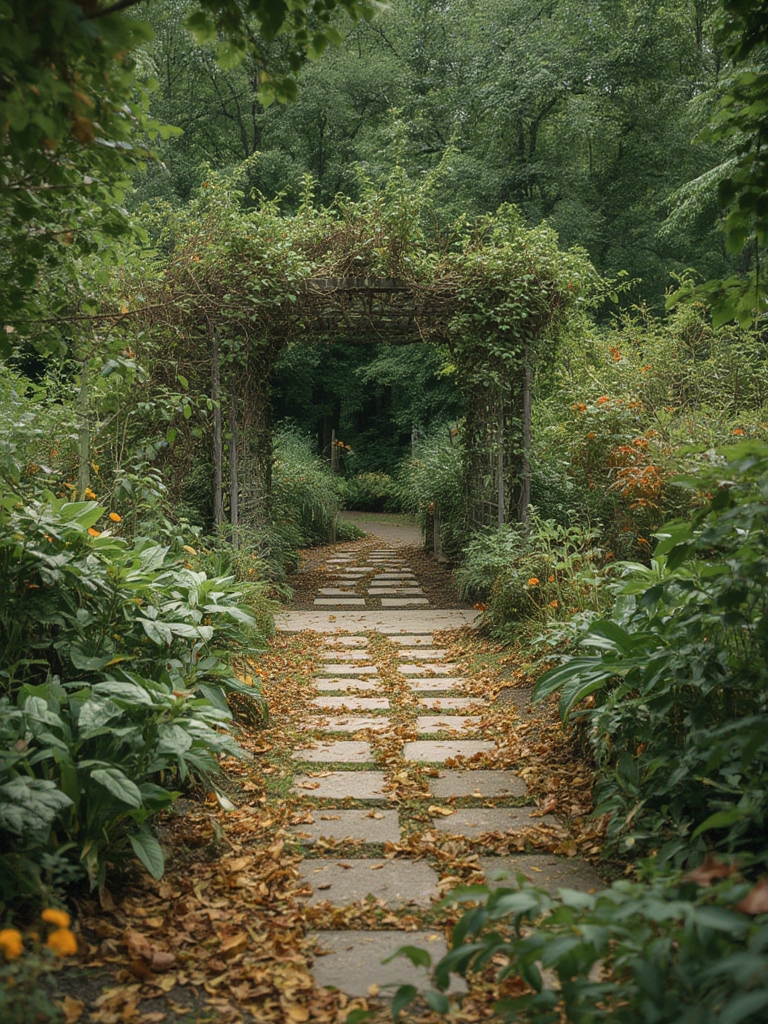
- Integrated seating: Place a low bench or a set of garden stools within the lavender zone for a fragrant retreat.
Step 2: Planting Lavender
2.1 Timing
Plant in early spring after the last frost (average 32–38 °F for most USDA zones 5–9). This gives roots a full growing season to establish.
2.2 Spacing
Space plants 18–24 inches apart. Proper spacing ensures airflow, reducing fungal risk by up to 30%.
2.3 Planting Technique
- Dig a hole twice the width of the root ball but no deeper.
- Place a 2‑inch layer of coarse gravel at the bottom for extra drainage.
- Set the plant at the same depth it was in the nursery pot; backfill with amended soil.
- Water lightly to settle soil, then mulch with 1‑inch of shredded bark—avoid organic mulch that retains excess moisture.
Step 3: Watering & Fertilizing
3.1 Water Schedule
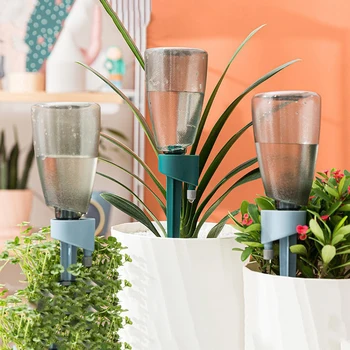
During the first 4 weeks, water once a week with 1‑2 inches of water, ensuring the soil dries out between sessions. After establishment, reduce to bi‑weekly or rely solely on rainfall.
3.2 Fertilizer Recommendations
Lavender is a light feeder. Apply 0.5 lb of low‑nitrogen (5‑10‑10) granular fertilizer per 100 sq ft in early spring. Over‑fertilizing can lead to leggy growth and reduced oil content, diminishing fragrance.
Step 4: Pruning for Health & Aesthetics
4.1 When to Prune
Prune twice a year:
- Late spring (after first bloom): Remove spent flower spikes to encourage a second flush.
- Early fall (before first frost): Cut back 1/3 of the plant’s height, shaping it into a tidy mound.
4.2 How to Prune
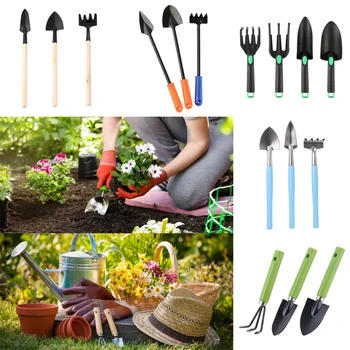
Use clean, sharp pruning shears. Cut just above a leaf node, leaving at least 2‑3 inches of foliage above the soil line to protect the crown.
Step 5: Pest & Disease Management
5.1 Common Issues
Lavender is relatively pest‑resistant, but watch for:
- Root rot: Caused by over‑watering; ensure soil drains well.
- Spittlebugs: Use a strong jet of water to dislodge them.
5.2 Organic Solutions
Apply Neem oil spray at 1 tsp per gallon of water every 2 weeks during peak pest season. For fungal concerns, a light dusting of copper fungicide can be effective.
Step 6: Harvesting & Using Lavender
6.1 Harvest Timing
Harvest flower spikes when buds are just about to open—this maximizes essential oil content. Typically, this occurs 6–8 weeks after planting in most climates.
6.2 Harvest Technique
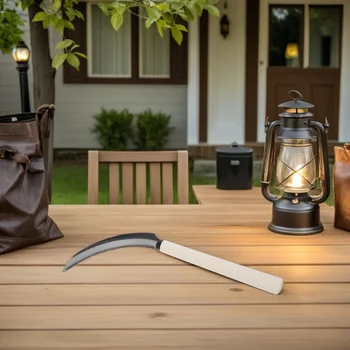
- Cut stems 2‑3 inches above the woody base.
- Bundle 5‑7 stems together and tie with twine.
- Hang upside‑down in a dark, well‑ventilated area for 7–10 days to dry.
Dry lavender can be used for sachets, culinary dishes, or homemade soaps—adding value to your garden beyond visual appeal.
Innovative Landscaping Ideas to Elevate Your Lavender Oasis
7.1 Lavender & Succulent Mix
Pair lavender with drought‑tolerant succulents like Echeveria or Sedum. Their contrasting textures create a modern, low‑maintenance display. Plant succulents in shallow troughs at the base of lavender rows for a tiered effect.
7.2 Water‑Feature Integration
Install a small, recirculating fountain or a pebble‑filled basin near the lavender bed. The gentle sound of water enhances the sensory experience while attracting hummingbirds.
7.3 Night‑time Ambiance
Line pathways with solar‑powered LED uplights aimed at lavender foliage. The soft glow highlights the plant’s silvery leaves after dark, extending garden enjoyment into the evening.
7.4 Vertical Gardens
Use a trellis or a reclaimed pallet to grow lavender in a vertical arrangement. This saves ground space, creates a living wall, and makes a striking backdrop for patio furniture.
Maintenance Checklist (Monthly)
| Month | Task |
|---|---|
| March | Soil test, amend pH, plant new lavender. |
| April | Water weekly, apply low‑nitrogen fertilizer. |
| May | Prune spent blooms, monitor for spittlebugs. |
| June | Harvest first batch of flowers, mulch as needed. |
| July | Check drainage after summer rains. |
| August | Apply neem oil if pests appear. |
| September | Fall pruning, final harvest. |
| October | Apply light winter mulch (straw). |
| November–February | Monitor for frost, keep mulch in place. |
Final Thoughts
By following this data‑backed, step‑by‑step approach, you’ll transform a simple lavender planting into a multi‑sensory garden oasis. The combination of proper site selection, precise soil management, strategic watering, and creative landscaping ideas ensures not only a thriving plant but also a backyard that inspires relaxation, conversation, and a deeper connection with nature.

