Creating a thriving herb and aromatic garden is one of the most rewarding projects for any homeowner, whether you have a sunny balcony, a modest backyard, or a bright kitchen windowsill. By following a data‑driven, step‑by‑step approach, you can grow flavorful herbs that not only enhance your cooking but also add fragrance, attract pollinators, and improve the overall health of your garden ecosystem. Below is a practical, SEO‑friendly guide that walks you through every stage—from site selection to harvest—while highlighting heat‑tolerant varieties for those warm‑spot areas in your home.
1. Assess Your Space and Light Conditions
Measure Sun Exposure
- Use a smartphone light meter app or a simple observation chart: record the number of direct sunlight hours each spot receives over a typical week.
- Herbs generally need 4–6 hours of direct sun; aromatic plants like lavender and rosemary thrive with 6–8 hours.
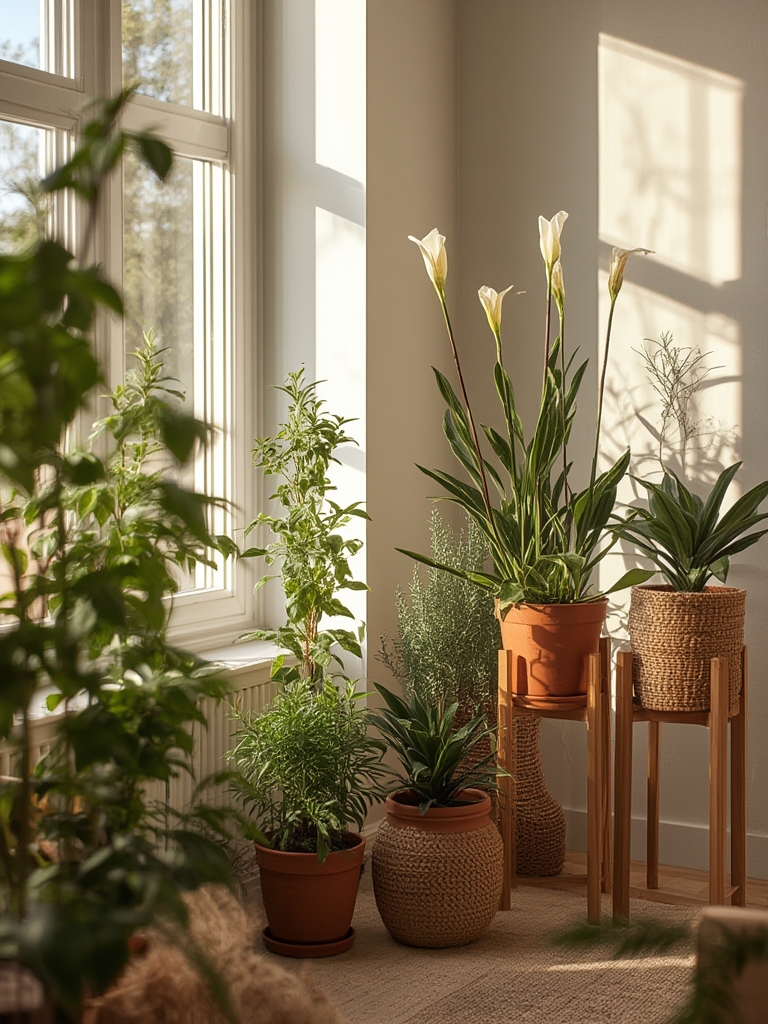
- For indoor gardens, place containers near south‑facing windows or use a grow light set to 12‑hour cycles.
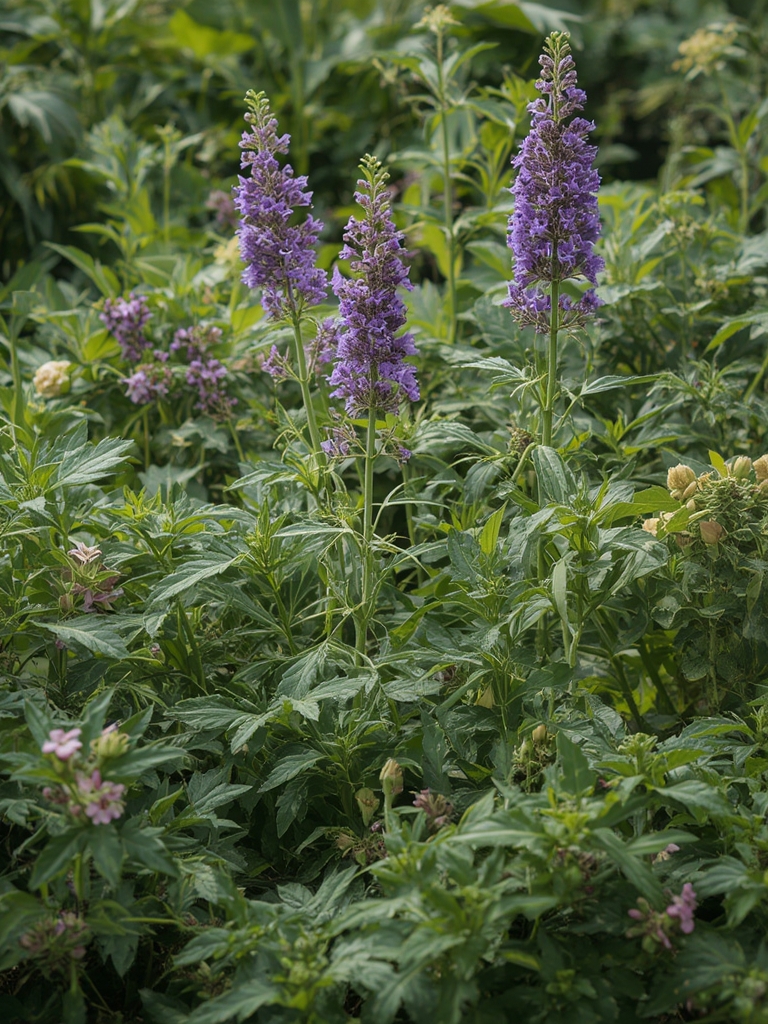
Choose Heat‑Tolerant Plants for Warm Spots
When a location consistently exceeds 85 °F (29 °C), prioritize heat‑tolerant herbs such as:
- Rosemary (Rosmarinus officinalis) – thrives in full sun and well‑drained soil.
- Lavender (Lavandula angustifolia) – tolerates drought and high temperatures.
- Thyme (Thymus vulgaris) – loves hot, dry conditions.
- Oregano (Origanum vulgare) – performs best when soil dries out between waterings.
2. Prepare the Soil or Growing Medium
Test and Amend Soil
- Take a sample from the planting area and run a pH test; most herbs prefer a slightly alkaline range of 6.5–7.5.
- If pH is low, add garden lime (1 lb per 100 sq ft) to raise it; if high, incorporate elemental sulfur.
- Improve drainage by mixing in 1‑2 inches of coarse sand or perlite.
DIY Potting Mix for Containers
Combine 40 % high‑quality potting soil, 30 % coconut coir or peat moss, and 30 % perlite. This blend retains moisture without becoming waterlogged—critical for herbs that dislike soggy roots.
3. Planting: Seeds vs. Transplants
Direct Seeding
- Sow seeds ¼‑½ inch deep after the last frost date; keep the soil consistently moist for germination (usually 7‑14 days).
- Thin seedlings to the recommended spacing (e.g., 12 inches for basil, 8 inches for thyme) to reduce competition.
Using Transplants
- Purchase healthy, disease‑free seedlings from a reputable nursery.
- Plant at the same depth they were growing in their original pot; gently firm the soil around the roots.
- Water thoroughly within the first 24 hours to settle the root ball.
4. Watering Strategies for Consistent Growth
Establish a Routine
- Check soil moisture 2 inches below the surface with a finger; water when it feels dry.
- For container gardens, aim for a deep soak once a week rather than light daily watering.
Mulch to Retain Moisture
Apply a 1‑inch layer of organic mulch (e.g., shredded bark or straw) around each plant. Mulch reduces evaporation, moderates soil temperature, and suppresses weeds—especially beneficial in hot zones.
5. Feeding and Fertilization
Organic Options
- Incorporate a balanced organic fertilizer (10‑10‑10) at half the label rate every 4‑6 weeks.
- Side‑dress with compost tea once a month to boost microbial activity.
Fertilizer Timing
Apply nutrients during the active growth phase (spring through early fall). Reduce feeding in late summer to encourage the plant’s natural hardening off before winter.

6. Pruning and Harvesting for Maximum Flavor
Regular Pinching
- Pinch back the top 1‑2 inches of stems when they reach 6‑8 inches tall. This promotes bushier growth and delays bolting.
- For basil, remove flower buds immediately to keep leaves tender.
Harvest Technique
Harvest in the morning after dew dries but before the sun intensifies. Use clean scissors to cut just above a leaf node, leaving at least two sets of leaves on the stem to allow regrowth.
7. Managing Pests and Diseases Naturally
Common Pests
- aphids – spray a neem oil solution (1 tsp per quart water) weekly.
- spider mites – increase humidity with a misting bottle and wipe leaves with a damp cloth.
Preventative Measures
Rotate crops annually and avoid planting the same herb family in the same spot for more than two years. This reduces soil‑borne pathogen buildup.

8. Seasonal Care and Winter Protection
Spring Preparation
- Remove any dead or damaged foliage from the previous season.
- Apply a light coating of compost to replenish nutrients before new growth starts.
Winter Strategies
For hardy herbs (e.g., rosemary, sage), mulch heavily (2‑3 inches of straw) to insulate roots. In colder zones, move container plants indoors or into a protected greenhouse and reduce watering to prevent root rot.
9. Enhancing Aromatics with Companion Planting
Synergistic Pairings
- Plant marigold alongside basil to deter nematodes.
- Combine rosemary with sage to attract beneficial pollinators like bees and hoverflies.
Design Tips
Arrange taller, sun‑loving herbs at the back of a raised bed and lower‑growth varieties (e.g., thyme, chives) at the front. This creates a visually appealing tiered effect and ensures each plant receives adequate light.
10. Quick Action Checklist for Ongoing Success
- ✔️ Verify sun exposure and adjust plant placement monthly.
- ✔️ Test soil pH every 6 months; amend as needed.
- ✔️ Water deeply once a week; check moisture before each watering.
- ✔️ Mulch to conserve moisture and suppress weeds.
- ✔️ Pinch back growth every 2‑3 weeks during peak season.
- ✔️ Harvest in the early morning for optimal flavor.
- ✔️ Inspect weekly for pests; treat with organic sprays at the first sign.
- ✔️ Apply a light organic fertilizer every 4‑6 weeks.
- ✔️ Protect perennials with mulch or indoor storage before frost.
By following these data‑backed steps and incorporating heat‑tolerant varieties where needed, you’ll cultivate a fragrant, productive herb and aromatic garden that thrives year‑round. Not only will your dishes taste better, but the garden itself becomes a living, aromatic centerpiece that adds both beauty and utility to your home.


