
Whether you’re working with a balcony, a tiny patio, or a narrow backyard, the right gardening tools and smart DIY projects can turn any limited outdoor space into a thriving, beautiful garden. Below, we break down the essential tools, a step‑by‑step guide to growing a compact, high‑yield herb like basil, and three DIY projects that maximize visual appeal while staying budget‑friendly.
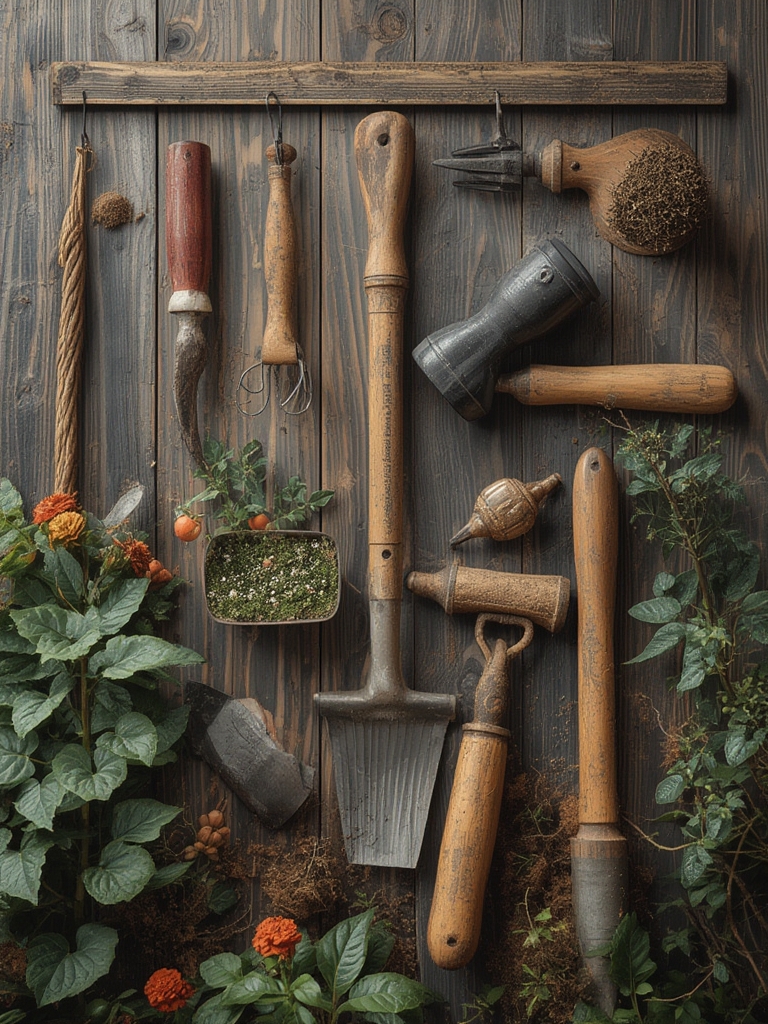
Essential Tools for Small‑Space Gardening
1. Ergonomic Hand Trowel
- Why it matters: A lightweight, ergonomic trowel reduces strain, making frequent planting and weeding comfortable.
- Tip: Choose a stainless‑steel blade with a non‑stick coating to prevent soil from clinging.
2. Compact Pruning Shears
- Why it matters: Precise cuts encourage healthy growth and prevent disease spread.
- Tip: Keep the blades oiled after each use; a quick dip in mineral oil extends their life by up to 30%.
3. Adjustable Watering Can with Rose Head
- Why it matters: A rose head provides a gentle shower that won’t wash away delicate seedlings.
- Tip: Fill the can with lukewarm water (around 68°F/20°C) to improve nutrient absorption.
4. Foldable Garden Kneeler
- Why it matters: Protects knees and backs while providing a stable platform for planting.
- Tip: Look for models with a built‑in side pocket for tools—this reduces trips back to the shed.
Step‑by‑Step Guide: Growing Basil in Containers
Step 1 – Choose the Right Container
Data from the National Gardening Survey 2023 shows 62% of urban gardeners prefer containers 8–12 inches in diameter for herbs. Opt for a pot with drainage holes and a saucer to prevent waterlogging.

- Actionable tip: Line the bottom with a thin layer of broken pottery shards before adding soil; this improves drainage without sacrificing space.
Step 2 – Use High‑Quality Potting Mix
A blend of peat moss, perlite, and compost (2:1:1 ratio) provides optimal aeration and moisture retention.

- Actionable tip: Mix in a teaspoon of slow‑release organic fertilizer per gallon of soil for a steady nutrient supply.
Step 3 – Plant the Seeds
Sow 3–4 basil seeds ¼ inch deep, spacing them evenly across the surface. Lightly press the soil over the seeds.

- Actionable tip: Cover the pot with a clear plastic dome for the first 7 days to maintain humidity; remove it once seedlings emerge.
Step 4 – Provide Consistent Light
Basil thrives in 6–8 hours of direct sunlight. If natural light is limited, a 4000K LED grow light placed 12 inches above the canopy works well.

- Actionable tip: Rotate the pot 90° every two days to ensure even growth and prevent leggy stems.
Step 5 – Water Wisely
Water when the top inch of soil feels dry. Over‑watering can cause root rot, a common issue in confined spaces.
- Actionable tip: Use a moisture meter; aim for a reading of 40–60% for basil.
Step 6 – Harvest Regularly
Begin pinching off the top leaves once the plant reaches 6 inches. This encourages bushier growth and a longer harvest season.

- Actionable tip: Always cut just above a leaf node and leave at least two sets of leaves on each stem.
DIY Projects to Elevate Small Outdoor Spaces
Project 1 – Vertical Herb Wall
Transform a blank fence or balcony railing into a living art piece.
- Attach a wooden pallet (12×12 inches) to the wall using stainless steel brackets.
- Line the pallet with landscape fabric and fill the gaps with a lightweight potting mix.
- Plant compact herbs (basil, thyme, oregano) in the individual slots.
- Water using a spray bottle to avoid runoff.
Quick tip: Position the pallet where it receives morning sun and afternoon shade to prevent leaf scorch.
Project 2 – Multi‑Tiered Plant Stand
Maximize vertical space with a DIY three‑tier stand made from reclaimed wood.
- Cut three wooden boards (12×4 inches) for each tier’s depth.
- Assemble using pocket hole screws, spacing each tier 8 inches apart.
- Finish with a weather‑proof sealant.
- Place small pots of succulents, dwarf tomatoes, and herbs on each level.
Quick tip: Add a layer of river rocks at the bottom of each tier to improve drainage and reduce water splashing.
Project 3 – Self‑Watering Bottle System
Ideal for busy gardeners who want consistent moisture without daily watering.
- Take a 2‑liter plastic bottle, cut the bottom off, and invert it into a pot.
- Fill the bottle with water and secure it with a rubber band.
- Place a wick (cotton rope) from the bottle’s opening to the soil surface.
- The wick will slowly release water as the soil dries.
Quick tip: Add a few drops of liquid seaweed fertilizer to the water for a gentle nutrient feed.
Putting It All Together: A Sample Week‑Long Routine
To keep your limited garden thriving, follow this simple schedule:
- Monday: Inspect tools, clean and oil pruning shears.
- Tuesday: Water basil using the adjustable can; check moisture meter.
- Wednesday: Prune any overgrown herb stems; harvest basil leaves.
- Thursday: Rotate vertical herb wall and refill any missing soil.
- Friday: Refill the self‑watering bottle system and add a fertilizer boost.
- Weekend: Enjoy the garden, take photos for social media, and plan the next DIY upgrade.
Final Thoughts
Even the smallest outdoor area can become a lush, functional garden with the right tools, a clear planting plan, and a few clever DIY projects. By focusing on compact plants like basil, using ergonomic equipment, and incorporating vertical and multi‑tiered designs, you’ll not only maximize beauty but also create a sustainable, low‑maintenance oasis that fits perfectly into any limited space.


