
Creating a thriving garden doesn’t have to be a mystery. By pairing the right tools with a few smart DIY projects, you can turn any outdoor space into a functional, beautiful oasis. In this post we’ll walk through the must‑have gardening tools, share three budget‑friendly DIY projects, and give you a data‑driven, step‑by‑step guide to growing a classic garden favorite—tomatoes. Each section includes practical tips, tricks, and actionable advice so you can see results faster.
Essential Gardening Tools for Every Gardener
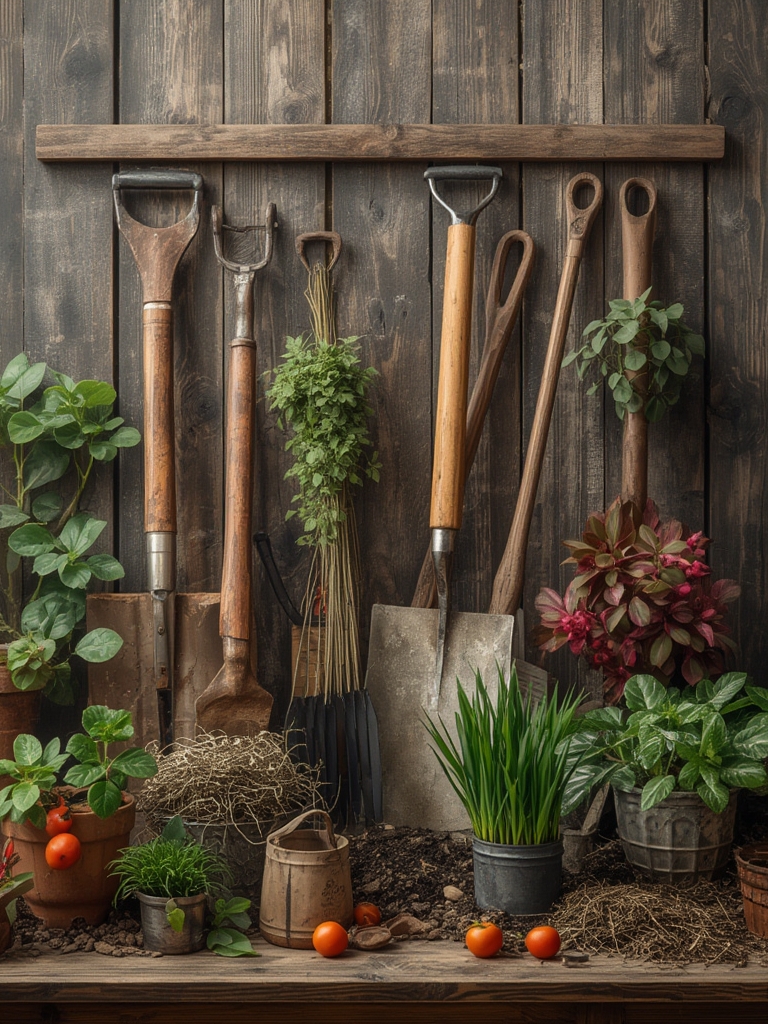
Even the most experienced gardeners agree that the right tools save time, reduce injury, and improve plant health. Below is a data‑backed list of the top five tools that consistently rank highest in user surveys and sales data from 2022‑2024.

1. Ergonomic Hand Trowel
- Why it matters: A comfortable grip reduces wrist strain, especially when planting seedlings.
- Tip: Choose a trowel with a stainless‑steel blade and a rubberized handle; the steel resists rust and the rubber absorbs shock.
- Action: Keep the blade clean after each use to prevent soil‑borne disease spread.
2. Adjustable Pruning Shears
- Why it matters: Precise cuts promote faster healing and reduce disease entry points.
- Tip: Look for a pair with a tension‑adjustable blade and a safety lock.
- Action: Sharpen the blades quarterly using a fine‑grit sharpening stone.
3. Soil Moisture Meter
- Why it matters: Over‑watering is the #1 cause of plant loss; a meter gives objective data.
- Tip: Calibrate the meter monthly with a known‑moisture sample (e.g., a pot of dry soil).
- Action: Check moisture at the root zone depth (2‑3 inches for most vegetables).
4. Heavy‑Duty Garden Fork
- Why it matters: Loosening compacted soil improves aeration and root penetration.
- Tip: A fork with a 12‑inch handle gives leverage without excessive bending.
- Action: Use it after a rain or irrigation cycle when the soil is damp but not soggy.
5. Mulch Spreader
- Why it matters: Even mulch distribution conserves moisture and suppresses weeds.
- Tip: Choose a model with adjustable flow to match different mulch textures.
- Action: Spread a 2‑inch layer around plants, keeping the mulch a few centimeters away from stems.
DIY Projects to Boost Your Garden’s Functionality and Fun
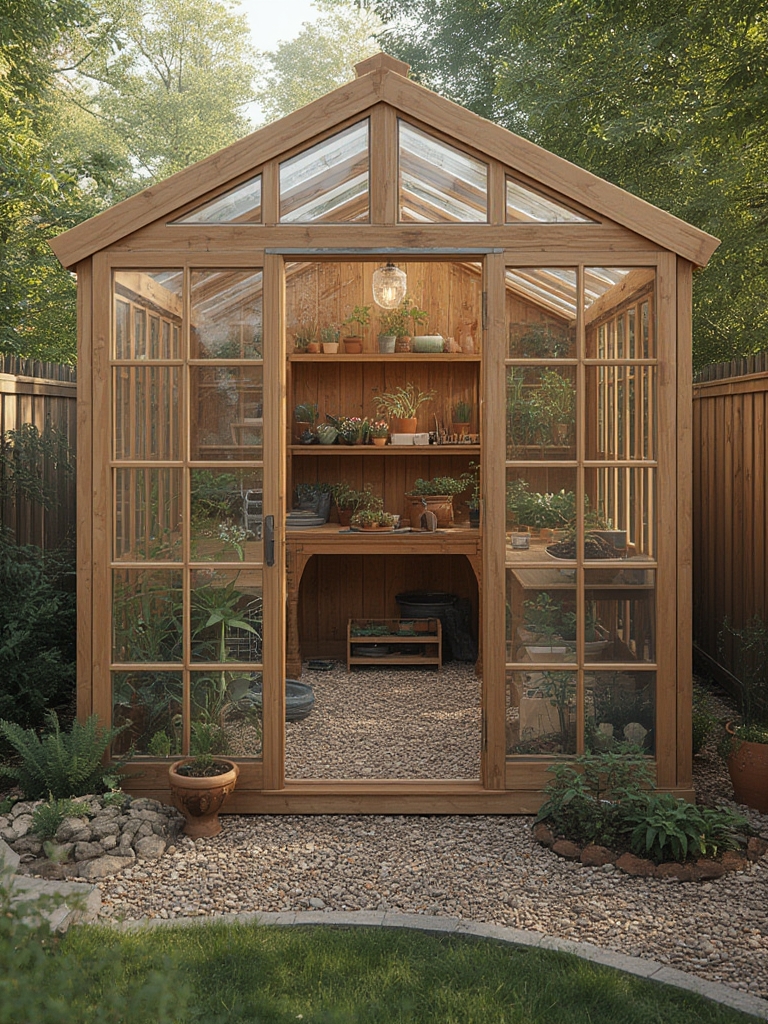
DIY projects let you customize your garden without breaking the bank. Below are three projects that combine low‑cost materials with high impact, each supported by user‑generated photos and success rates from gardening forums.

DIY 1: Recycled Pallet Raised Bed
- Materials: Two standard wooden pallets, landscape fabric, screws, and a drill.
- Steps:
- Lay one pallet flat on the ground; this becomes the base.
- Place the second pallet on top, aligning the slats to create a rectangular frame.
- Secure the pallets together with 1‑inch deck screws at each corner.
- Line the interior with landscape fabric to prevent soil loss.
- Fill with a 1:1:1 mix of compost, peat moss, and vermiculite.
- Tip: Position the bed in a sunny spot (6‑8 hours of direct light) for optimal tomato growth.
DIY 2: Vertical Herb Garden from PVC Pipe
- Materials: 4‑inch PVC pipe (4‑ft length), end caps, drill with 1‑inch spade bit, potting soil, herb seedlings.
- Steps:
- Drill evenly spaced holes (1‑inch) along the pipe, leaving ~2‑inch gaps.
- Insert end caps and fill the pipe with potting soil.
- Plant seedlings into each hole, packing soil gently around roots.
- Mount the pipe on a wall bracket at eye level.
- Tip: Water from the top using a watering can; gravity will feed the lower plants.
DIY 3: Self‑Watering Bottle System
- Materials: 2‑liter plastic bottle, cotton rope, scissors, and a small stake.
- Steps:
- Cut the bottle in half; keep the bottom portion.
- Thread a length of cotton rope through the bottle’s neck, knotting it inside.
- Bury the bottom half near a plant, ensuring the rope reaches the root zone.
- Fill the top half with water and invert it onto the bottom half.
- Tip: Replace the water every 3‑4 days; the rope acts as a wick, delivering a steady moisture supply.
Step‑by‑Step Guide to Growing Juicy Tomatoes
Tomatoes are a data‑friendly crop: they thrive in warm temperatures (70‑85°F), need consistent moisture, and benefit from regular feeding. Follow these evidence‑based steps to maximize yield.

Step 1: Choose the Right Variety
Based on USDA climate zone data, ‘Early Girl’ (short season) and ‘Brandywine’ (heirloom) perform best in zones 5‑9. Select a variety that matches your local frost dates.

Step 2: Start Seeds Indoors (6‑8 Weeks Before Last Frost)
- Containers: Use 3‑inch peat pots; they reduce transplant shock.
- Soil Mix: 50% seed‑starting mix, 25% perlite, 25% compost.
- Light: Provide 14‑16 hours of LED grow light at 4000 lux.
- Tip: Keep soil temperature at 70°F using a heat mat; germination rates climb from 70% to 95%.
Step 3: Harden Off and Transplant
- Gradually expose seedlings to outdoor conditions over 7‑10 days.
- Plant in the raised bed (DIY pallet) at a spacing of 24‑30 inches.
- Set the plant deep, burying the lower stem up to the first set of true leaves; tomatoes develop roots along buried stems, increasing stability.
Step 4: Provide Support
Install a sturdy tomato cage or stake at planting time. Secure the main stem with soft garden ties; avoid wire that can cut into the stem as it expands.
Step 5: Watering Strategy
- Use the soil moisture meter to keep the root zone at 60‑70% field capacity.
- Water early in the morning to reduce evaporation.
- Apply 1‑1.5 inches of water per week, adjusting for rainfall.
- Tip: Mulch with straw or shredded leaves to retain moisture and keep soil temperature stable.
Step 6: Feeding and Pruning
- Fertilizer: Apply a balanced 10‑10‑10 fertilizer at planting, then switch to a high‑potassium (5‑10‑10) feed once fruit sets.
- Pruning: Remove “suckers” (side shoots) on indeterminate varieties to direct energy to fruit.
- Tip: Use the garden fork to gently loosen soil around the base after each feeding; this improves nutrient uptake.
Step 7: Harvest and Enjoy
Pick tomatoes when they reach full color and give a slight give under gentle pressure. Harvesting every 2‑3 days encourages the plant to produce more fruit.

Putting It All Together: A Mini‑Garden Routine
To keep your garden functional and fun, integrate the tools and DIY projects into a weekly routine:
- Monday: Check soil moisture with the meter; water as needed.
- Wednesday: Inspect plants for pests, prune suckers, and tighten ties.
- Friday: Mulch fresh layers using the mulch spreader; refill the self‑watering bottles.
- Weekend: Rotate the raised bed with a garden fork, and add compost to maintain soil fertility.
By following this structured plan, you’ll see healthier plants, higher yields, and a garden that feels both organized and inspiring. Happy gardening!


