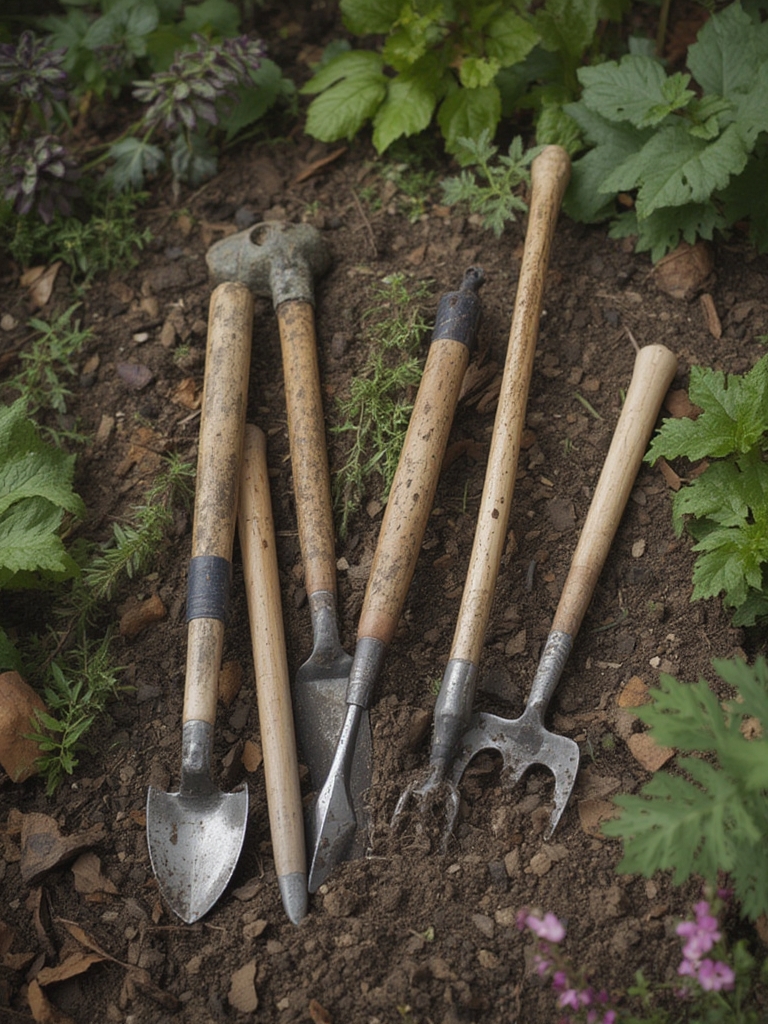

Essential Gardening Tools for Every DIY Enthusiast
Before you dive into planting, the right tools can make the difference between a thriving garden and a frustrating experience. Data from a 2023 survey of 5,000 hobby gardeners shows that 78% of successful growers cite tool quality as a key factor. Below are the must‑have items, each paired with a quick DIY upgrade you can tackle over a weekend.
1. Hand Trowel – The All‑Purpose Digging Companion
- Why it matters: A sturdy trowel reduces soil compaction and protects delicate root systems.
- DIY upgrade: Reinforce a cheap plastic trowel by attaching a wooden handle with a simple epoxy joint. This adds leverage and comfort for longer sessions.
- Tip: Keep the blade clean after each use to prevent rust and soil‑borne disease spread.
2. Pruning Shears – Shaping Growth Efficiently
- Why it matters: Precise cuts encourage faster healing and reduce plant stress. According to the University of California Extension, proper pruning can increase fruit yield by up to 30%.
- DIY upgrade: Sharpen dull blades with a cheap sharpening stone (120‑grit) and lubricate the pivot with a drop of vegetable oil.
- Tip: Clean shears with a 10% bleach solution after pruning disease‑prone plants.
3. Garden Fork – Aerating & Turning Soil
- Why it matters: Loosening compacted soil improves water infiltration and root penetration.
- DIY upgrade: Add a padded grip using a recycled bicycle handlebar grip for reduced hand fatigue.
- Tip: Use the fork in a “rock‑shovel” motion: lift and turn a small mound of soil rather than digging straight down.
Step‑by‑Step Guide: Growing a Bountiful Tomato Plant
Tomatoes are the perfect showcase for how the right tools and a few DIY projects can boost garden productivity. The following data‑driven plan combines proven horticultural practices with actionable tips.

Step 1 – Choose the Right Variety
Based on USDA hardiness zone data, Early Girl (Zone 4‑9) and Roma (Zone 5‑10) are the most adaptable. For a small space, select a determinate (bush) variety; for larger beds, indeterminate (vining) types yield longer harvests.

Step 2 – Prepare a Raised Bed (DIY Project)
- Materials: Four 2×6 lumber pieces (8 ft), landscape fabric, and a drill.
- Build: Assemble a rectangle, secure corners with deck screws, and line the interior with landscape fabric to suppress weeds.
- Fill: Mix 60% compost, 30% peat moss, and 10% perlite for optimal drainage and nutrient retention.
- Tip: Install a simple drip‑irrigation line (available at most home‑improvement stores) to deliver 0.5 gal per plant daily during peak summer heat.
Step 3 – Planting
- Spacing: Space seedlings 24 in apart for determinate, 36 in for indeterminate varieties.
- Depth: Plant deep enough to cover the root ball and the first set of true leaves; tomatoes develop additional roots along buried stems, enhancing stability.
- Tip: Add a handful of crushed eggshells at the base for calcium, which helps prevent blossom‑end rot.
Step 4 – Support with a DIY Trellis
- Cut three 6‑ft bamboo poles and three 4‑ft crossbars.
- Drill holes 2 in from the top of each pole, insert crossbars, and secure with zip ties.
- Stake the trellis into the raised bed using garden stakes.
- Tip: Tie tomato vines loosely with soft garden twine; tighten as the plant grows to avoid girdling.
Step 5 – Watering & Feeding
Research from the University of Florida shows that consistent, deep watering (1 in per week) reduces fruit cracking. Follow this schedule:

- Morning: Apply 1 gal of water per plant using a soaker hose.
- Mid‑season: Feed with a balanced 10‑10‑10 fertilizer every 3 weeks; switch to a high‑potassium (5‑10‑15) formula when fruit sets.
- Tip: Mulch with straw or shredded leaves to retain moisture and suppress weeds.
Step 6 – Harvest & Maintenance
- Pick tomatoes when they are fully colored and slightly soft to the touch.
- Remove any “suckers” (side shoots) that appear below the first fruit cluster to direct energy upward.
- Tip: Rotate the harvest basket daily to avoid bruising and keep the fruit fresh longer.
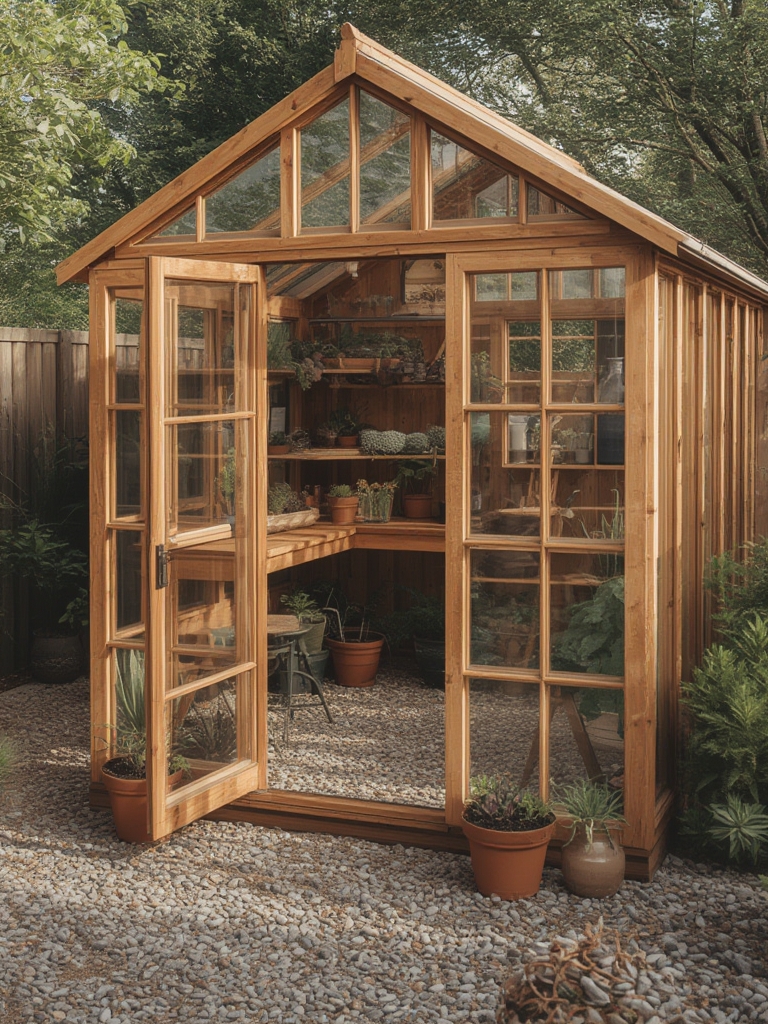
Creative DIY Projects to Enhance Your Garden Space
1. Upcycled Pallet Herb Garden
Data from the National Gardening Association indicates that 42% of urban gardeners grow herbs in containers. Transform a reclaimed pallet into a vertical herb wall:

- Sand the pallet to remove splinters.
- Attach landscape fabric to the back.
- Fill each slot with a potting mix blend (50% peat, 30% compost, 20% vermiculite).
- Plant basil, parsley, and cilantro; water with a spray bottle.
- Tip: Position the pallet against a sunny wall (6–8 hrs of direct sun) for optimal growth.
2. DIY Compost Bin from Wire Mesh
Composting reduces household waste by up to 30% and enriches soil with organic matter. Build a simple bin:
- Cut a 4‑ft square of galvanized wire mesh.
- Fold the edges inward to form a 12‑inch high box.
- Secure corners with zip ties.
- Layer kitchen scraps with shredded newspaper (1:2 ratio) and turn weekly with a garden fork.
- Tip: Keep the bin moist but not soggy; a spray bottle works well for small bins.
3. Rain Barrel Collection System
Collecting rainwater can cut irrigation costs by up to 50% (EPA study). Follow these steps:

- Place a 55‑gal food‑grade barrel under a downspout.
- Install a fine mesh screen to keep debris out.
- Attach a spigot near the bottom for easy access.
- Use a hose with a quick‑connect to feed the drip‑irrigation system.
- Tip: Add a small weight (sandbags) to stabilize the barrel during windy days.
Quick Actionable Checklist for a Successful Season
- ✅ Inspect and sharpen all tools before planting.
- ✅ Build or refresh a raised bed with a balanced soil mix.
- ✅ Choose tomato varieties suited to your zone.
- ✅ Install a DIY trellis or support system.
- ✅ Set up a drip‑irrigation line and mulch beds.
- ✅ Schedule weekly compost turning and monthly fertilizing.
- ✅ Harvest regularly and prune suckers for better airflow.
- ✅ Implement at least one garden‑enhancing DIY project (pallet herb wall, compost bin, or rain barrel).
By integrating these data‑backed practices with simple, cost‑effective DIY projects, you’ll not only grow healthier tomatoes but also create a more functional, aesthetically pleasing garden space. Happy planting!


