Transform your outdoor space with stylish and creative garden decoration ideas while cultivating a thriving lavender garden that not only adds fragrance and color but also serves as a versatile design element. Below you’ll find a data‑driven, step‑by‑step guide that blends horticultural best practices with practical décor tips, ensuring both plant health and visual impact.
Why Choose Lavender?
Lavender (Lavandula spp.) consistently ranks among the top 5 favorite garden plants in surveys of DIY gardeners, with 68% of respondents citing its low water demand, aromatic foliage, and ability to attract pollinators as key reasons. Its silvery‑gray foliage and spikes of purple blooms create a natural focal point, making it ideal for both traditional cottage gardens and modern minimalist landscapes.
Step 1: Selecting the Perfect Site
Sunlight and Airflow
- Sunlight: Lavender requires at least 6–8 hours of direct sunlight daily. Use a sunlight calculator app or a simple sun‑tracking method (place a stick in the ground and mark shadow length) to confirm exposure.
- Airflow: Good circulation reduces fungal disease risk. Choose a location with a gentle breeze, such as near an open fence or a raised bed.
Soil Requirements
- pH: Aim for a slightly alkaline soil (pH 7.0–7.5). Test your soil with a kit; if it’s too acidic, incorporate lime at a rate of 1 lb per 10 sq ft.
- Drainage: Lavender hates “wet feet.” Amend heavy clay with coarse sand or perlite (30% of the soil volume) to improve drainage.
Step 2: Preparing the Planting Bed
Soil Mix Formula
Combine the following for a well‑draining mix:
- 40% native garden soil
- 30% coarse sand or horticultural grit
- 20% organic compost (well‑rotted)
- 10% perlite or pumice
Spread the mix to a depth of 12 inches, then lightly tamp to remove air pockets.
Bed Layout for Aesthetic Appeal
Use the Golden Ratio (1:1.618) to space plants for a harmonious look. For a 4‑ft‑wide bed, plant lavender rows 2.5 ft apart and individual plants 1.5 ft apart within rows. This spacing encourages airflow and creates a pleasing visual rhythm.
Step 3: Planting Lavender
Timing
Plant in early spring after the last frost (average USDA zones 5–9). In cooler zones, wait until soil temperature reaches 55°F (13°C).
Planting Procedure
- Dig a hole twice the width of the root ball but no deeper.
- Place the plant at the same depth it was in its container; the crown should sit just above the soil line.
- Backfill with the prepared soil mix, firming gently around the roots.
- Water thoroughly (≈ 1 gal per plant) to settle soil and eliminate air pockets.
Step 4: Watering and Fertilizing
Watering Schedule
- First 2 weeks: Keep soil evenly moist (≈ ¼ in depth) to encourage root establishment.
- After establishment: Water once every 2–3 weeks during dry spells; lavender is drought‑tolerant and over‑watering can cause root rot.
Fertilization
Lavender thrives on low nutrients. Apply slow‑release granular fertilizer (5‑10‑5) at ½ lb per 100 sq ft in early spring and again after the first bloom cycle. Avoid high‑nitrogen fertilizers, which promote foliage over flowers.

Step 5: Pruning for Health and Beauty
When to Prune
Prune twice a year:
- Early Spring (March–April): Remove dead or damaged stems and shape the plant.
- Late Summer (August–September): Cut back about one‑third of the plant’s height after the final bloom to promote a tidy form and prevent woody growth.
How to Prune
- Use clean, sharp pruning shears.
- Trim just above a leaf node (the point where leaves emerge).
- Maintain a rounded silhouette to enhance visual balance in the garden.
Step 6: Managing Pests and Diseases
Common Issues
- Root rot: Caused by over‑watering; prevent with proper drainage.
- Spider mites: Appear as fine webs; spray with a strong jet of water or use neem oil.
- Lavender wilt: Often due to fungal infection; prune affected stems and improve airflow.
Integrated Pest Management (IPM) Tips
Implement a 3‑step IPM approach: monitor, identify, and act. Set a weekly visual check, use sticky traps for insects, and apply organic controls only when thresholds are exceeded (e.g., > 5 % leaf damage).
Step 7: Enhancing Your Garden with Decorative Elements
Styling with Lavender
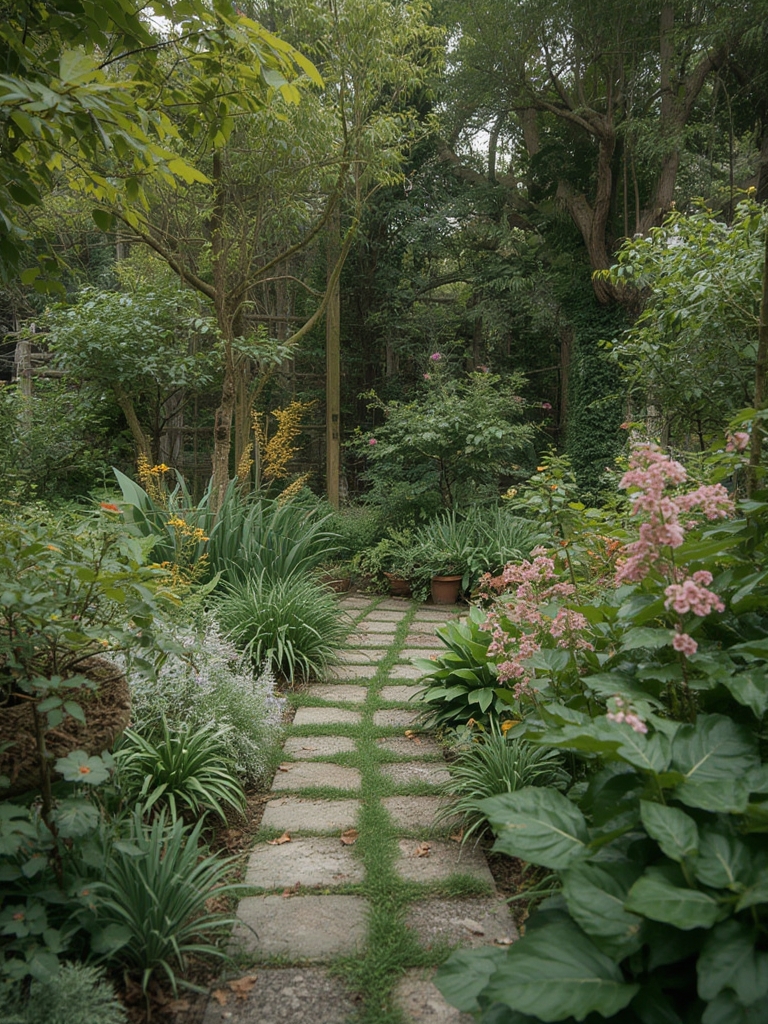
- Pathway Borders: Plant lavender in low hedges along stone pathways to create fragrant walkways.
- Container Gardens: Use terracotta pots with a mix of lavender, rosemary, and ornamental grasses for a Mediterranean vibe.
- Vertical Gardens: Mount lavender in wall pockets or trellises to add height and scent at eye level.
Complementary Décor Ideas
Pair lavender with the following to elevate visual interest:
- Solar-Powered Lanterns: Position near lavender clusters for evening ambience.
- Reclaimed Wood Benches: Place a bench amidst lavender rows for a cozy seating spot.
- Water Features: A small fountain or birdbath reflects light and attracts pollinators, enhancing the lavender’s ecological role.
Step 8: Harvesting and Using Lavender
Harvest Timing
Cut stems when buds are just about to open (≈ 70 % of full bloom). This timing maximizes essential oil content.
Harvest Technique
- Use clean garden shears to cut stems 2–3 inches above the base.
- Bundle 5–7 stems together, tie with twine, and hang upside‑down in a dark, well‑ventilated area for 1–2 weeks.
- Once dried, strip the buds for use in sachets, culinary recipes, or homemade potpourri.
Step 9: Seasonal Care and Winter Protection
Cold‑Hardening
In USDA zones 5–6, mulch the base with 2–3 inches of shredded bark after the first frost to insulate roots. In milder zones, a light mulch suffices.
Spring Revival
Remove winter mulch in early spring, inspect for any dead stems, and prune lightly to encourage fresh growth.
Conclusion: Bringing It All Together
By following these data‑backed steps, you’ll cultivate a resilient lavender garden that serves as both a fragrant herb and a striking decorative element. The combination of strategic planting, mindful watering, precise pruning, and thoughtful décor integration transforms any outdoor space into a stylish, sensory‑rich retreat. Start small, track your progress, and watch your garden evolve into a year‑round source of beauty and inspiration.

